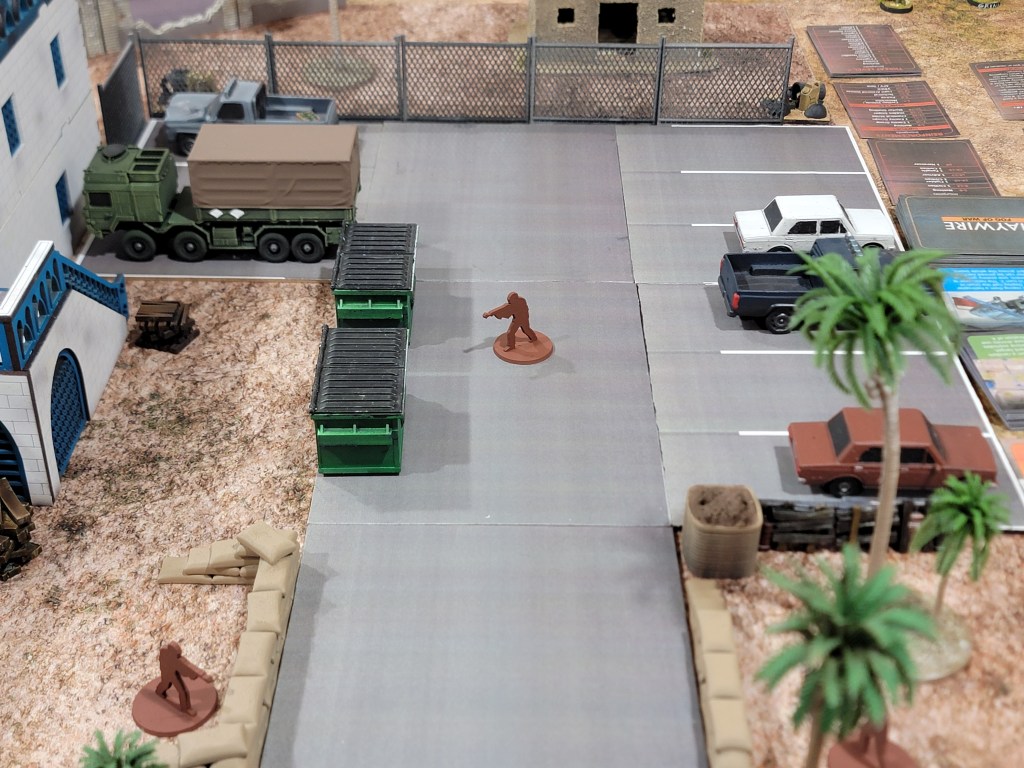
The Haywire campaign continues! This is game five of the standard campaign, not counting retaliation operations. The campaign is ten games long—again, not counting retaliation ops, so we’re about halfway done. This mission was a fun one narratively: we were sent in to rescue two aid workers being held hostage. I thought it would be a great excuse to put out one of my favorite terrain pieces.
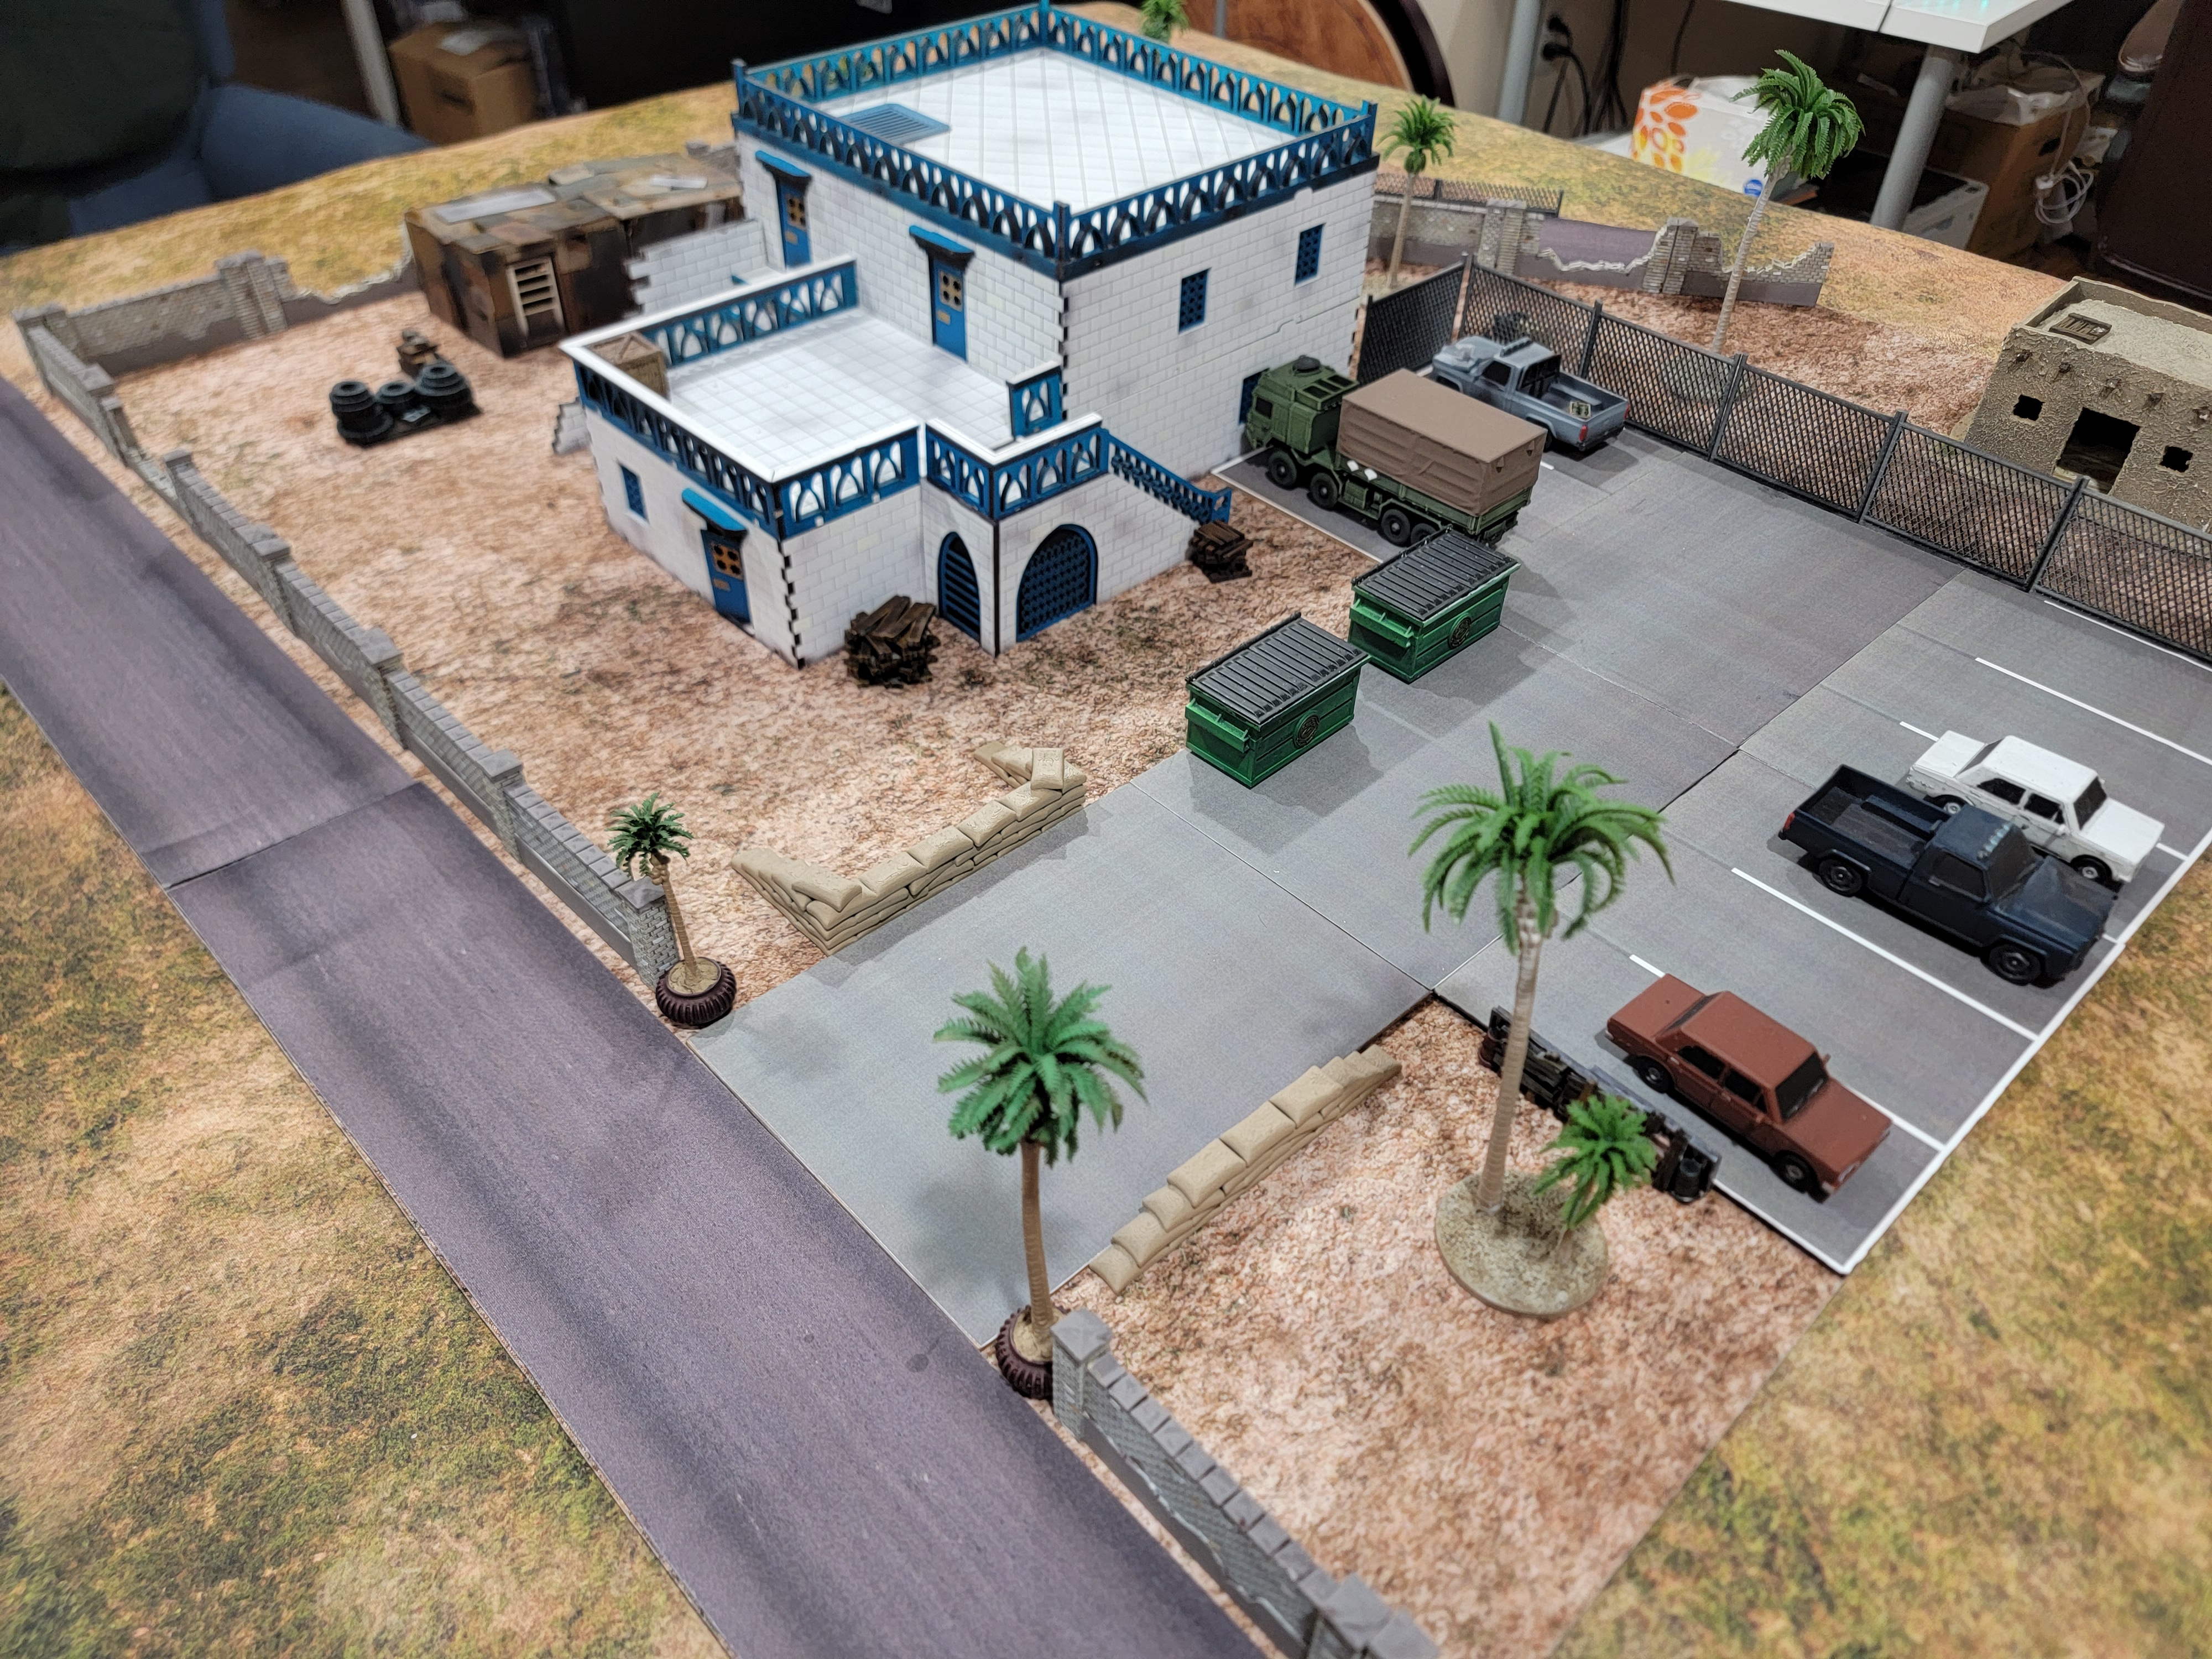
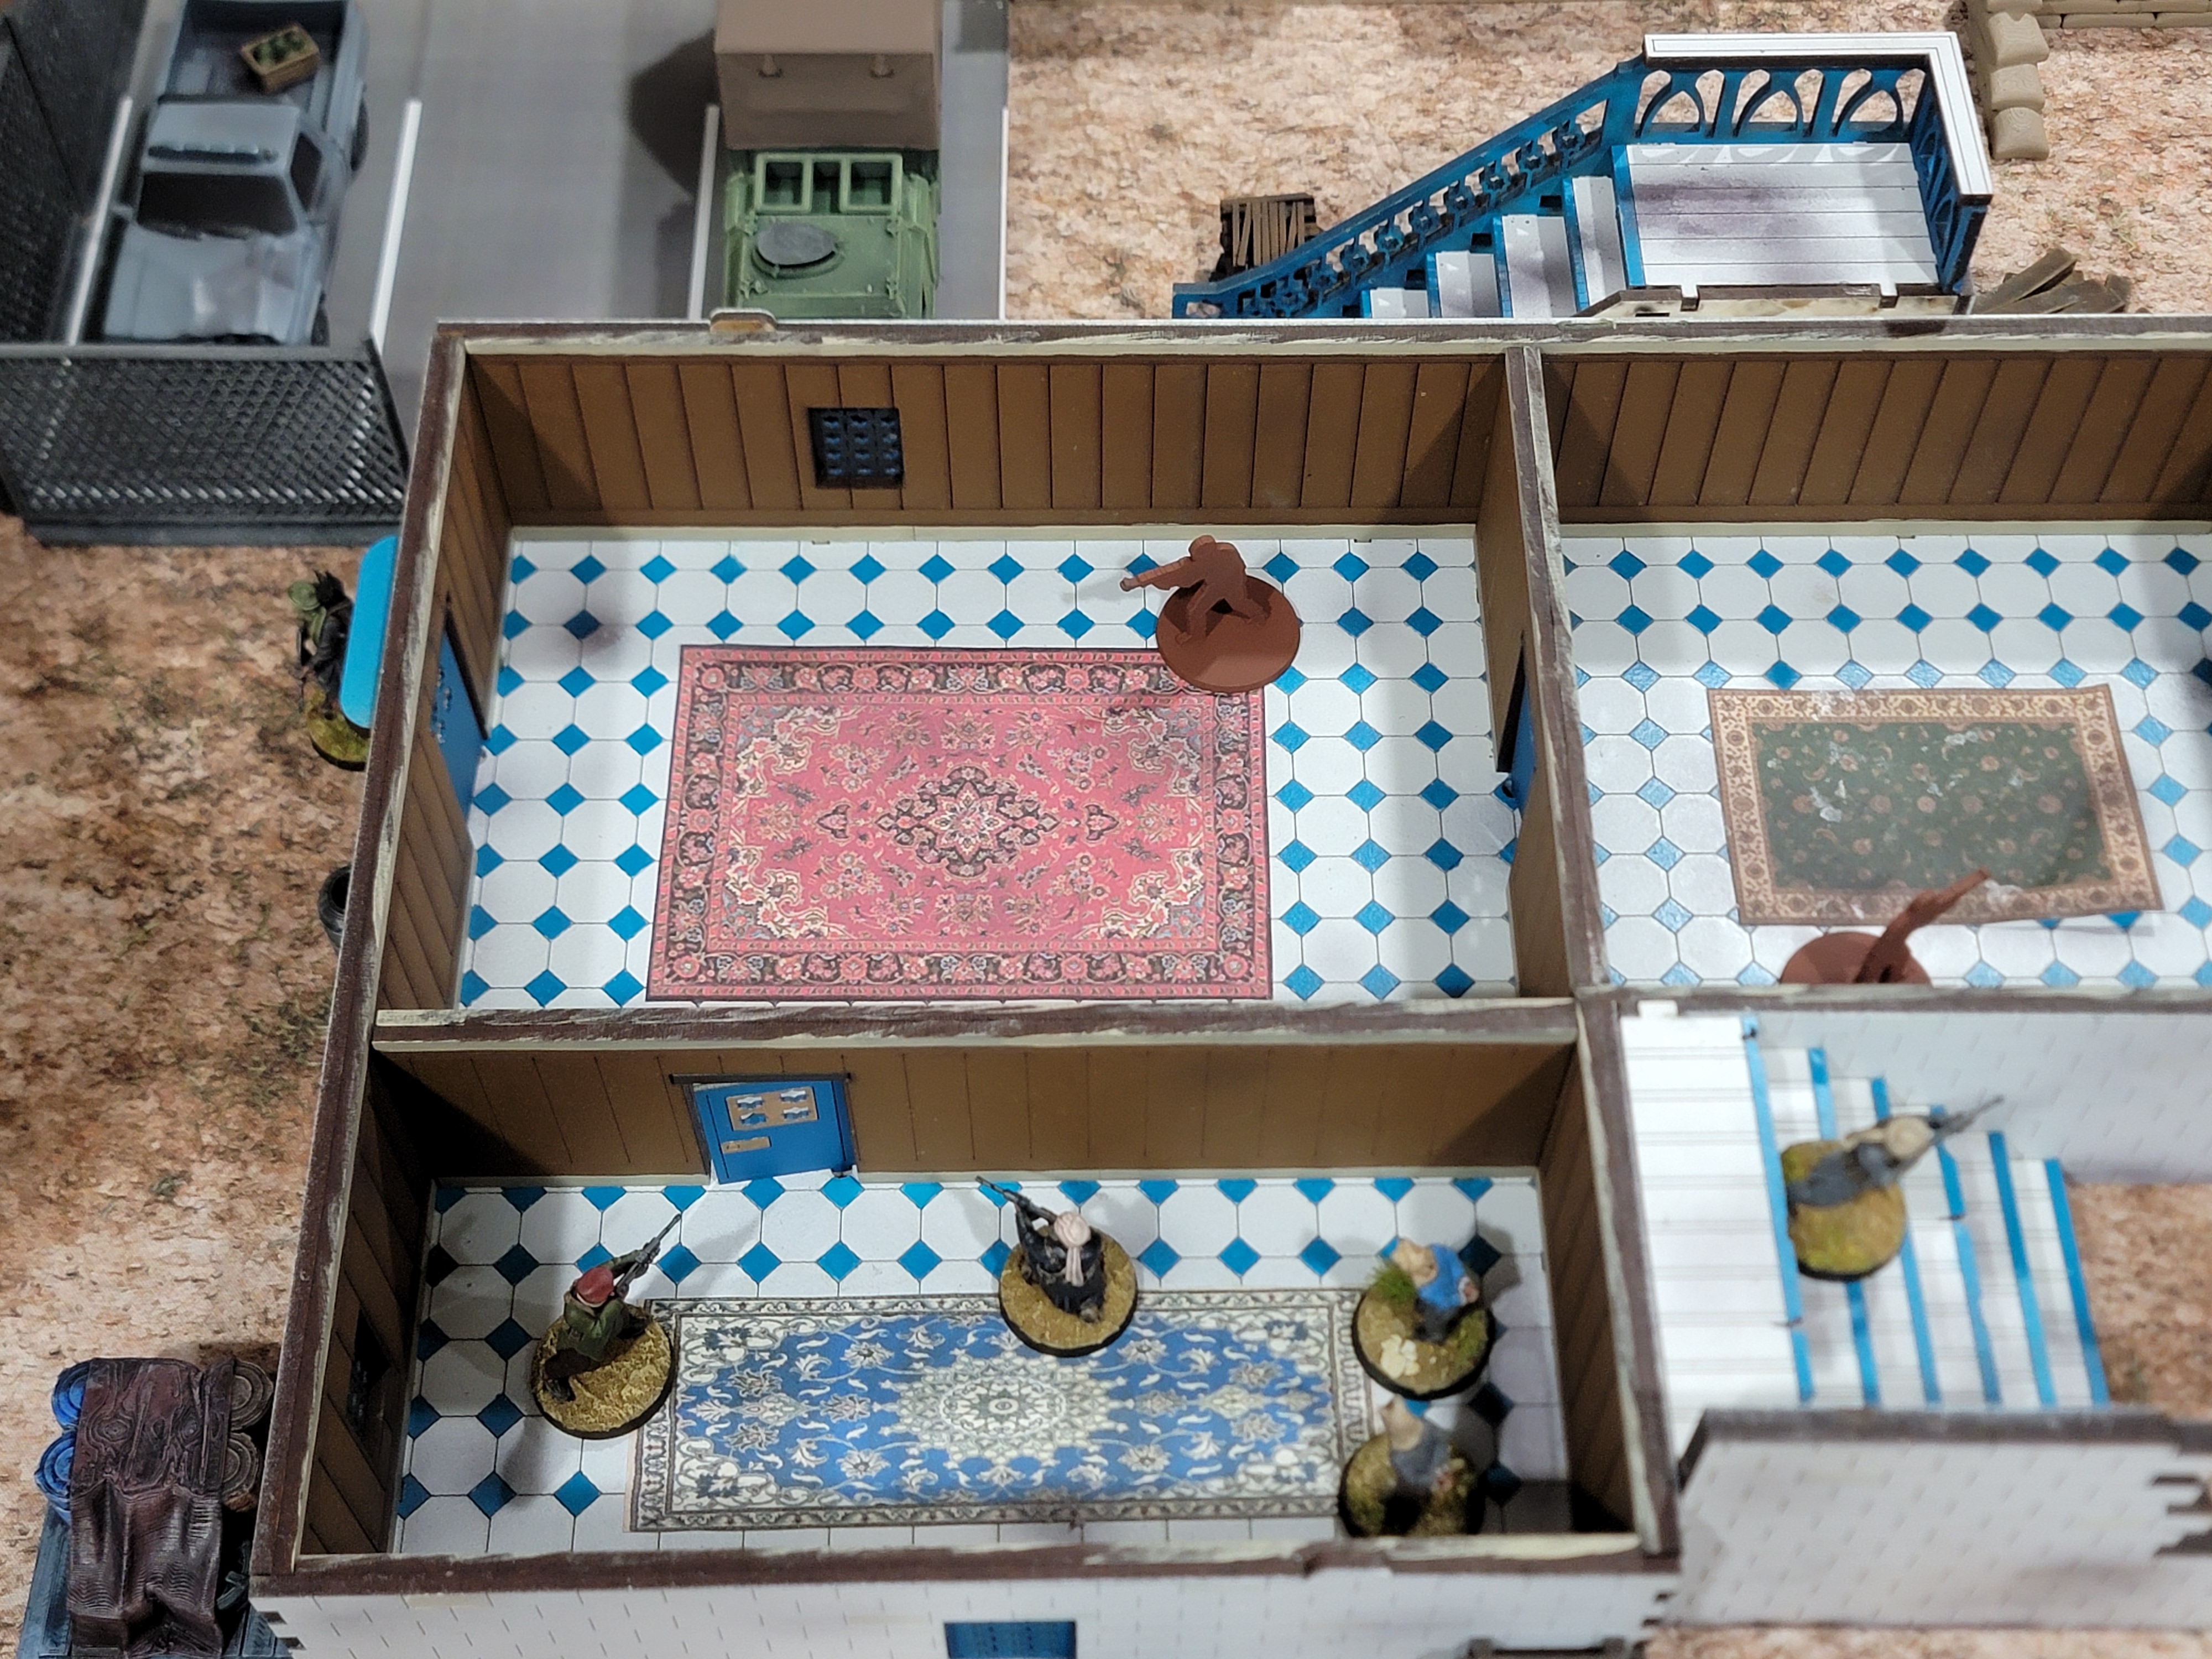
What made it even more cinematic was the starting condition cards we drew, which gave us two one way attack drones and set us up to use a helicopter to rope in.
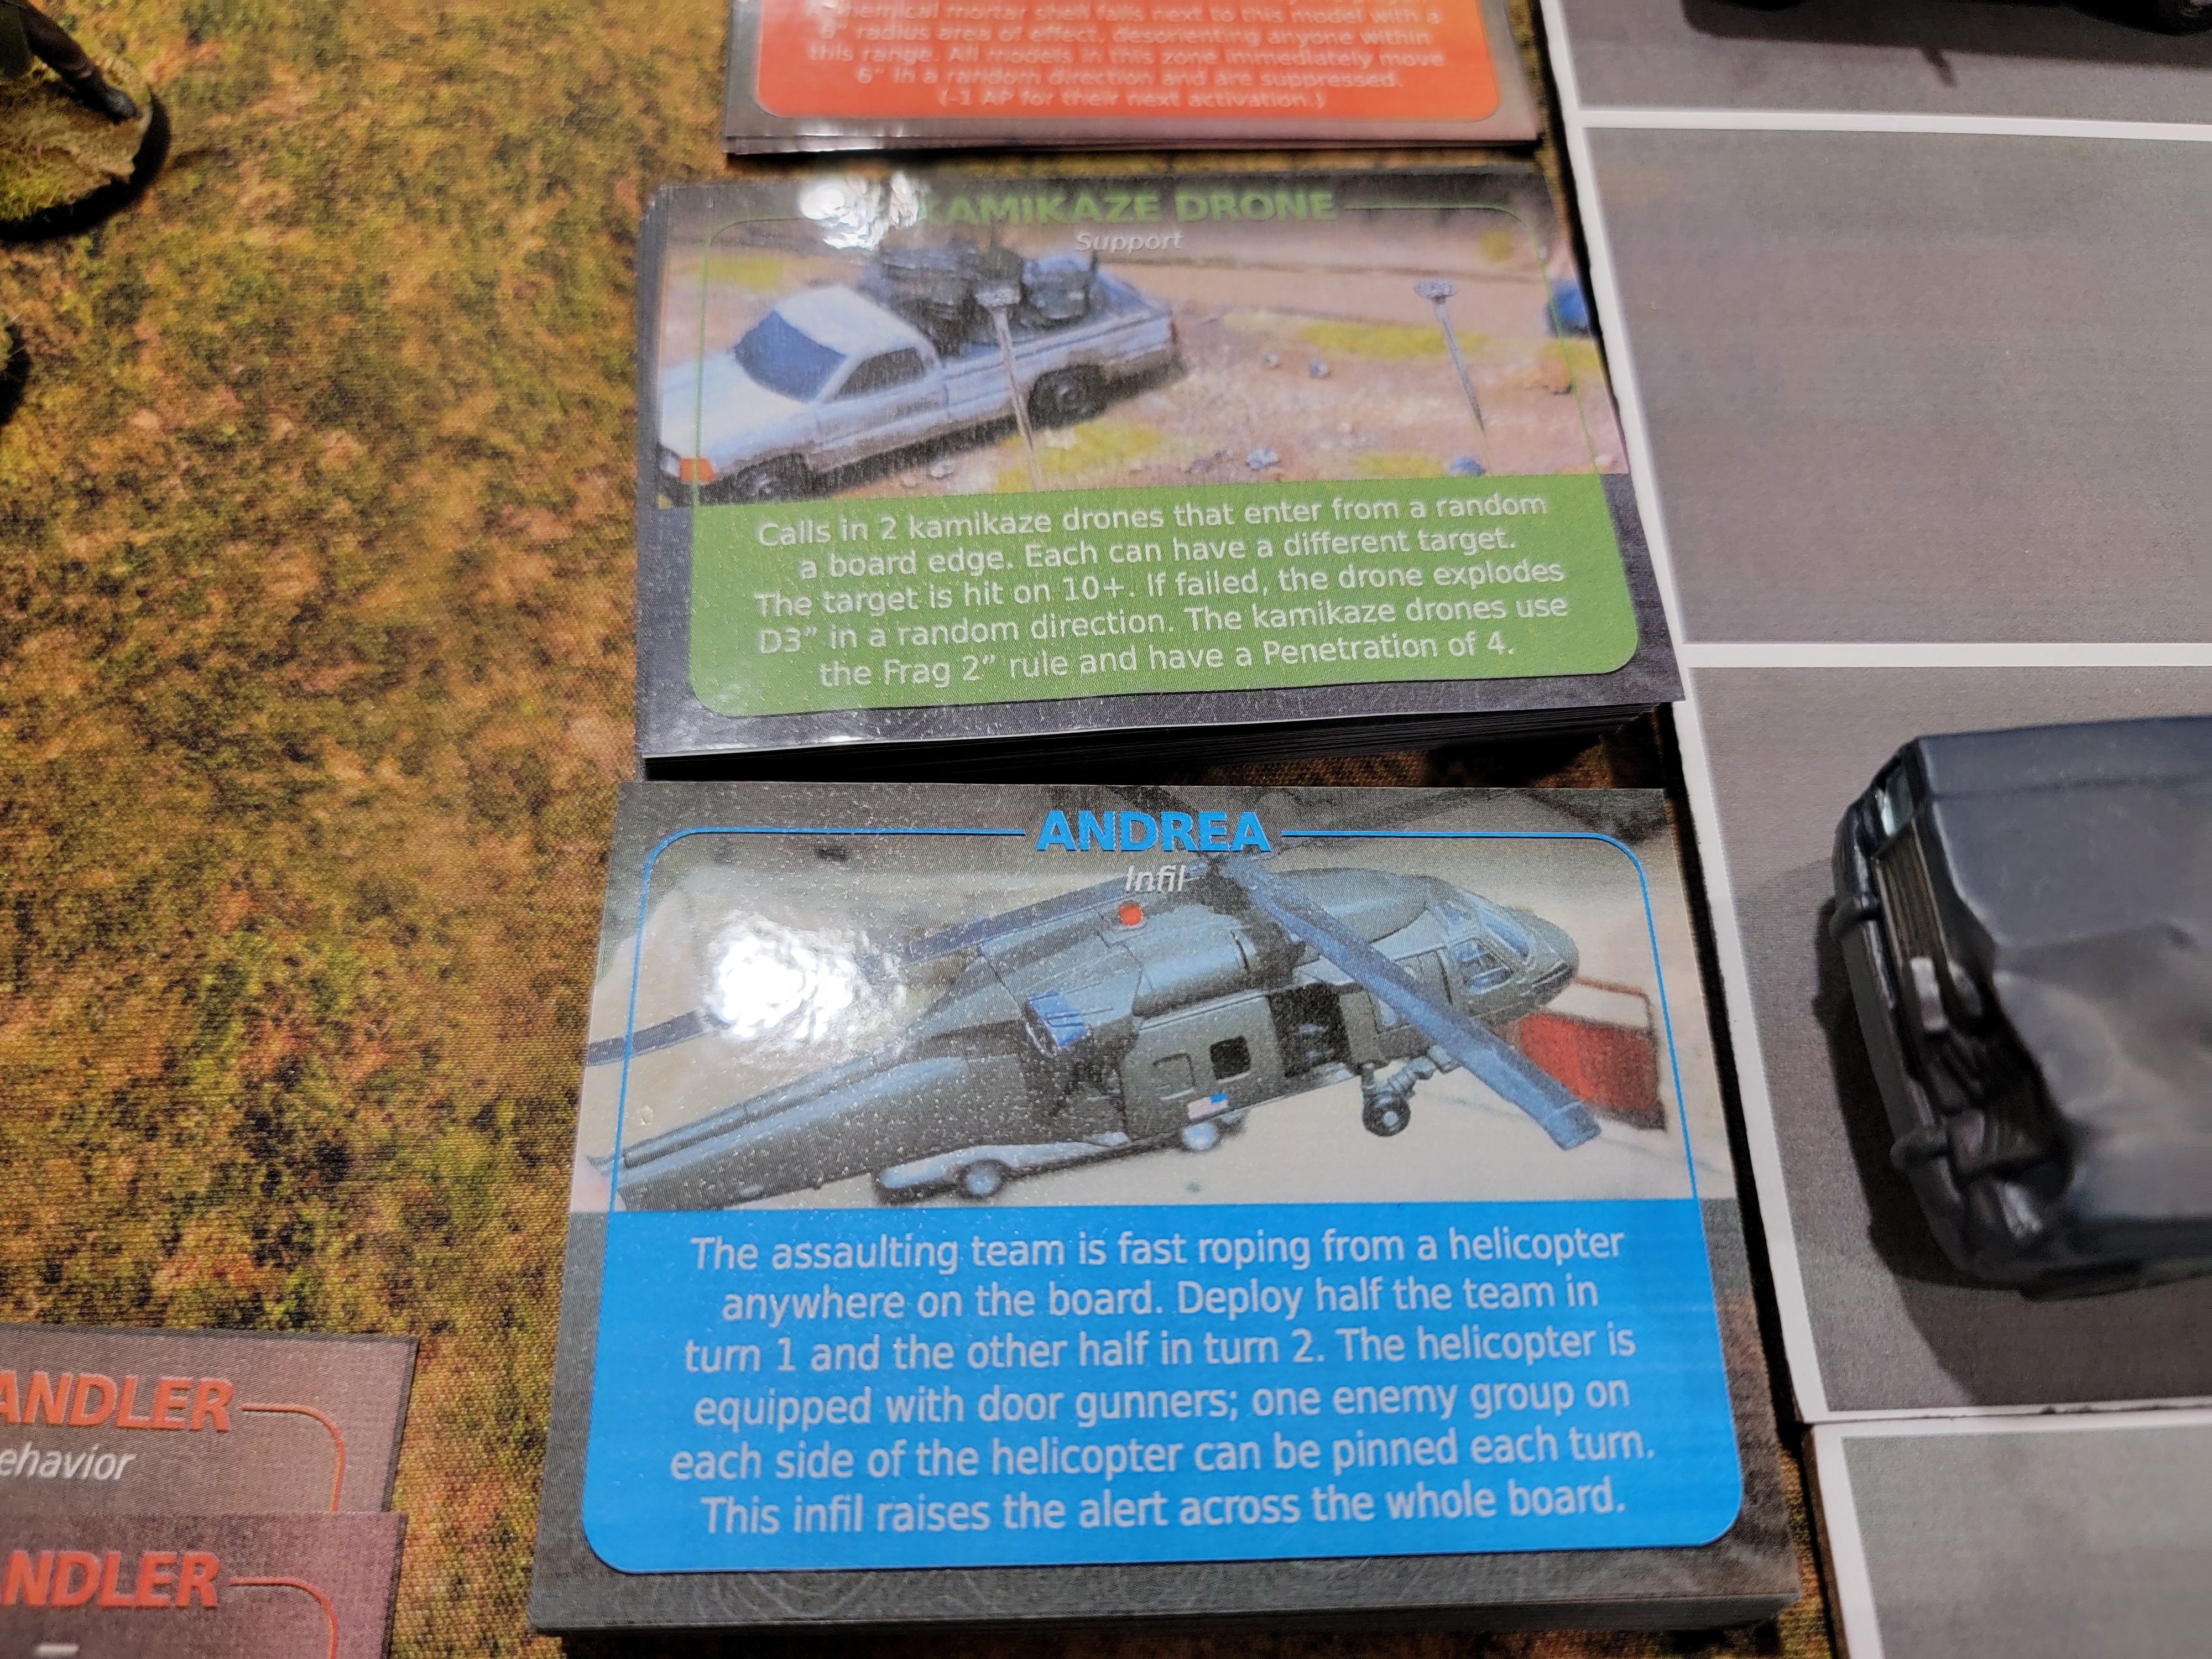
We spent some time debating how we would go about this. My son wanted to drop onto the roof, take out hostiles, and then burst our way in. No doubt cool but… a good way to have everything on the map shoot you all at once. After some back and forth, I may have dad voiced us into simply dropping in by the back door and bursting inside for a quick cleanup.

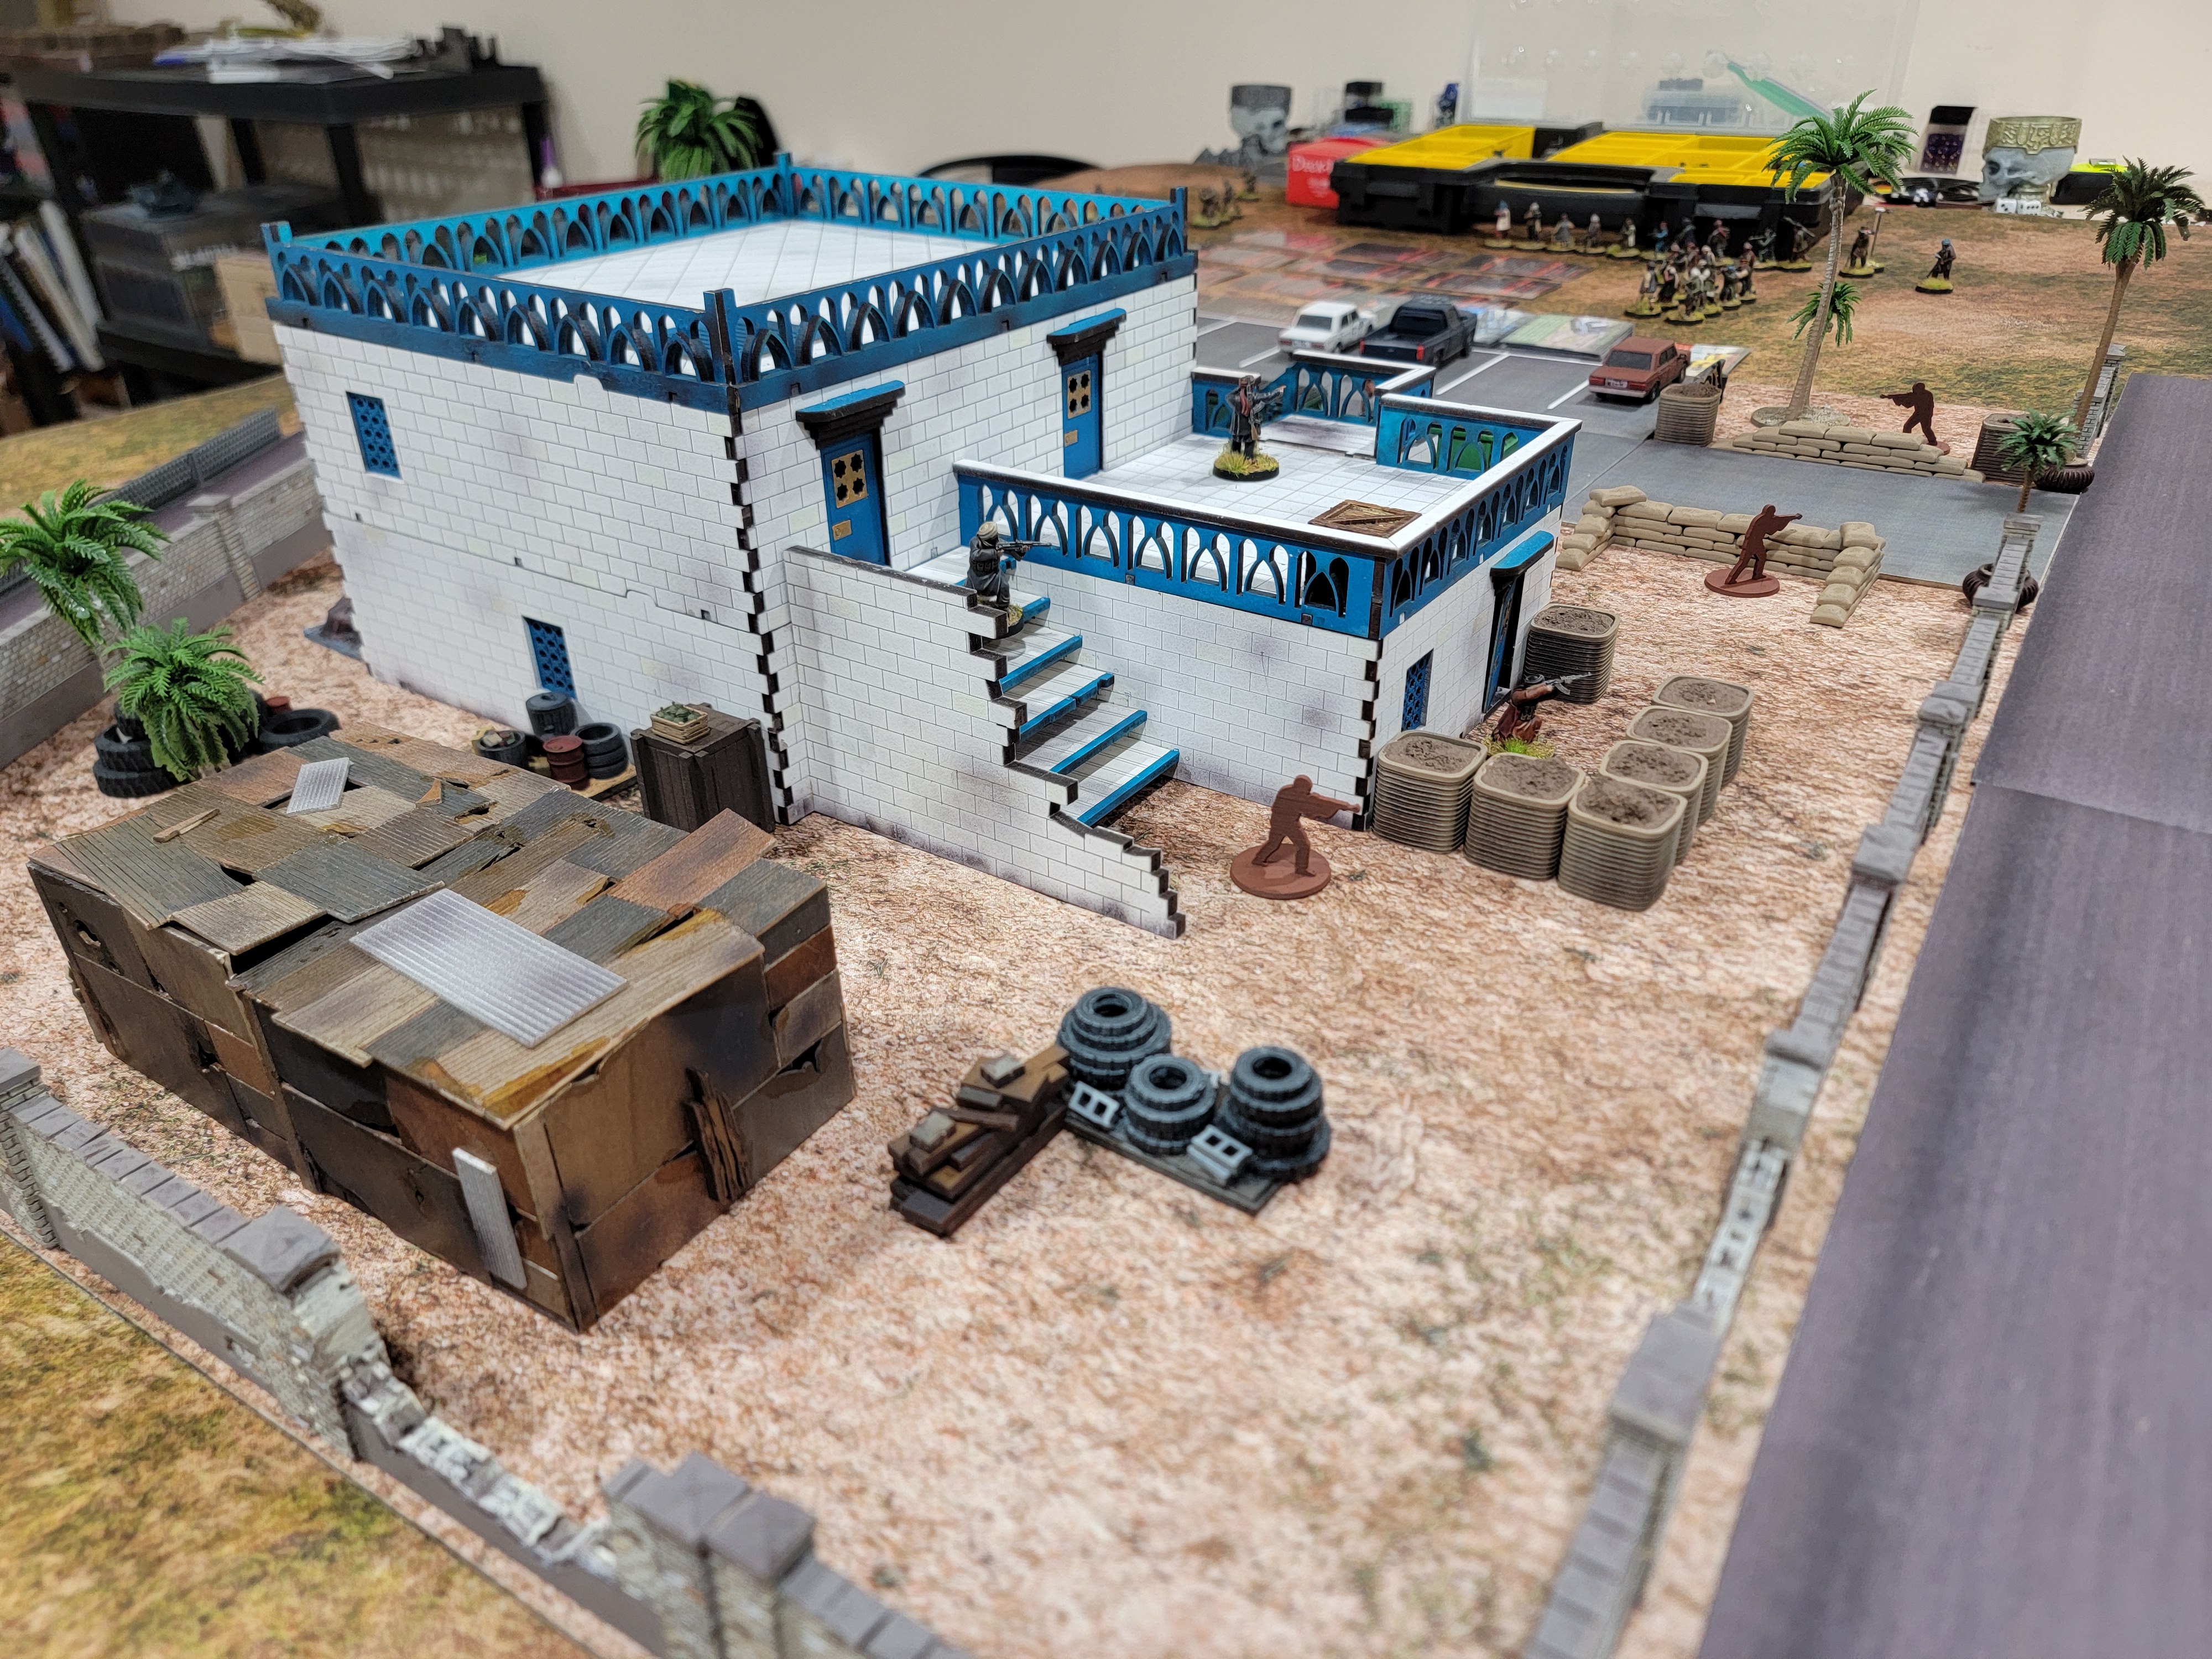
I wish I had taken a better photo, but here’s the end of our first deployment, which placed half our force on the board. We took out the back door guard (I ruled it could be a hard shot from one of the guys still in the helicopter), then setup for the enemy response. On the right, my son positioned an LMG, and on the left we had a rifleman on overwatch. The dice is marking the relative position of the helicopter, which could provide suppressive fire each turn.
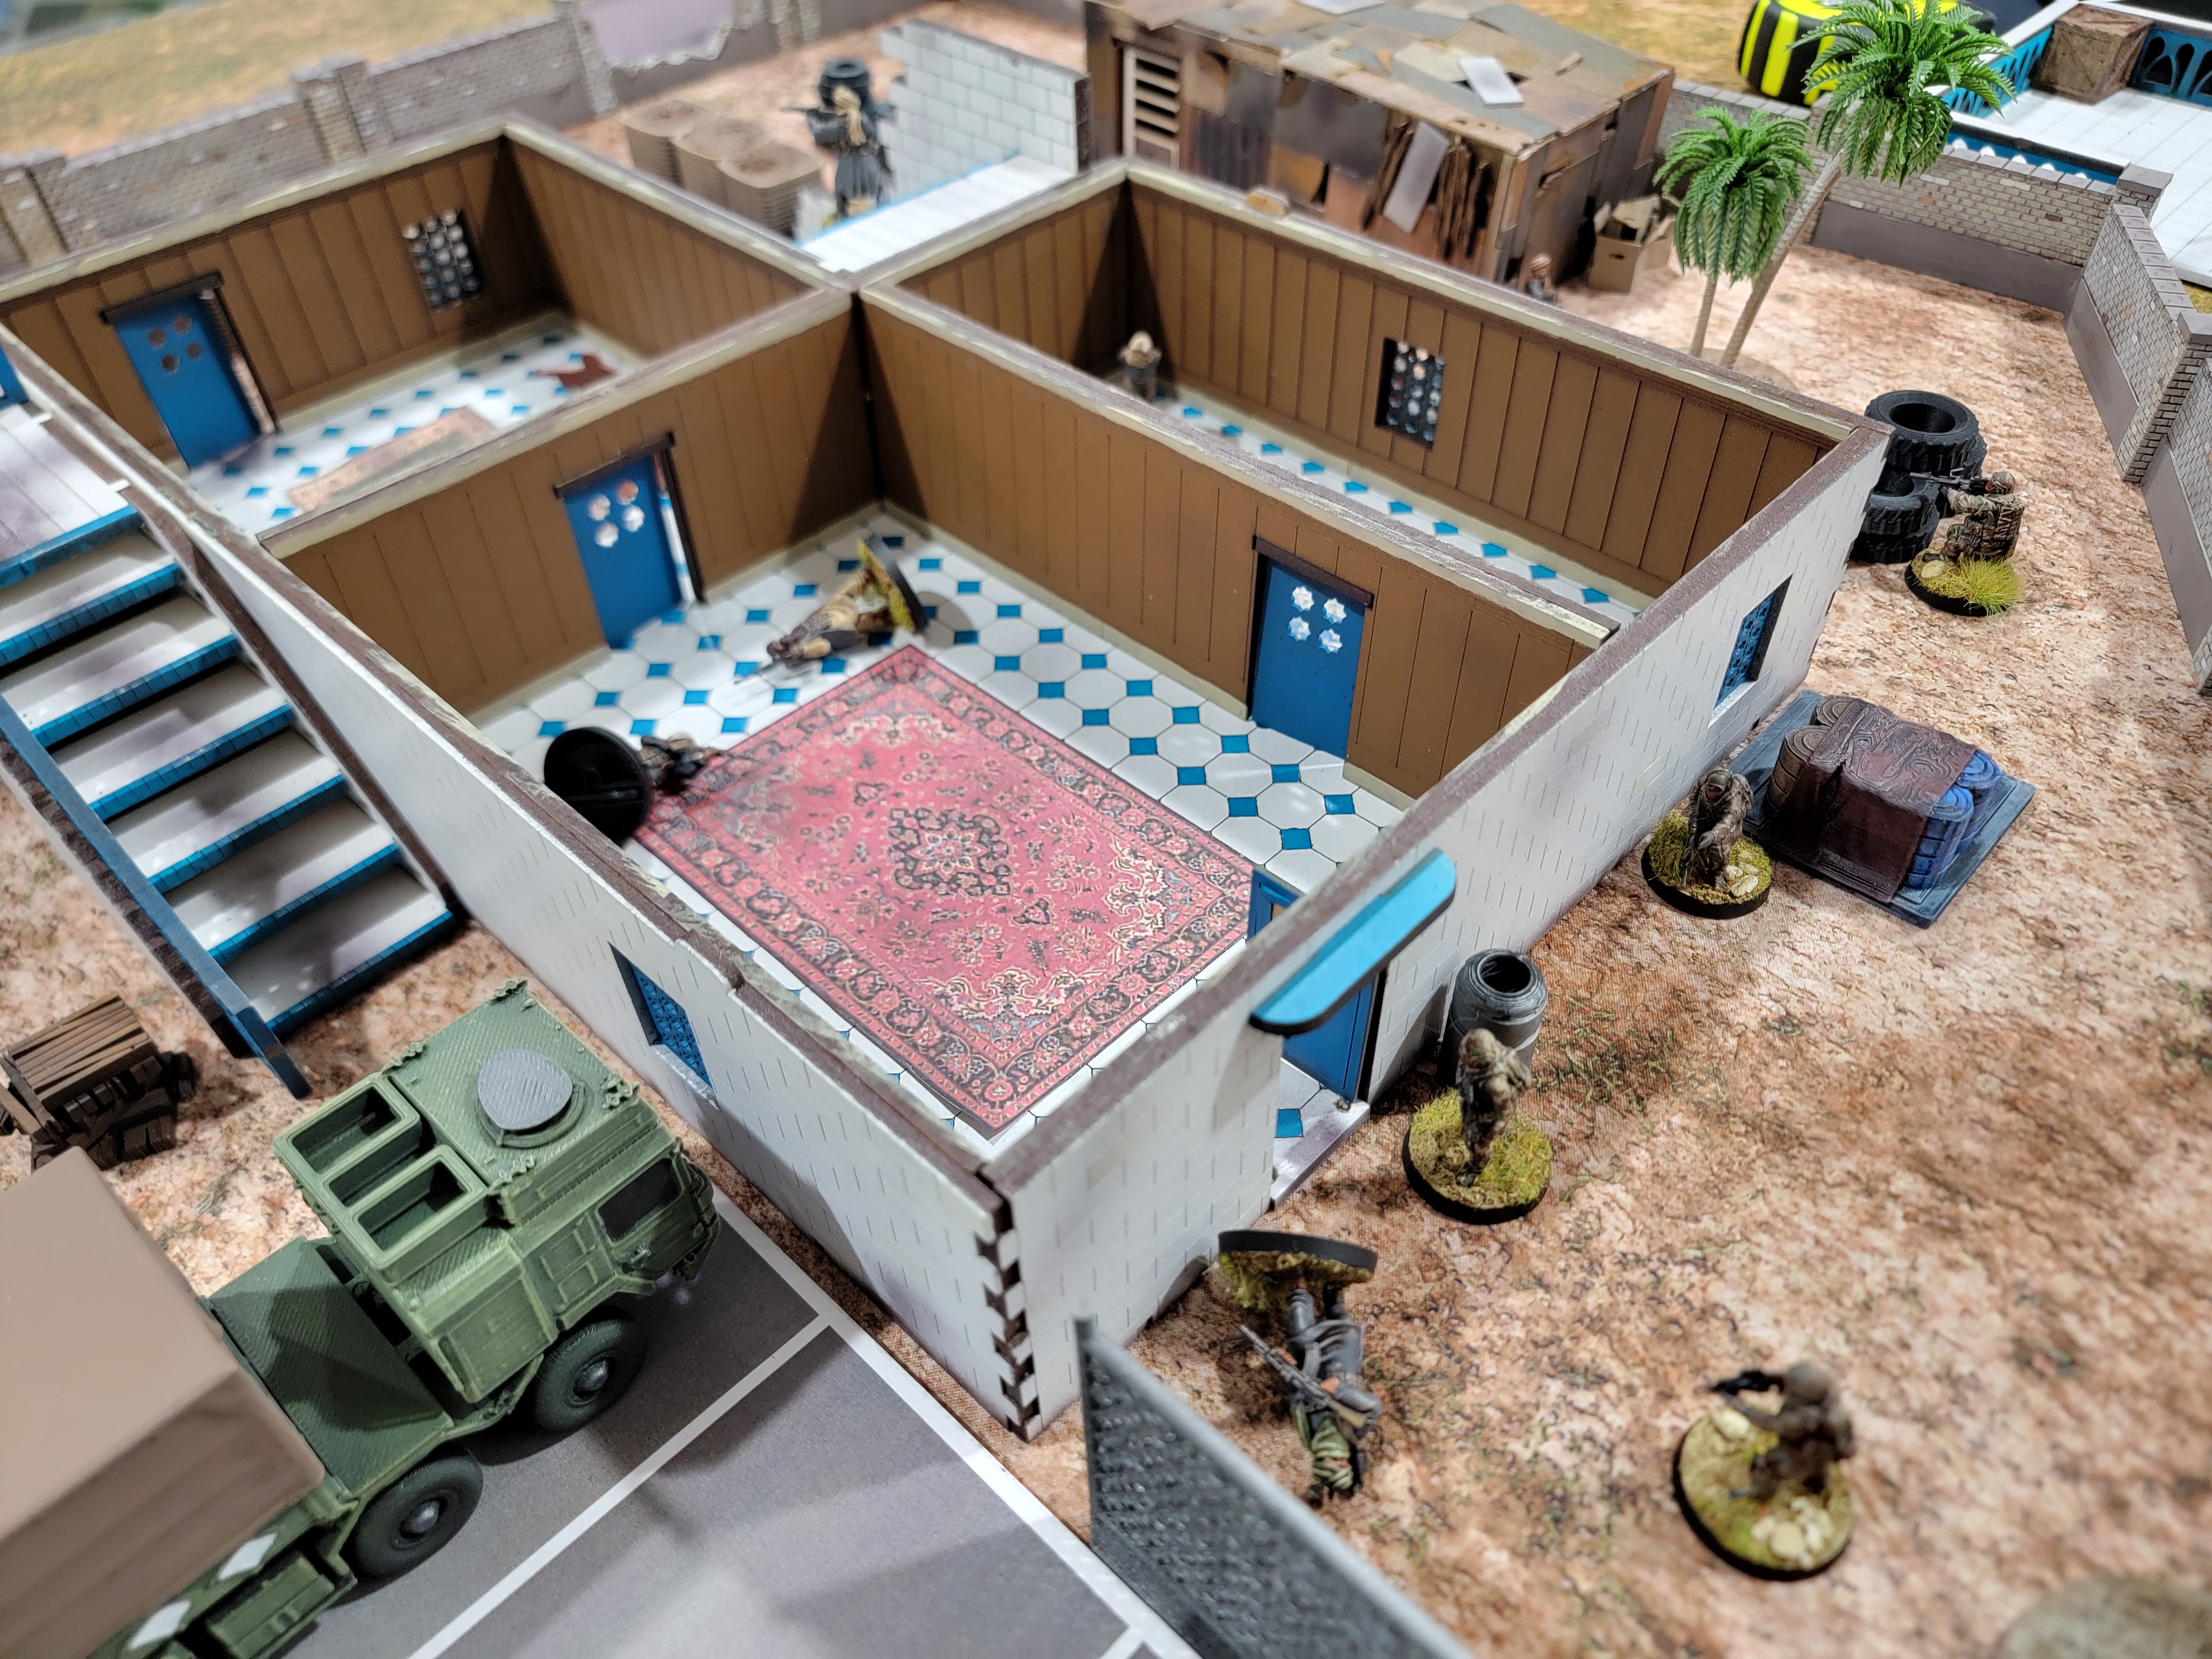
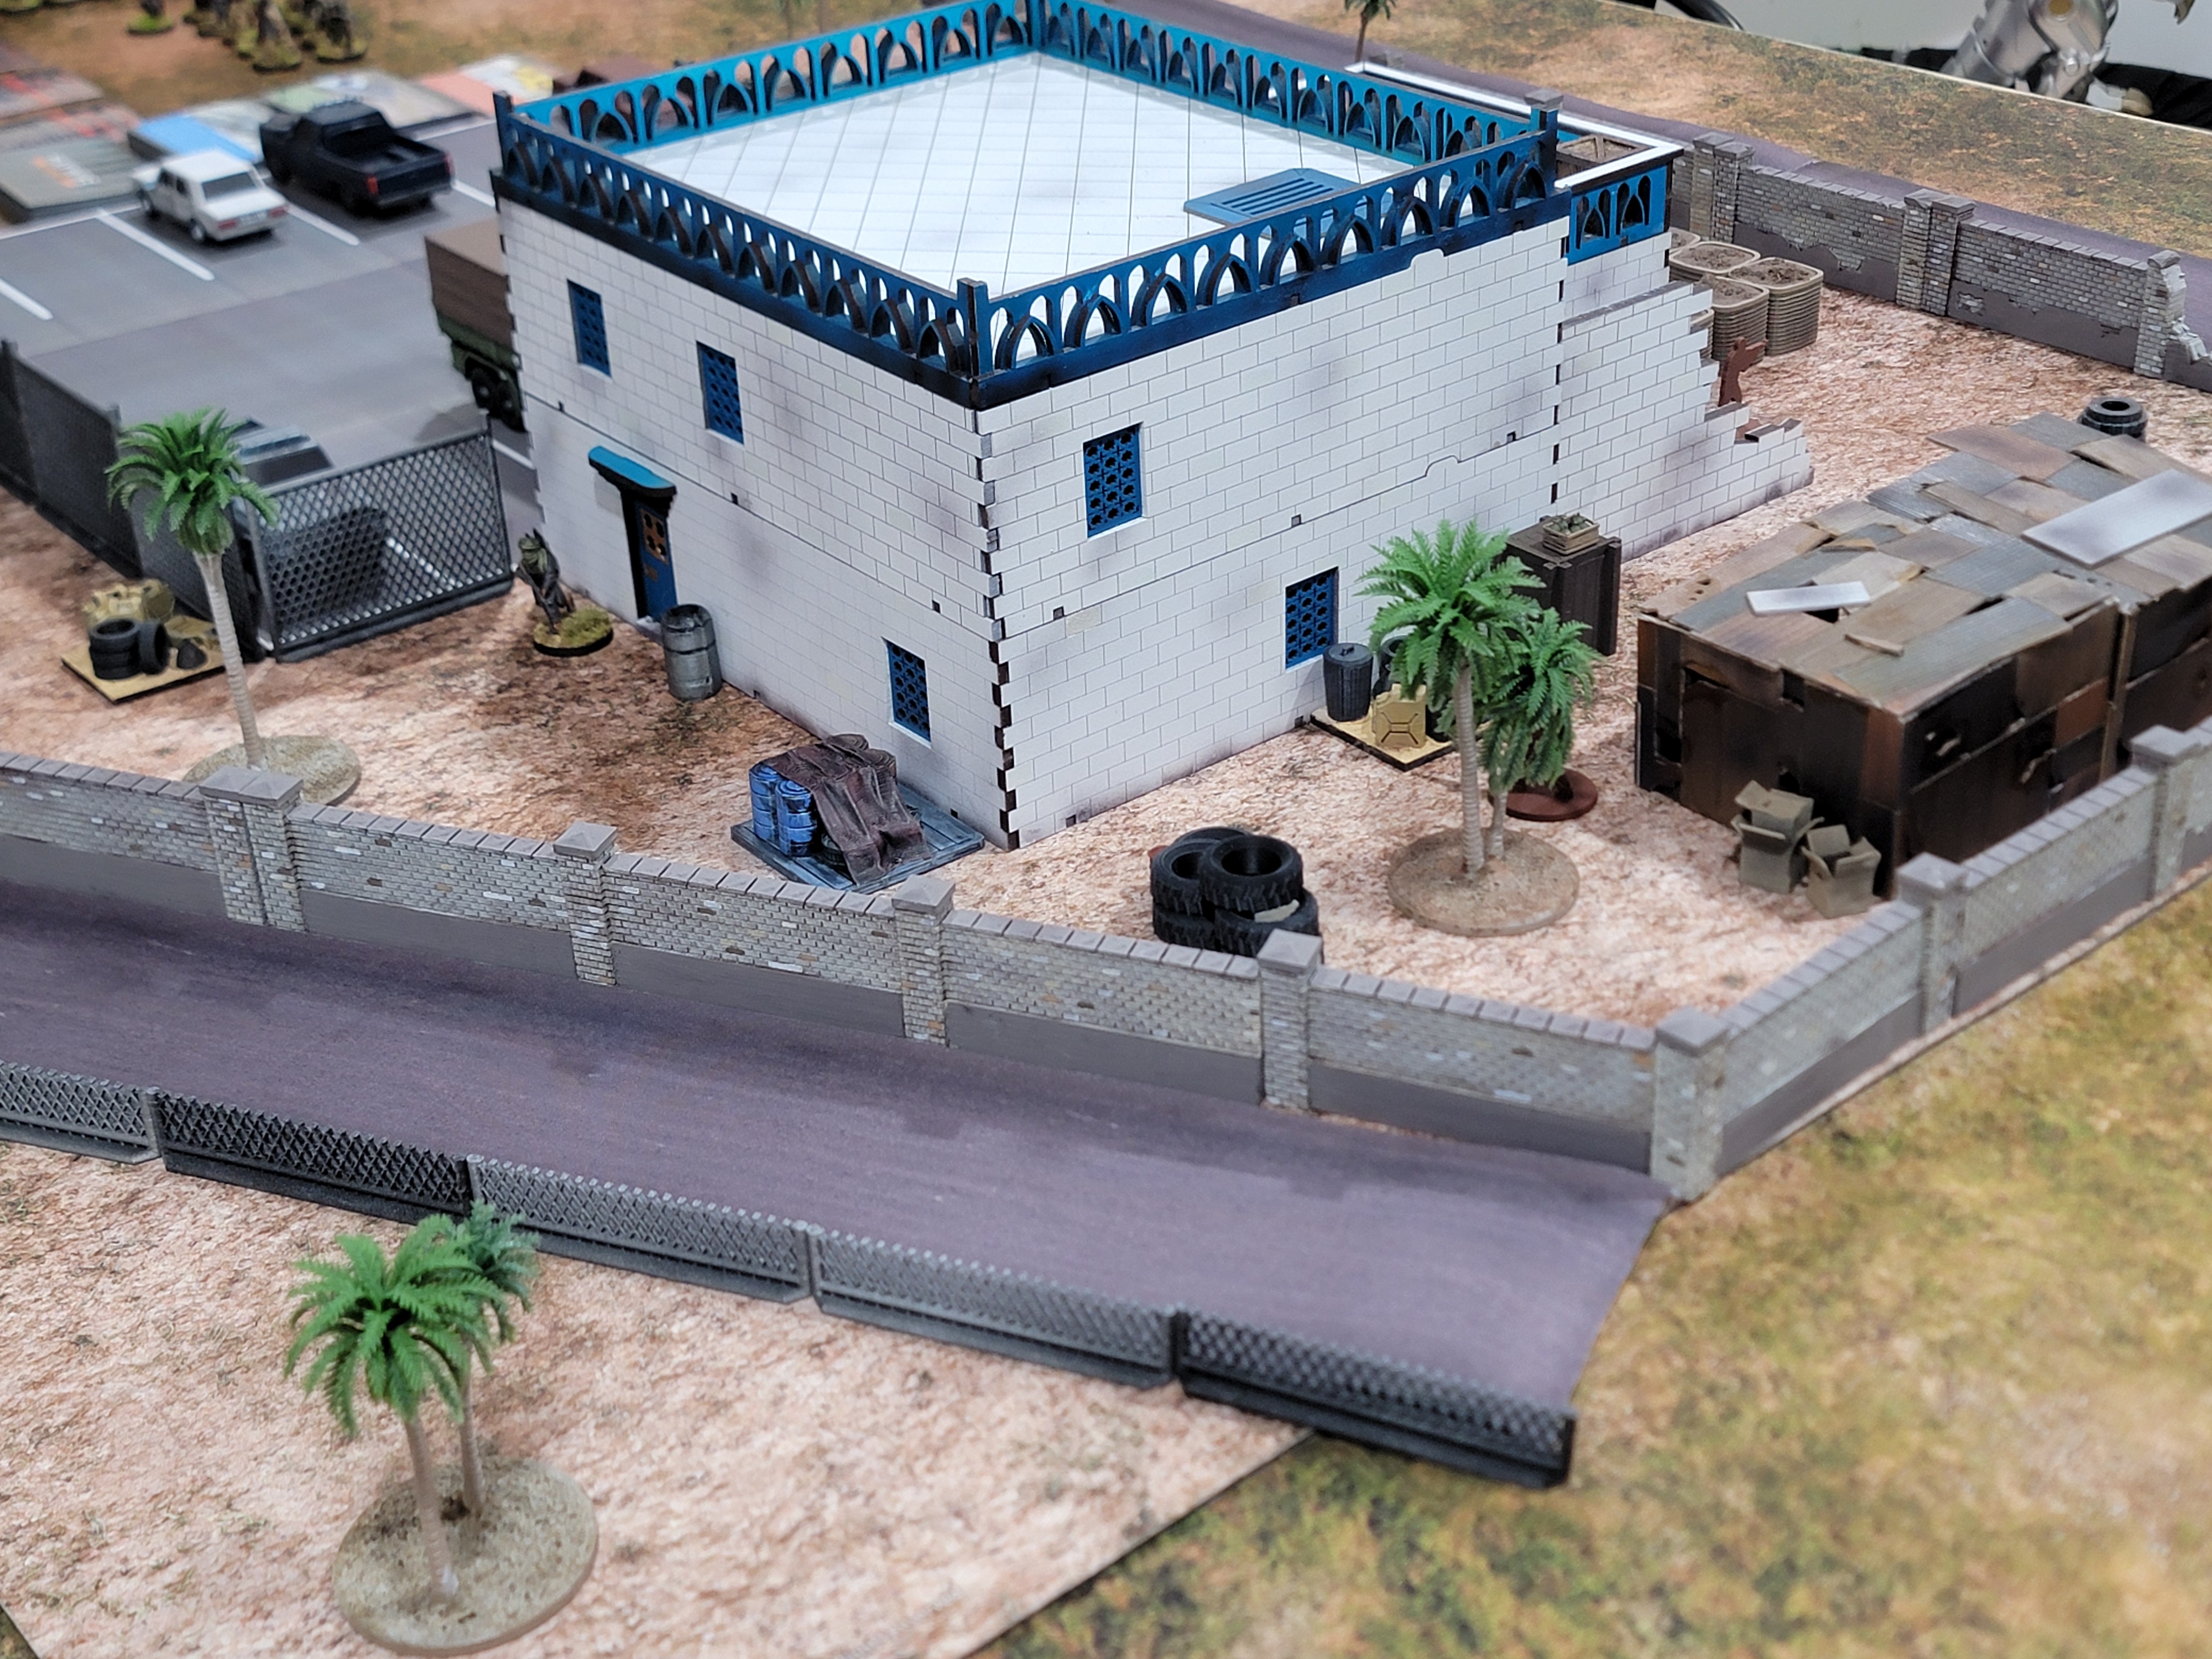
We blew open the door and spawned the troops inside, which we swiftly dispatched. They actually got the drop on us when we opened the door, but missed—close call. We setup and waited for the rest of our team to rope down before moving in and realizing we had created an awkward situation. You can see there’s a room between us and the front door of the building. That was the route by which most enemies were going to come rushing in.
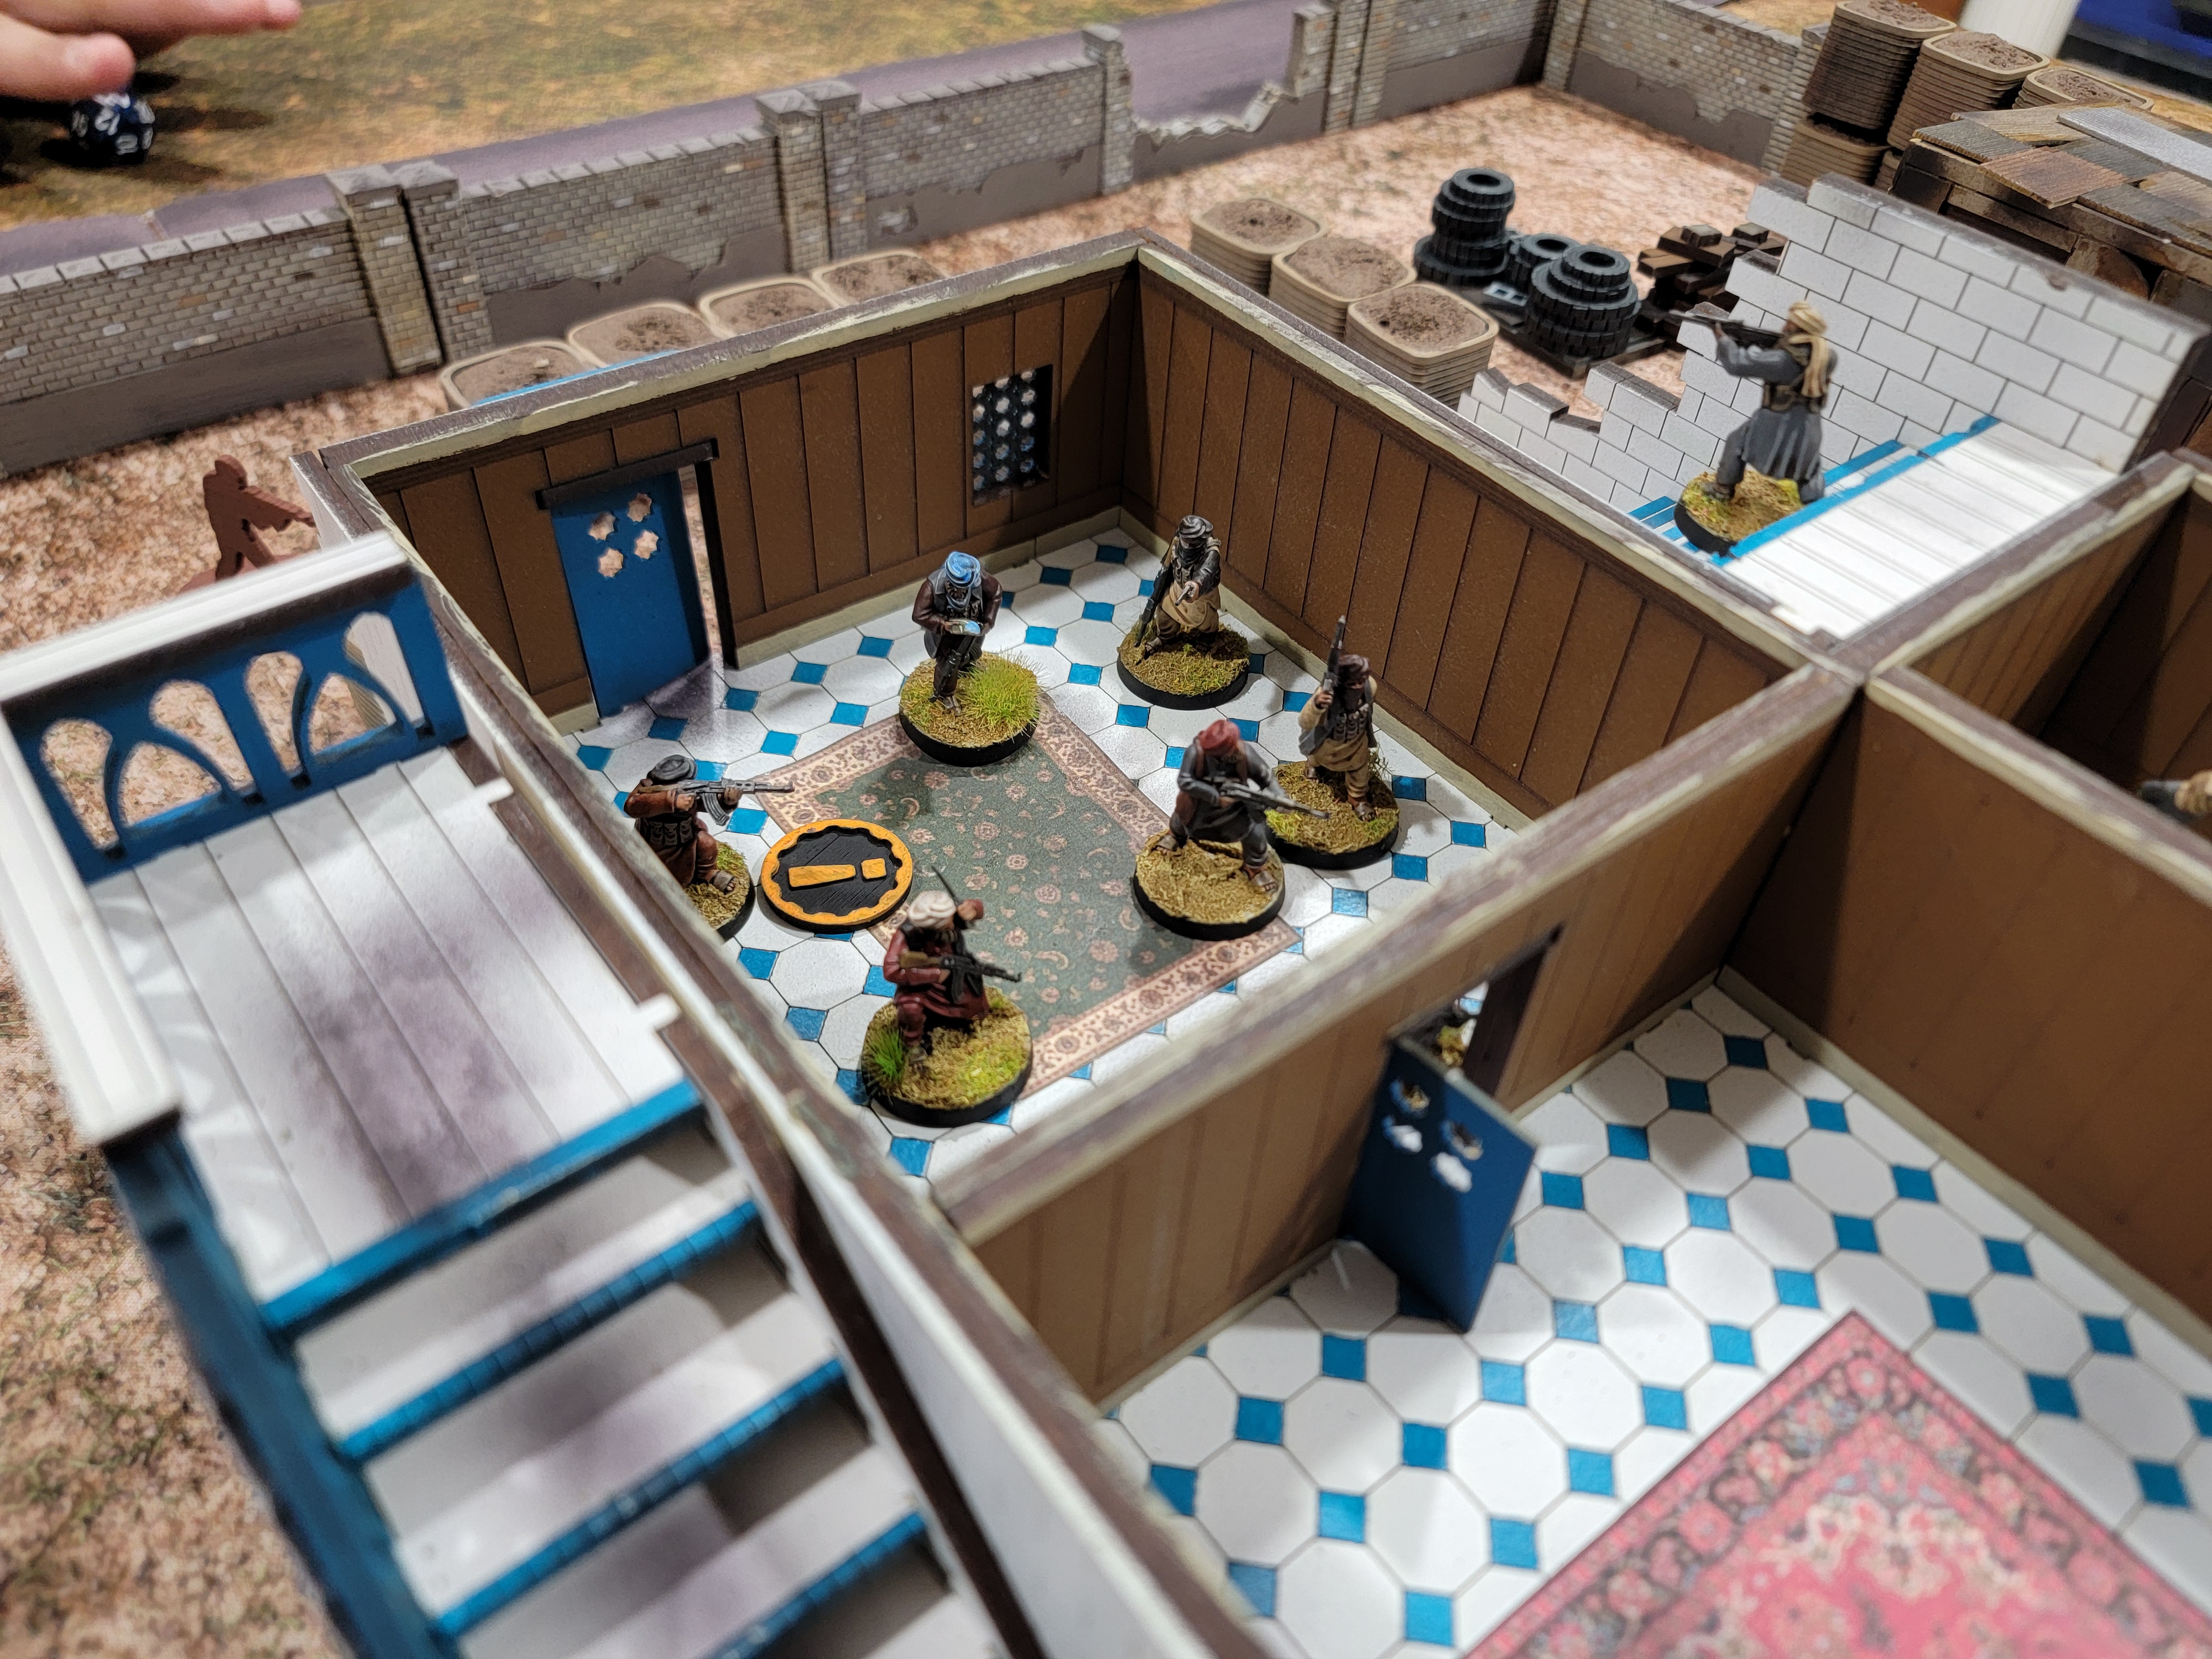
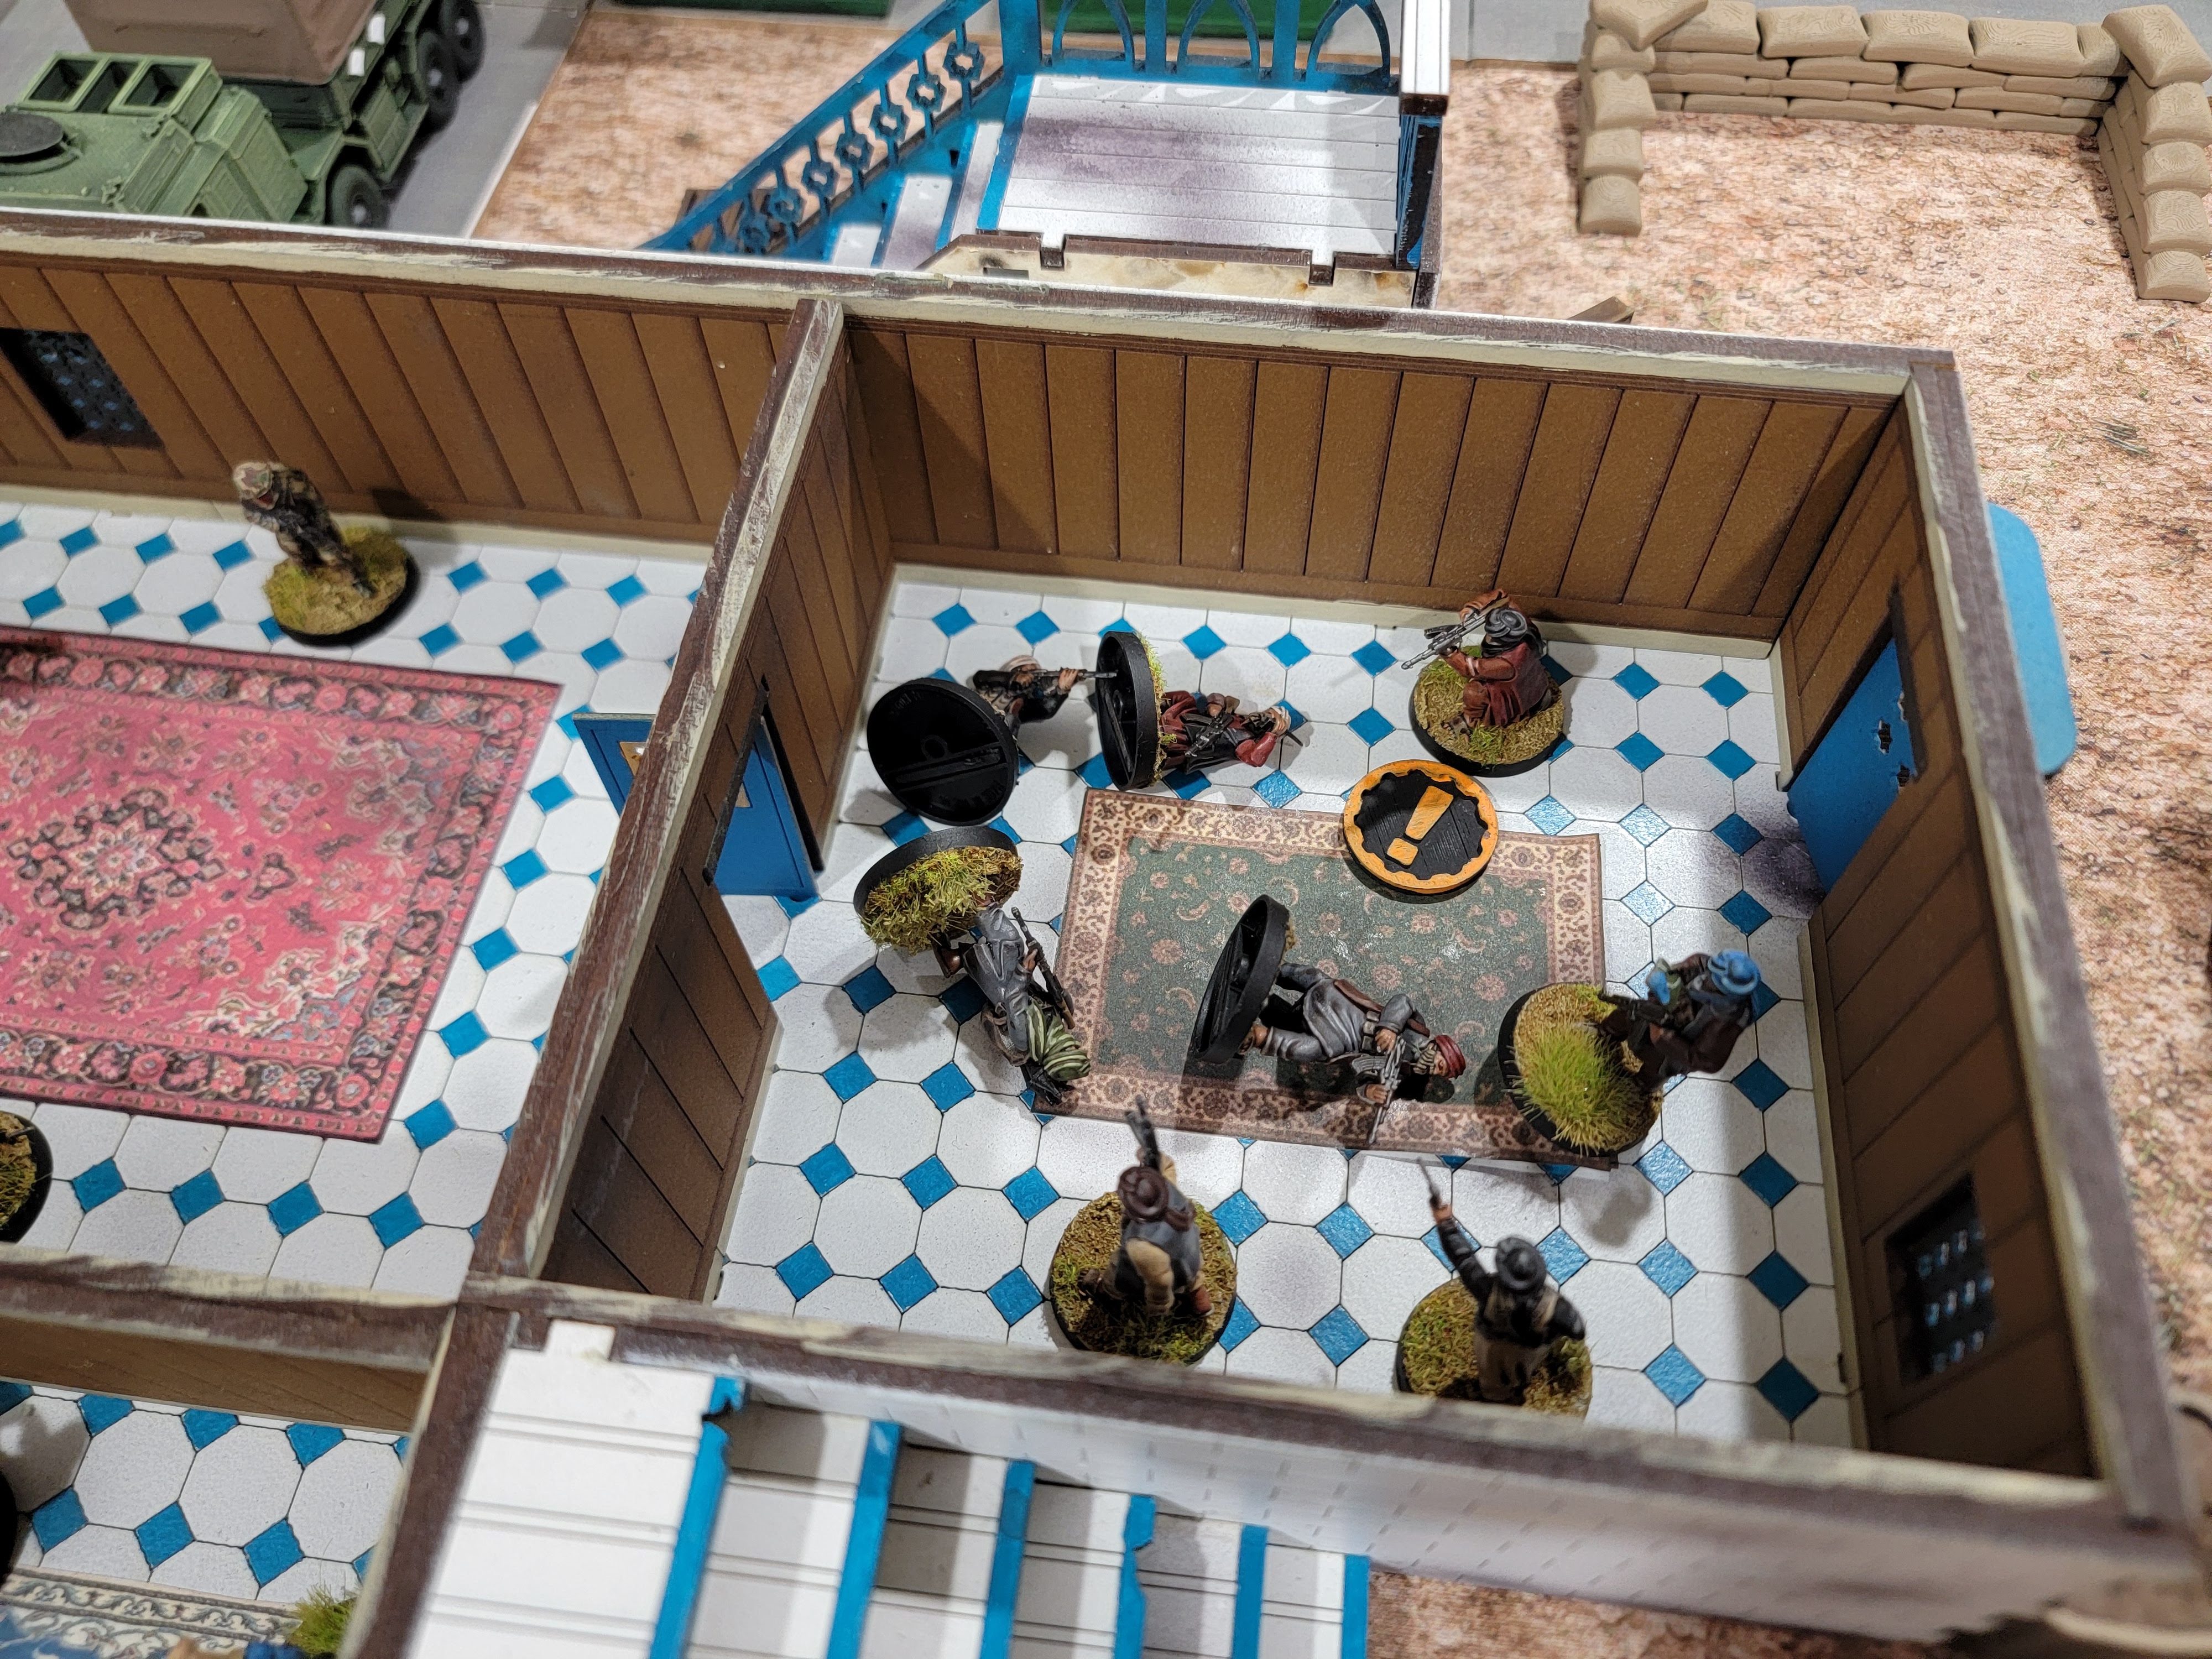
The foyer filled with enemy troops and, well, how do you handle a room full of enemies? Grenades. You throw grenades. Lots of them. Bless my grenadier: he made his paycheck this day. At the same time, we called for the drone strikes on further enemies outside, which took out two more groups and bought us the time we needed.
That’s not to say we got off scot free. We took a few hits, but managed not to lose anyone. Having two medics on hand proved helpful. After clearing the bulk of the enemy forces, we setup and kicked down the final door, flowing into the room to subdue the enemy in close combat.
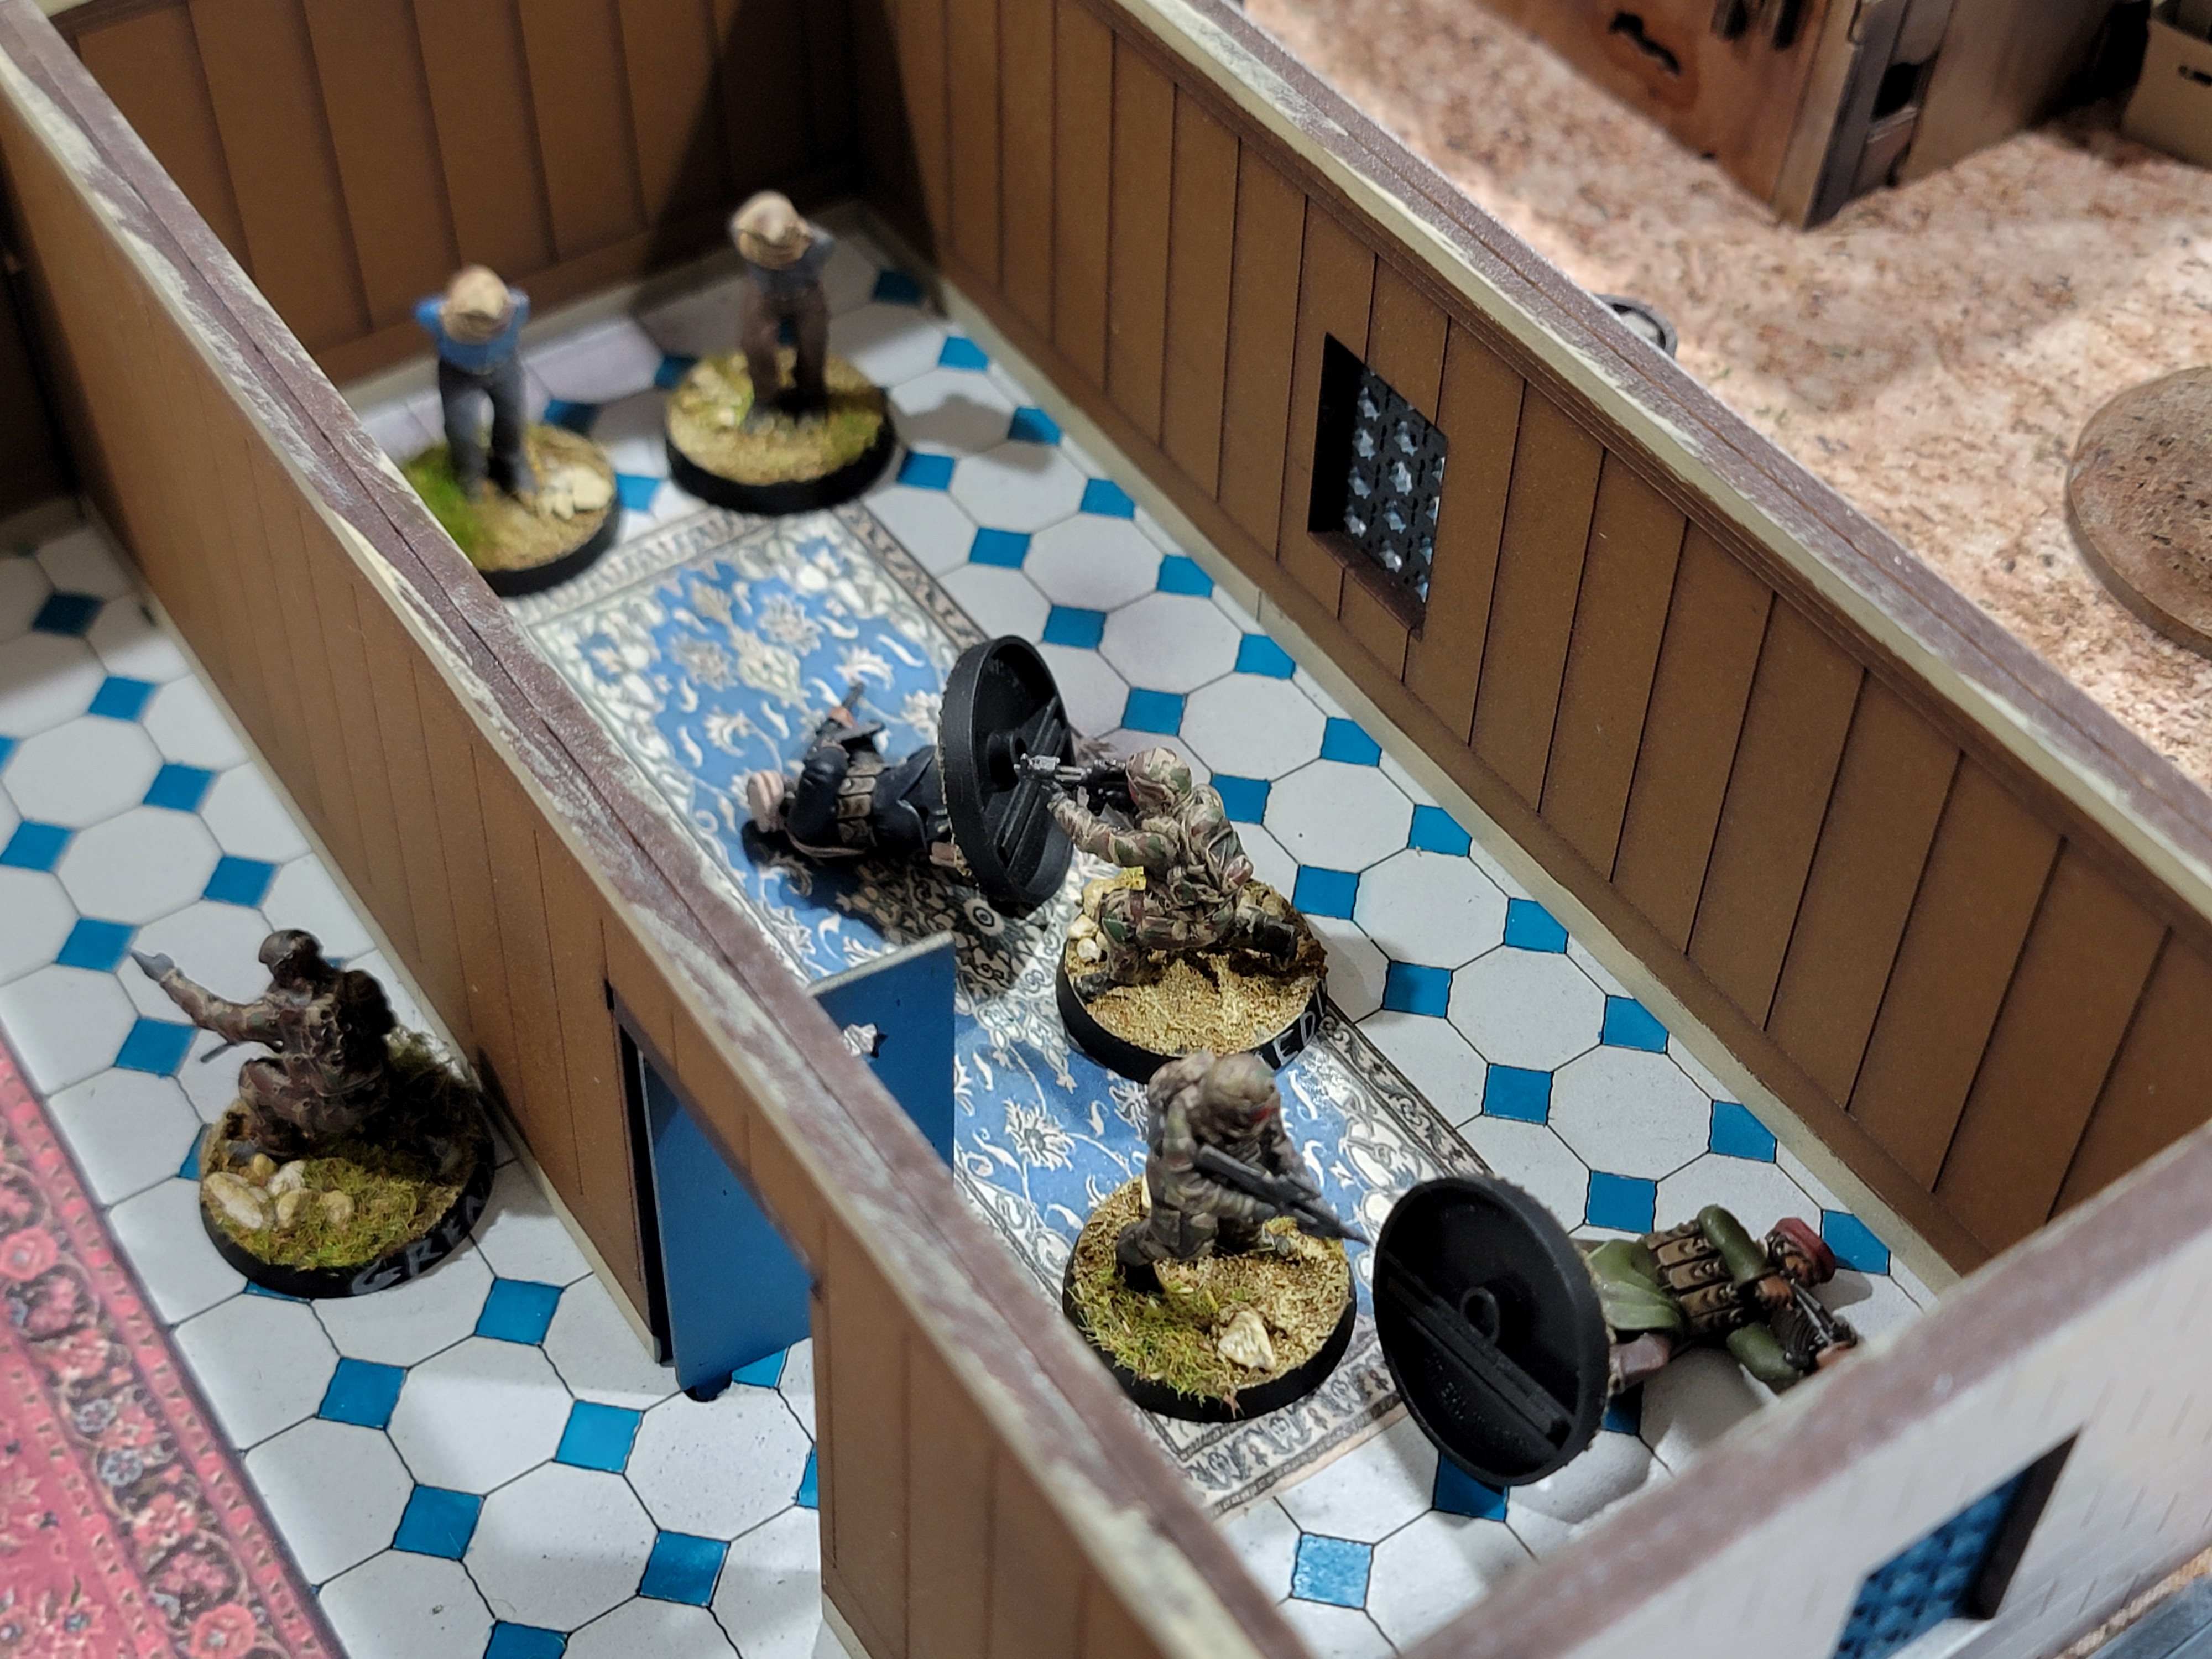
What’s interesting here is that we actively chose not to shoot. Rolling a 1 on a D20 when shooting near a civilian makes you hit and kill the civilian. By my ruling, this includes hostages. We decided to kick down the door, risk the enemy fire, and rush in to melee them. It worked, but just barely. In hindsight, we should have setup to throw a flashbang. At least luck was on our side.

I wasn’t sure if we could rope back up to the helicopter—nothing in the rules says you can’t, but we had total control of the situation by this point so we went ahead and walked the hostages off the board just to get a victory shot.
It’s odd to type all this out. I think it took me longer to get through typing this than it did to play the match. Aside from the usual 10ish minutes of deliberating before the mission, the mission itself played very smoothly and quickly. I think it was maybe 20-25 minutes long. Everything just lined up so well that we cruised right on through.
That’s not to say it was disappointing. The narrative alone was really cool. I can’t say I’ve gotten to rope in off a helicopter and kick down a few doors in a wargame before. This made for a very cool, very unique experience. I almost wonder how the game would have played if I gave someone control over the insurgents. There is, perhaps, a fun event game in this. I’ve been mulling that idea, but it’s one I’ll return to after we finish our campaign.
Five games down, five to go!





Leave a Reply