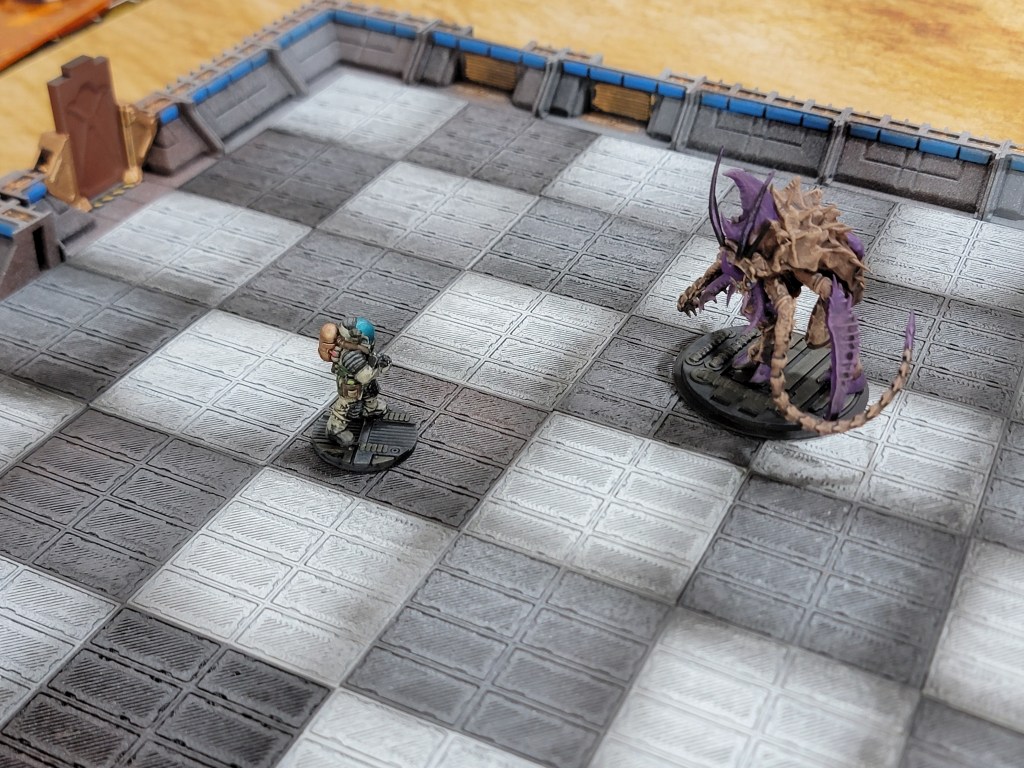
As part of preparation to eventually play Scrapjacks, I’ve been working on terrain. The key thing about terrain in Scrapjacks is that it takes place on a square one foot tile. This is a clever way to minimize the amount that you need to “explore” a space ship. Each tile is known as a Modular Hab Unit (MHU) and is essentially just a basic building block for all ships in the setting. You explore the ship one MHU at a time and never go backward, meaning you only ever have to prepare one of these tiles.
This is a really cool idea, but my printer doesn’t print 12″ wide tiles!
In comes the OpenLock system, which is a system of using special slots and clips to fit terrain together. It’s a clever idea that allows you to build up square tiles into larger pieces of terrain. It’s also… er… somewhat miserable to use.
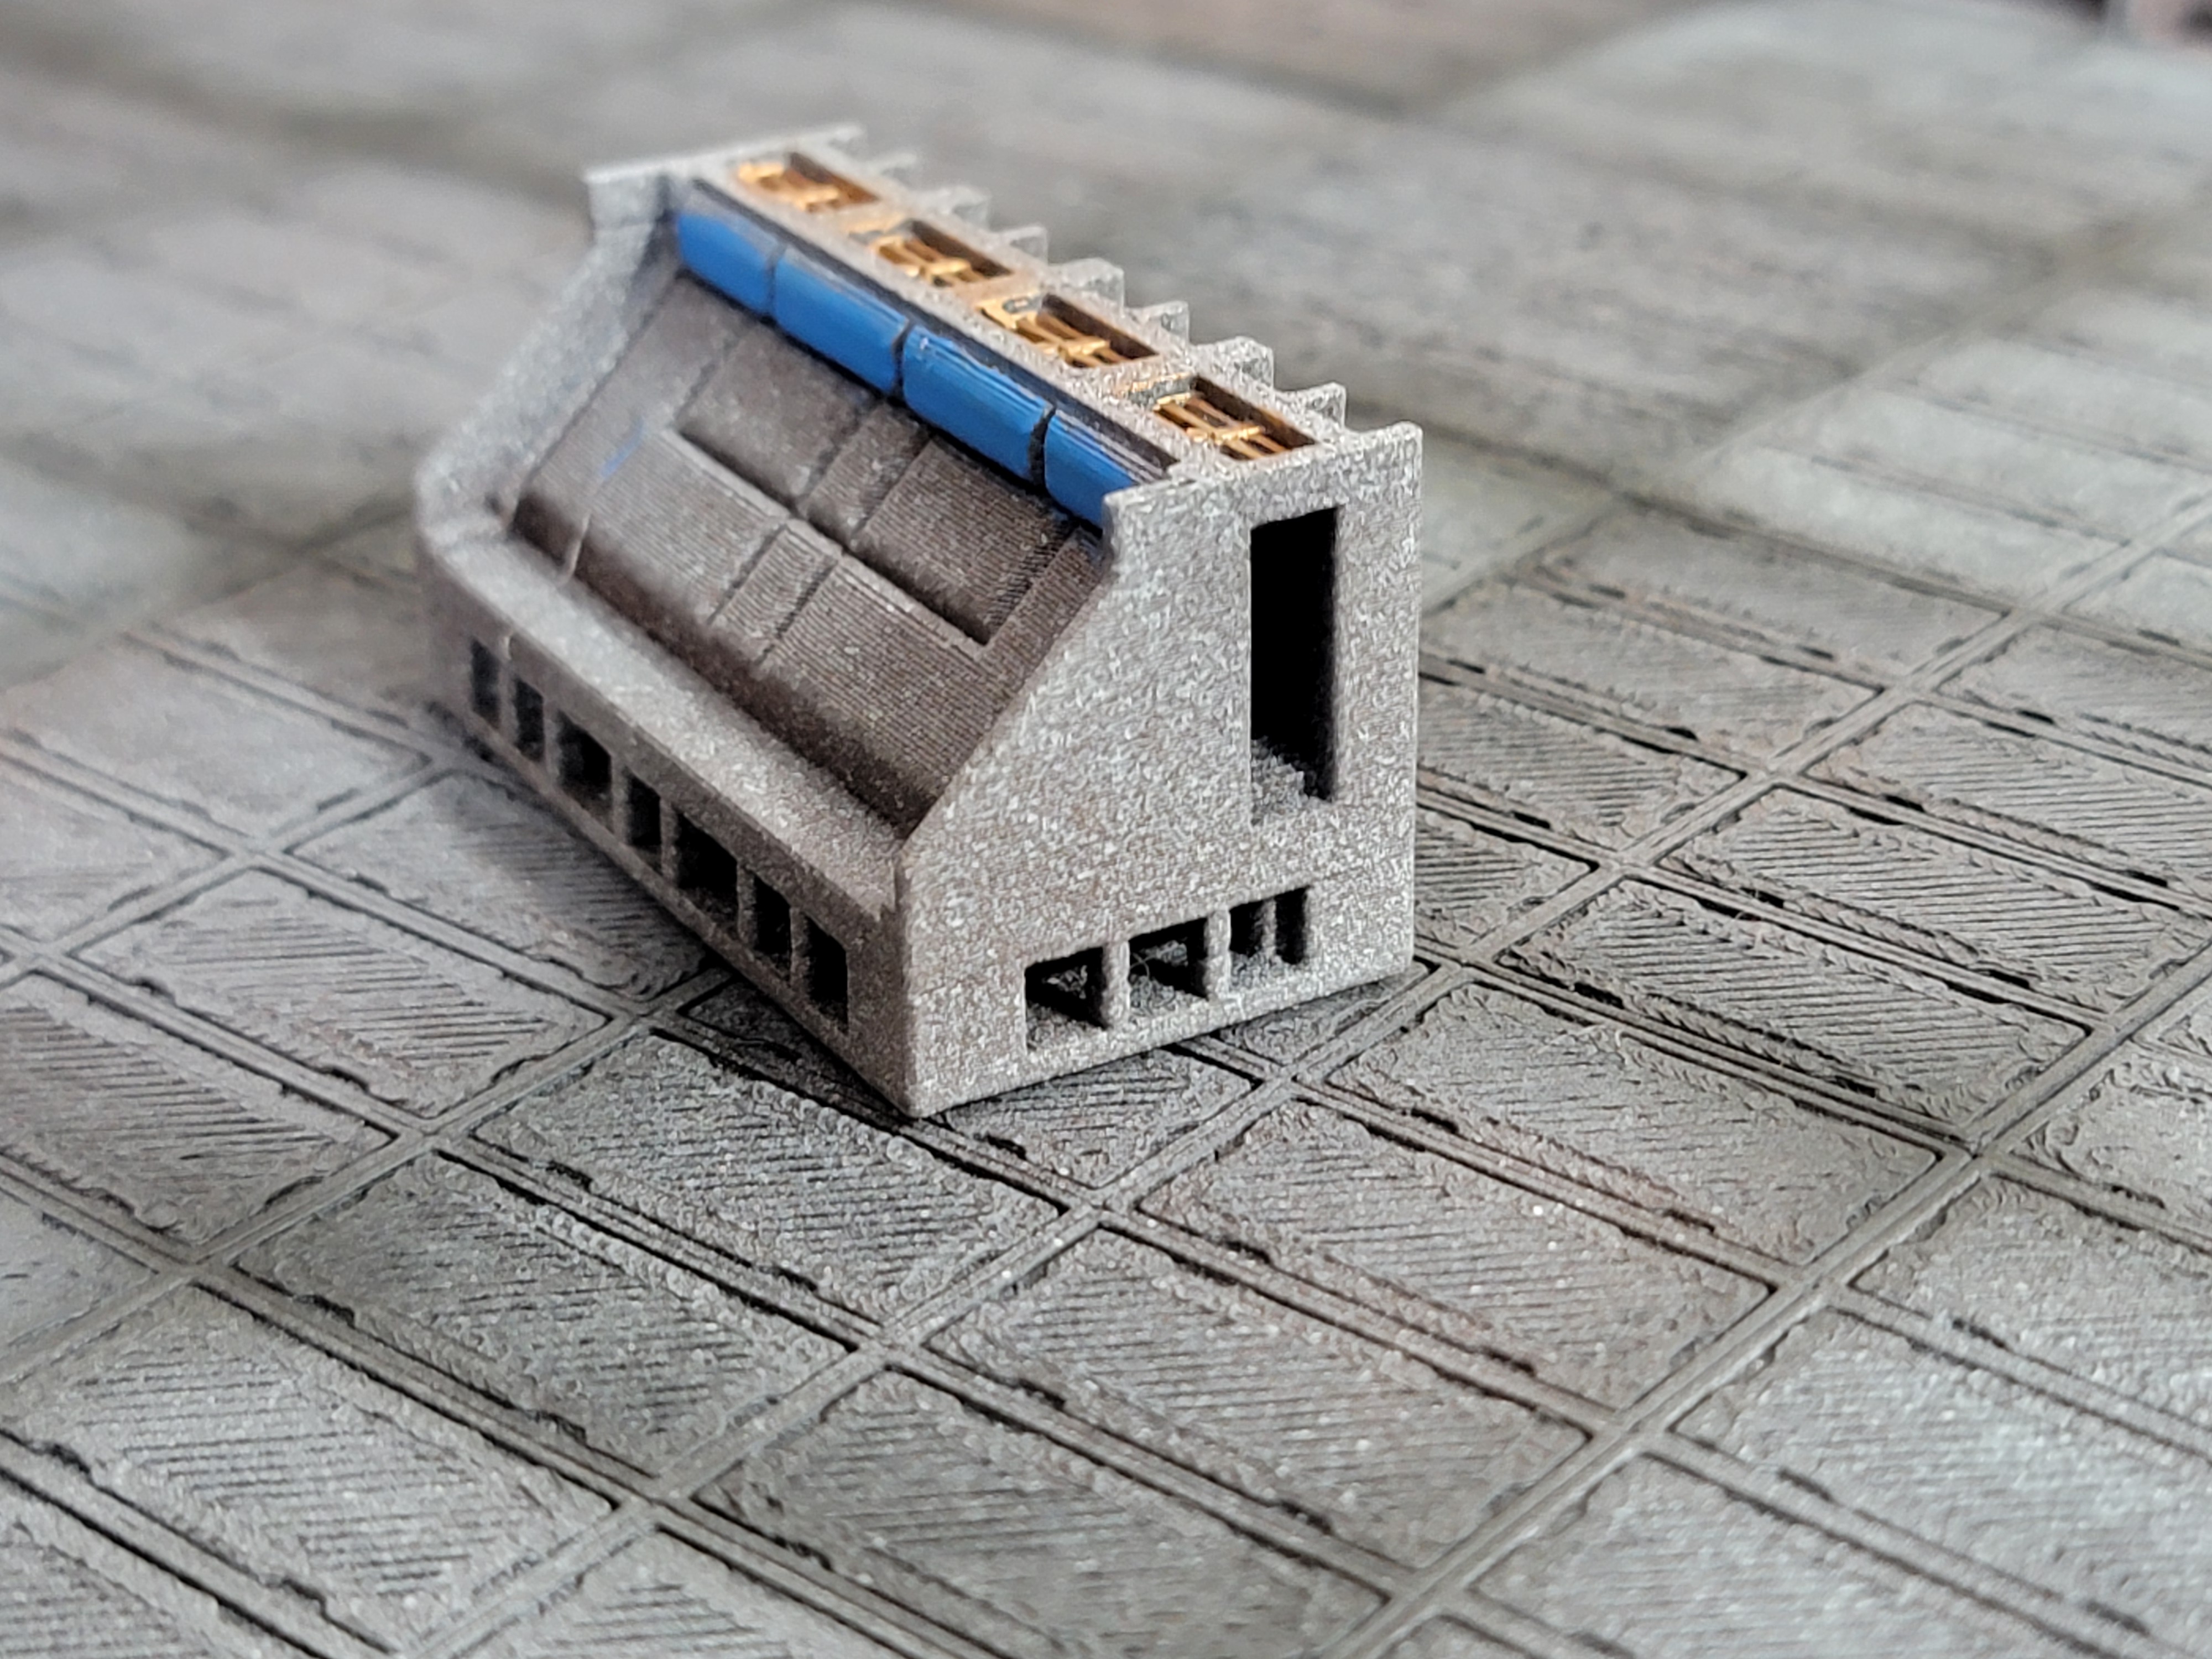
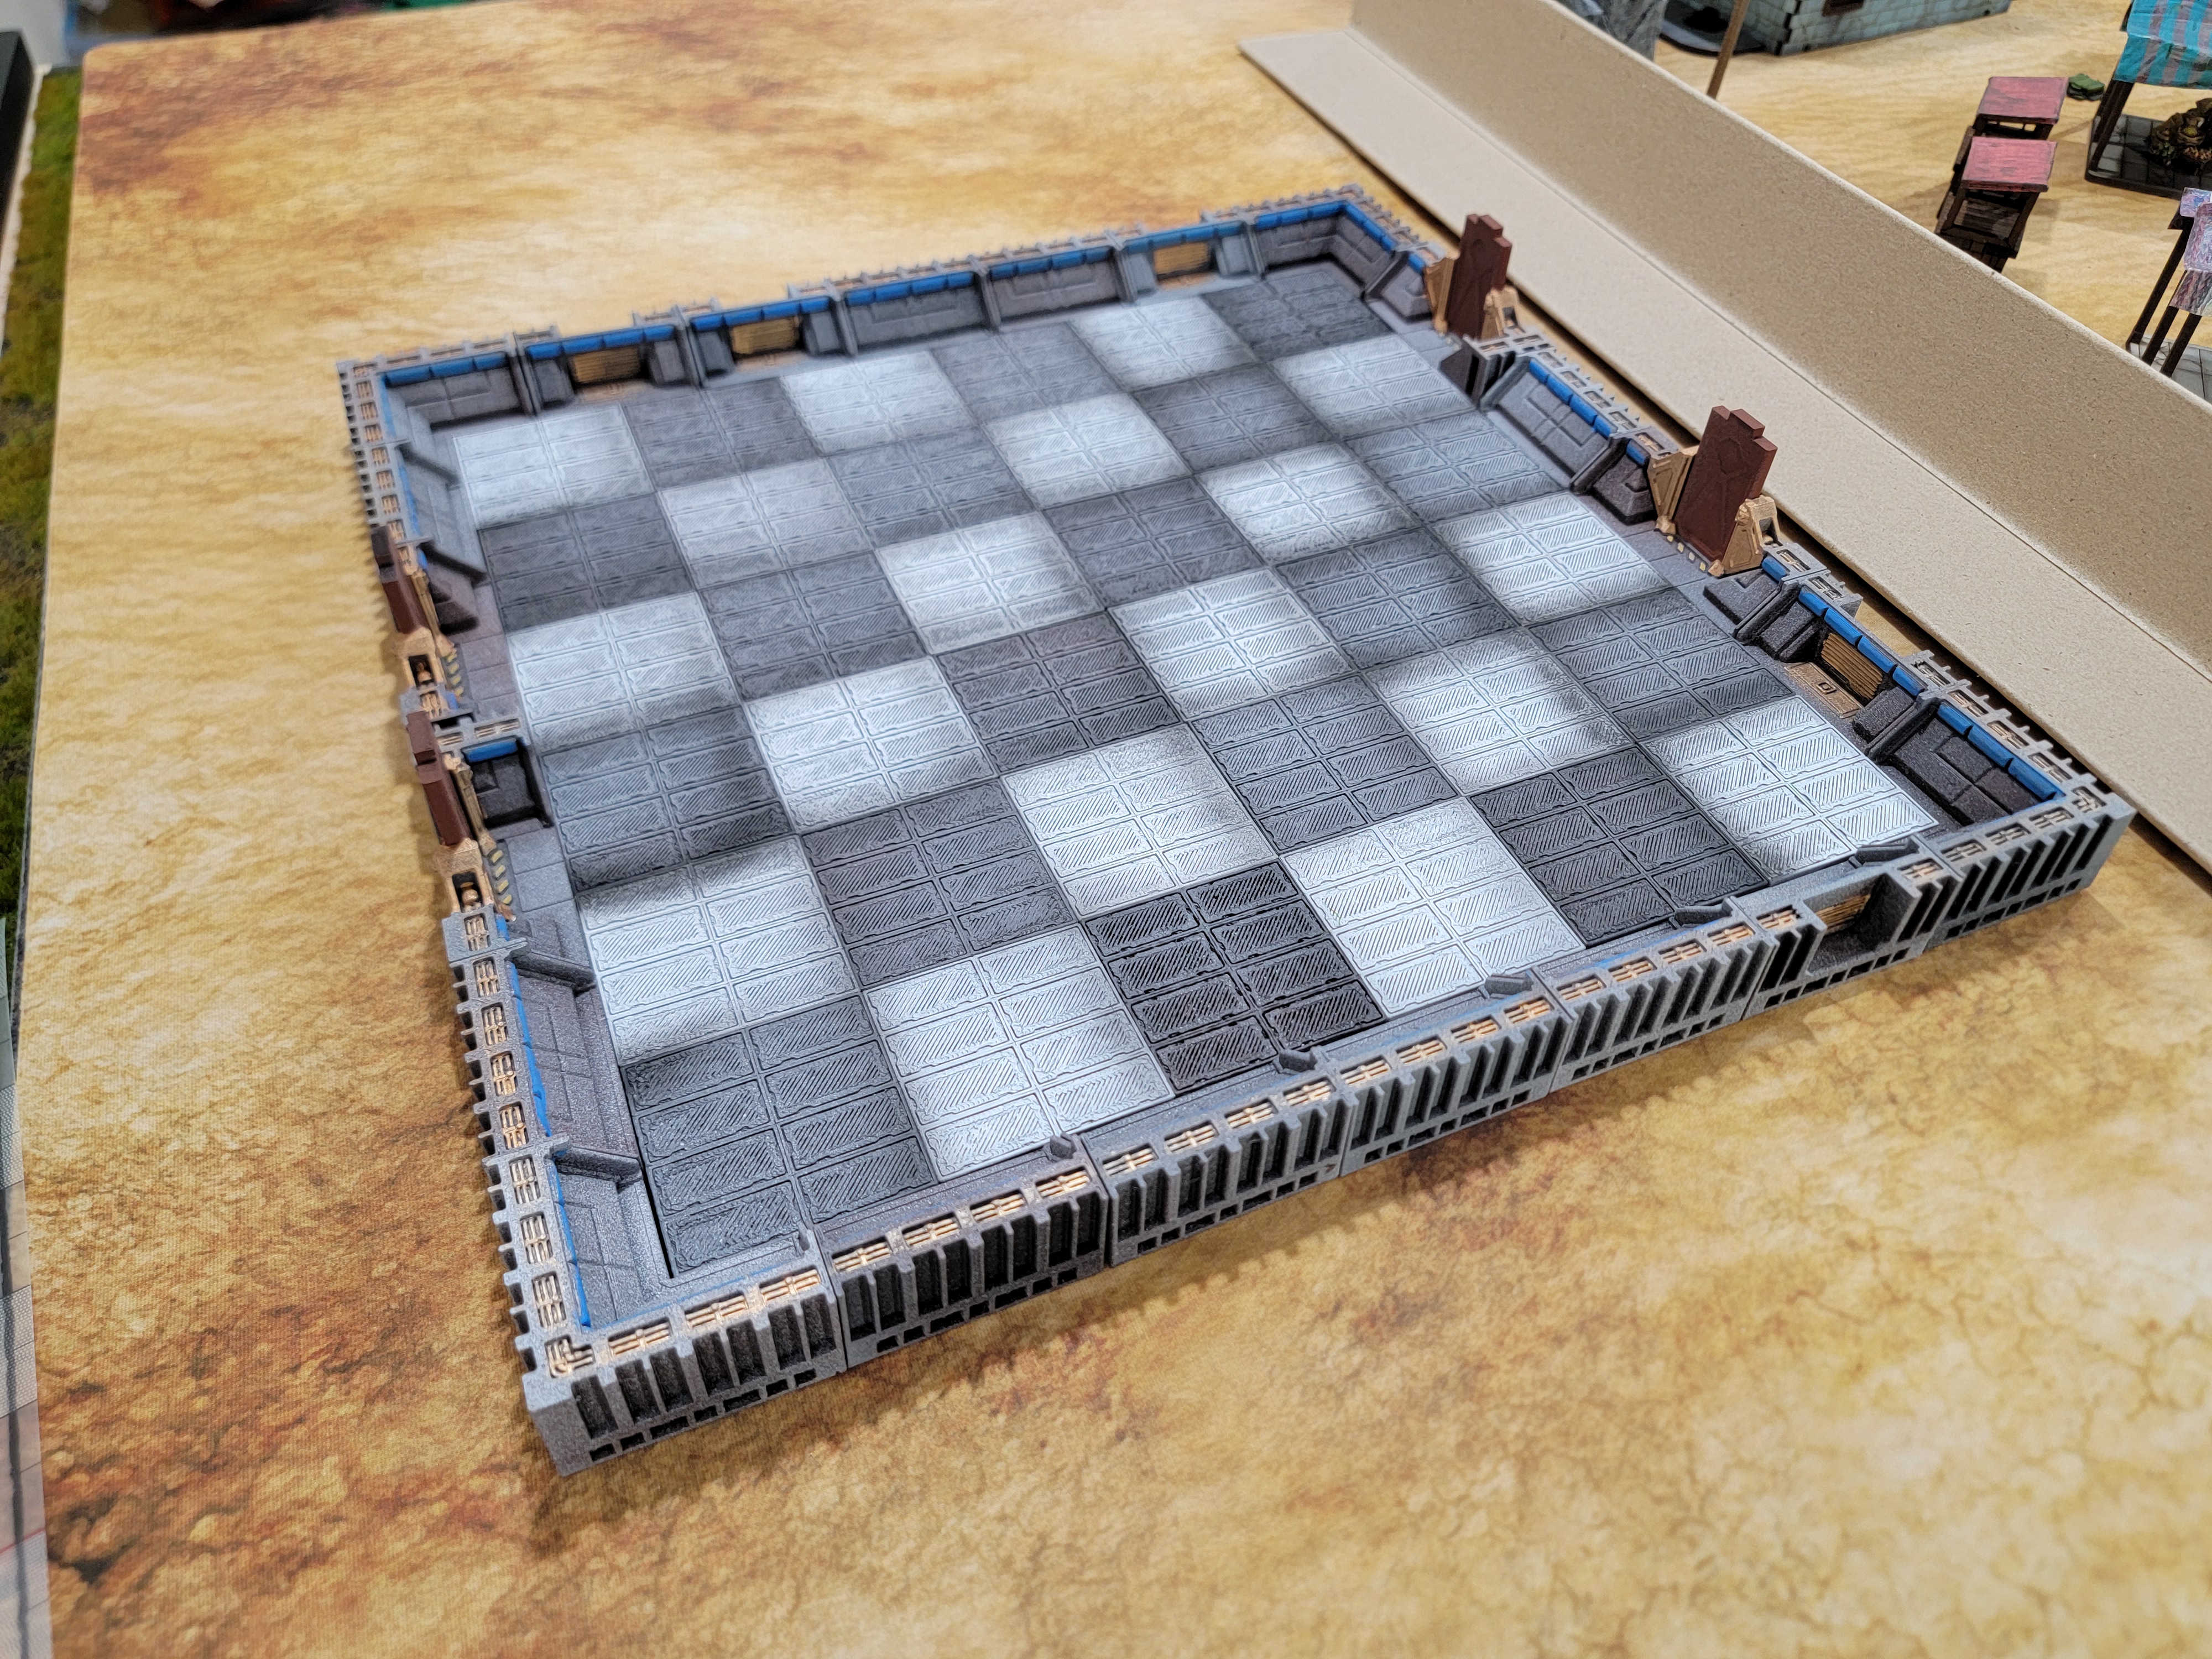
See, there’s two slots on the side of this piece right here. The vertical slot prints support free, but the horizontal slots print with supports. You have to clip out those little two bars to be able to insert the clip that will connect it to the next piece (which also has supports to clip). This seems fine, but if you look at this board:
You’ll notice it’s composed of 36 squares. I had to clip the connections for all 36 squares–each one fitting eight clips. This took forever.
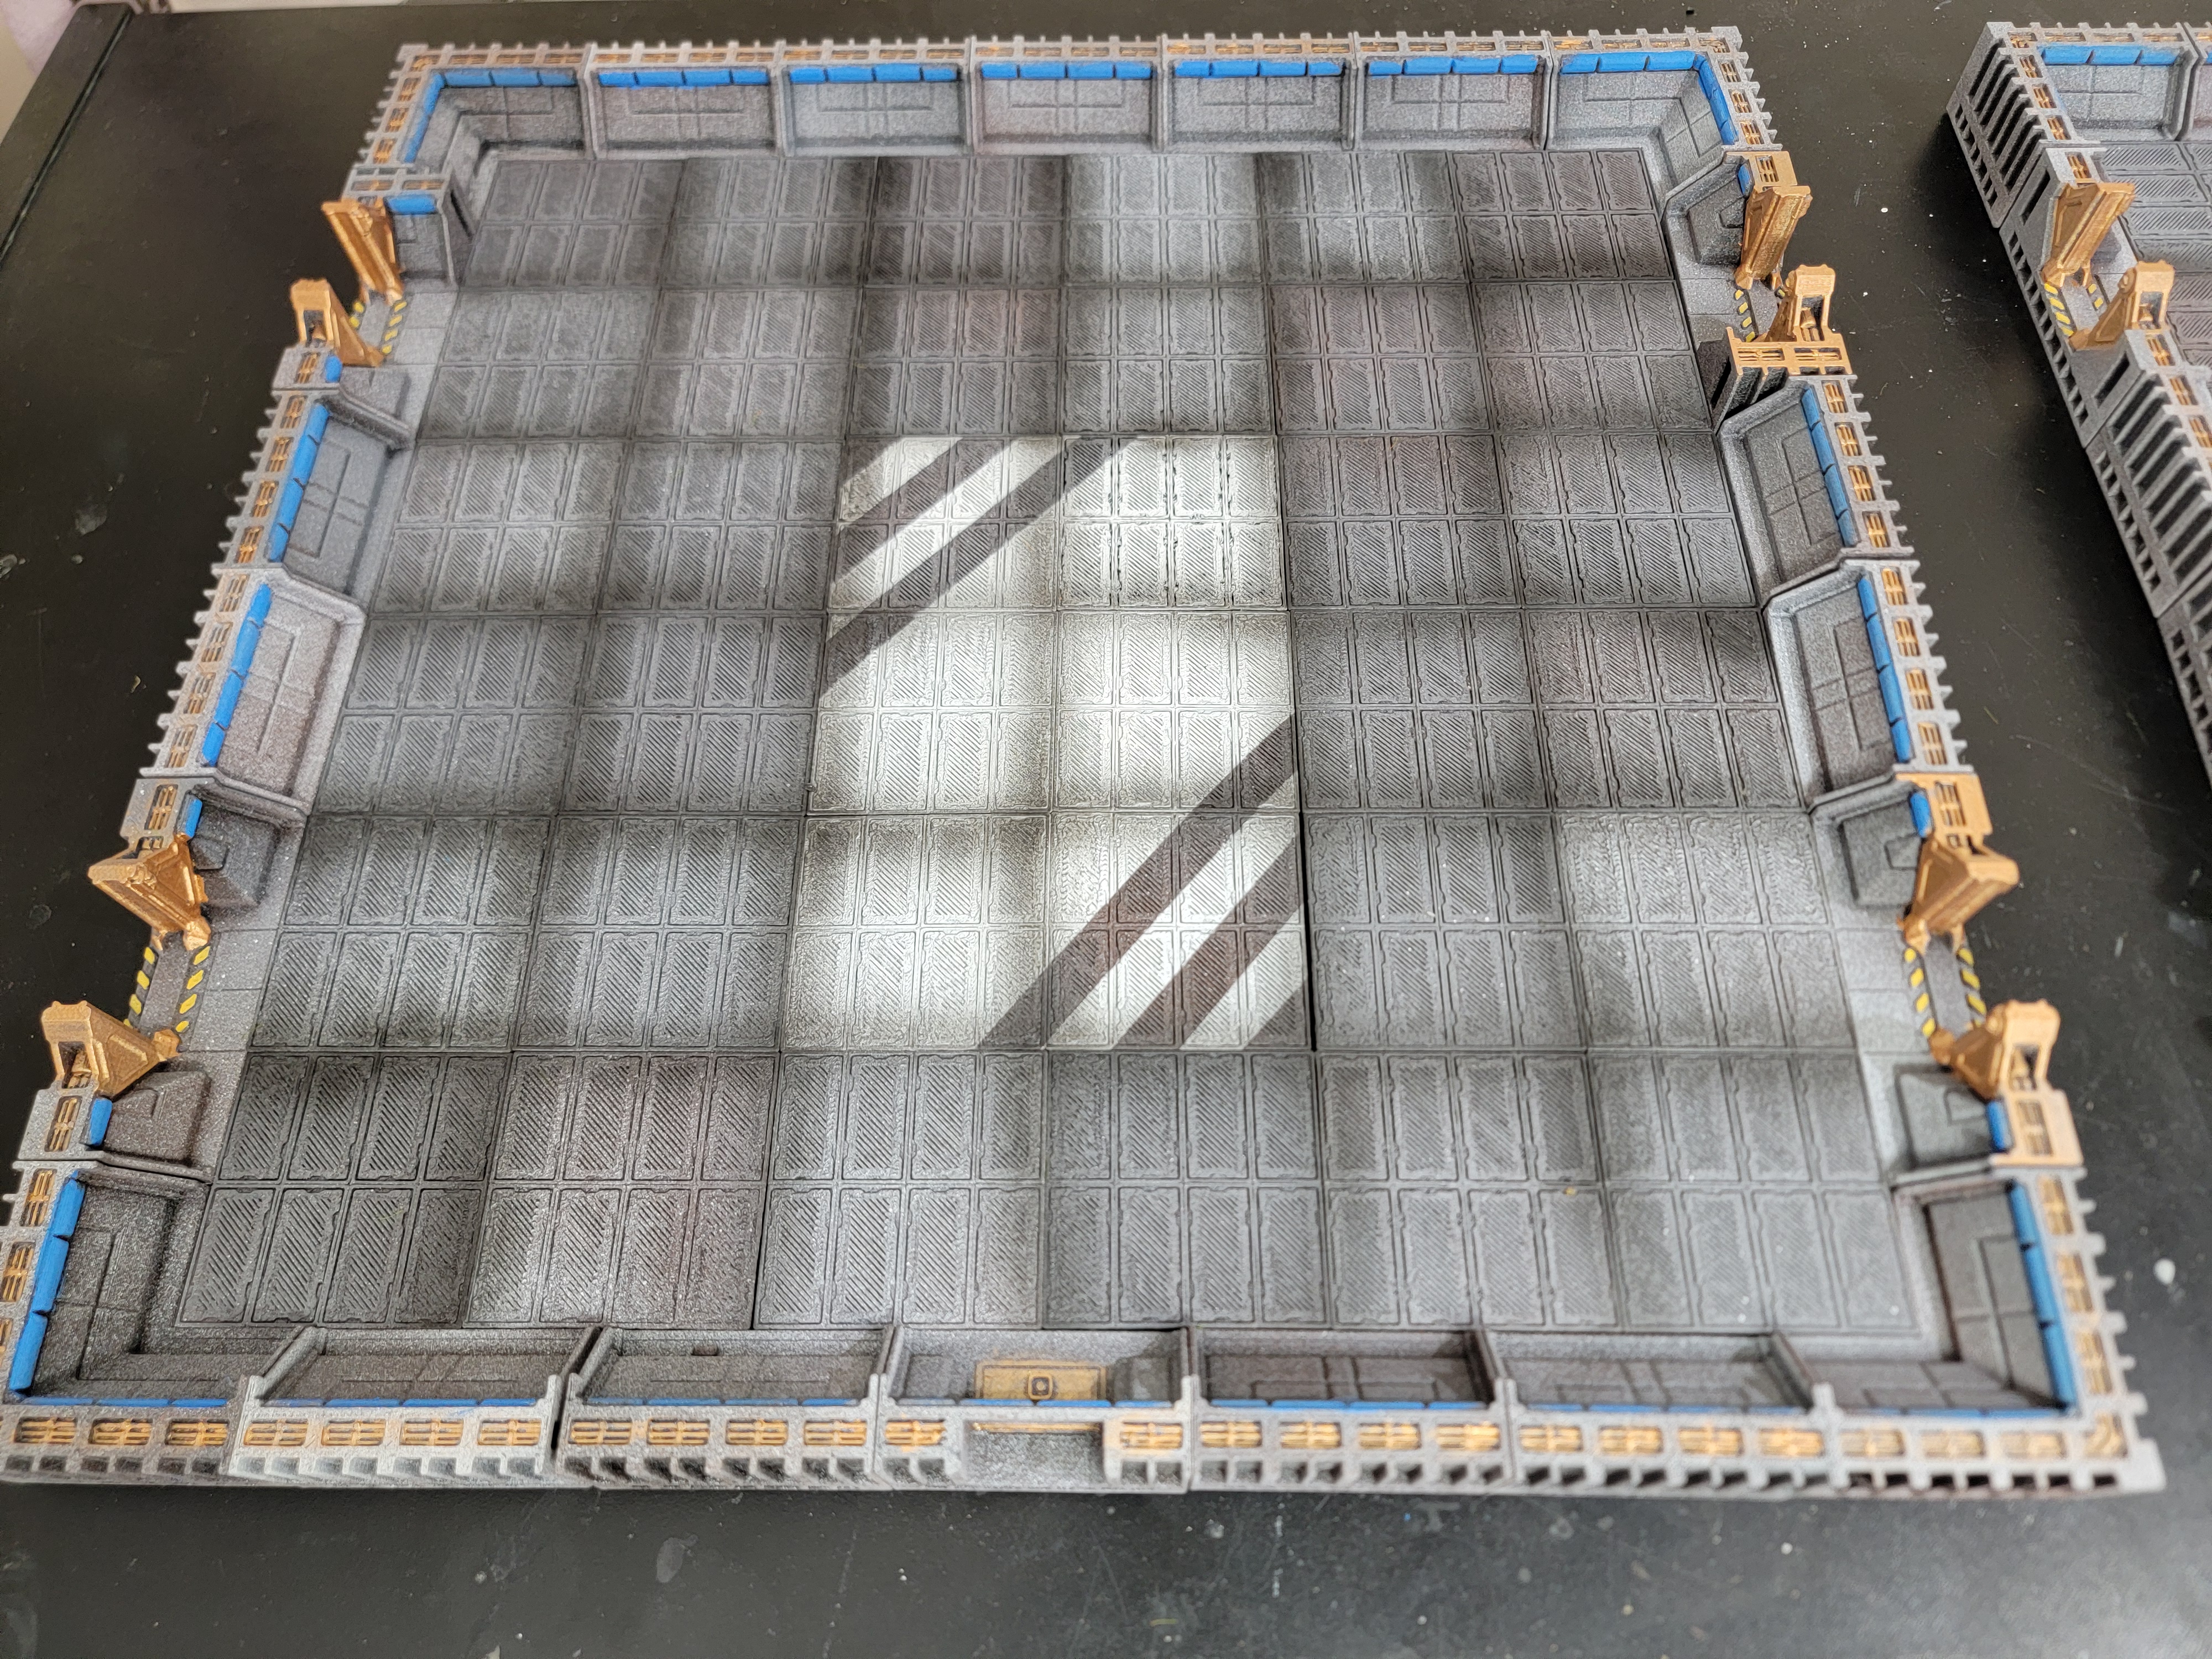
The end product looks good. It would look even better if I hadn’t grown tired of the process. Honestly, there’s a number of other avenues I could have taken. I could have printed a pattern onto paper and glued a few 6″ square pieces together. I could have found files that print 6″ squares that somehow connect. I wish I had done any of those other options, but here we are.
It could be worse, obviously. I did three total arrangements, partially so I could run multiple games if it ever suited my needs, and partially so I could setup three different segments at a time. I originally intended to do six total MHUs, which is the maximum size of a ship. If I ever decide to do that, I’ll likely find a different method for doing so and restart the process altogether but make it look nicer. I’ve seen people use prefab stuff quite nicely, or just print and put together 12″ square MHUs with paper craft. In fact, Candore et Labor did just that on his blog for an MHU and it looks fantastic. I really admire it.
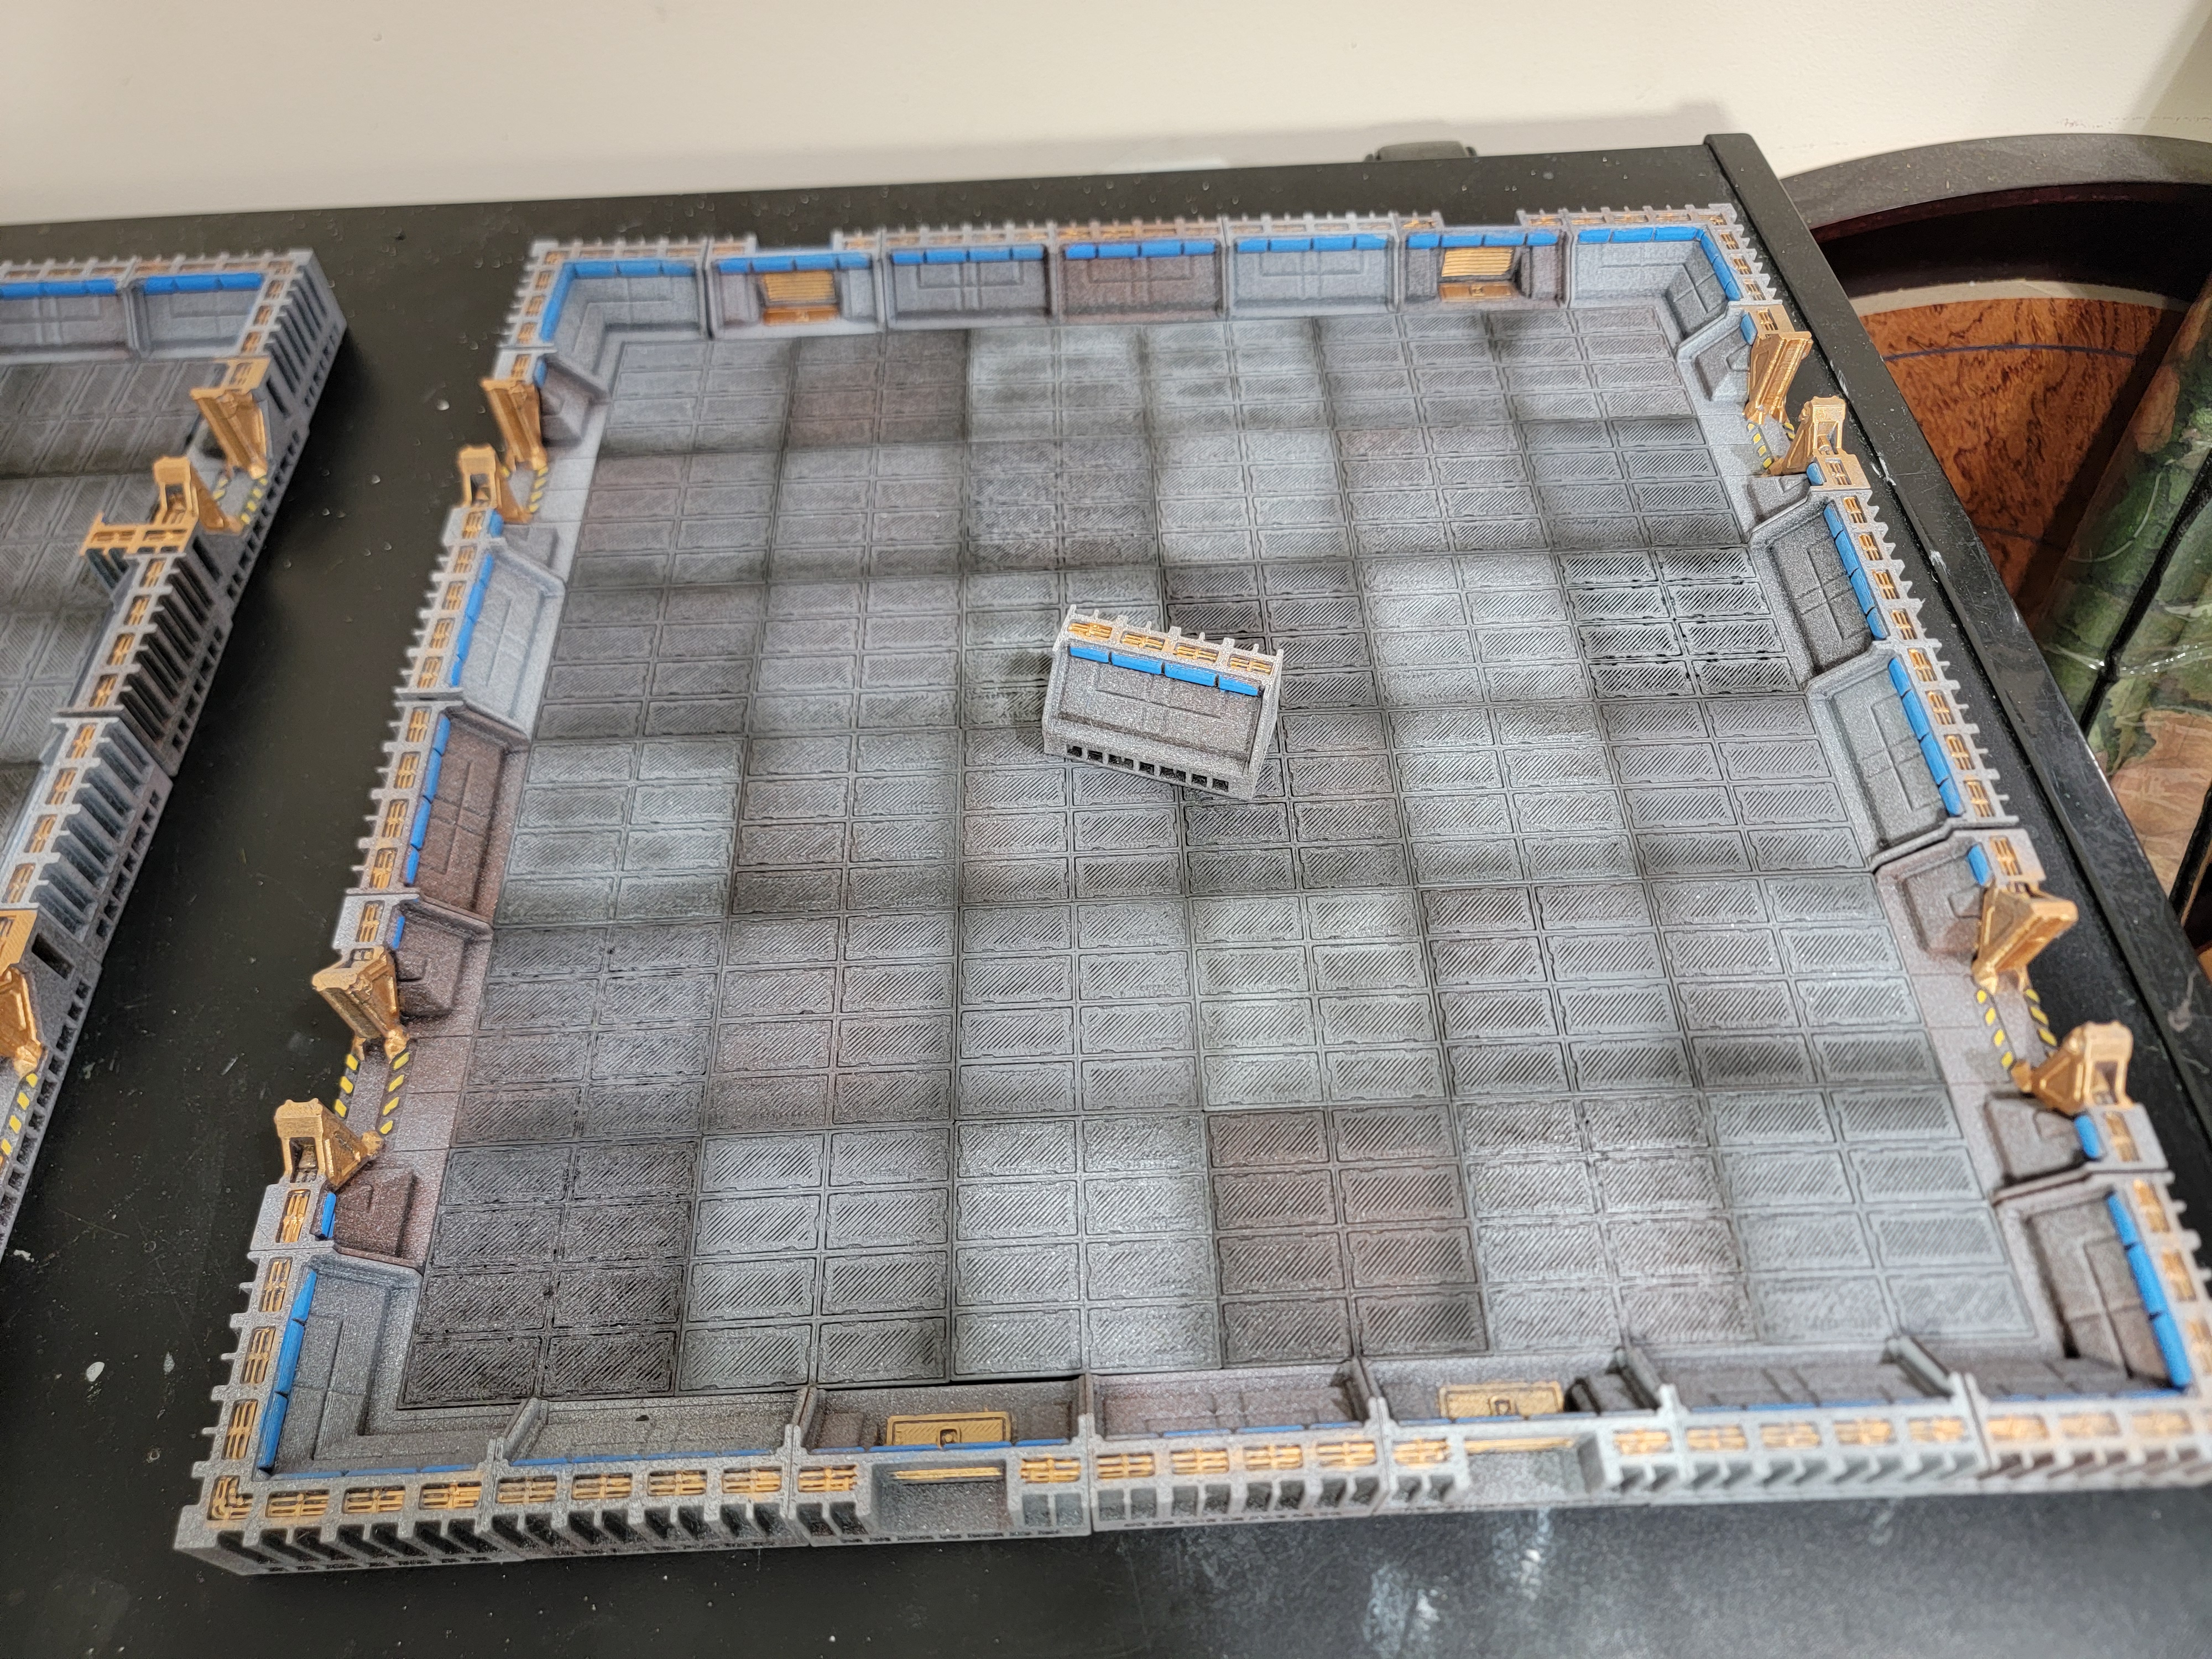
The other thing I should note for anyone getting into this is that you really don’t need all that much terrain. I went overboard and printed… uh… north of 100 pieces of scatter terrain. That was silly of me. Here’s a test layout:
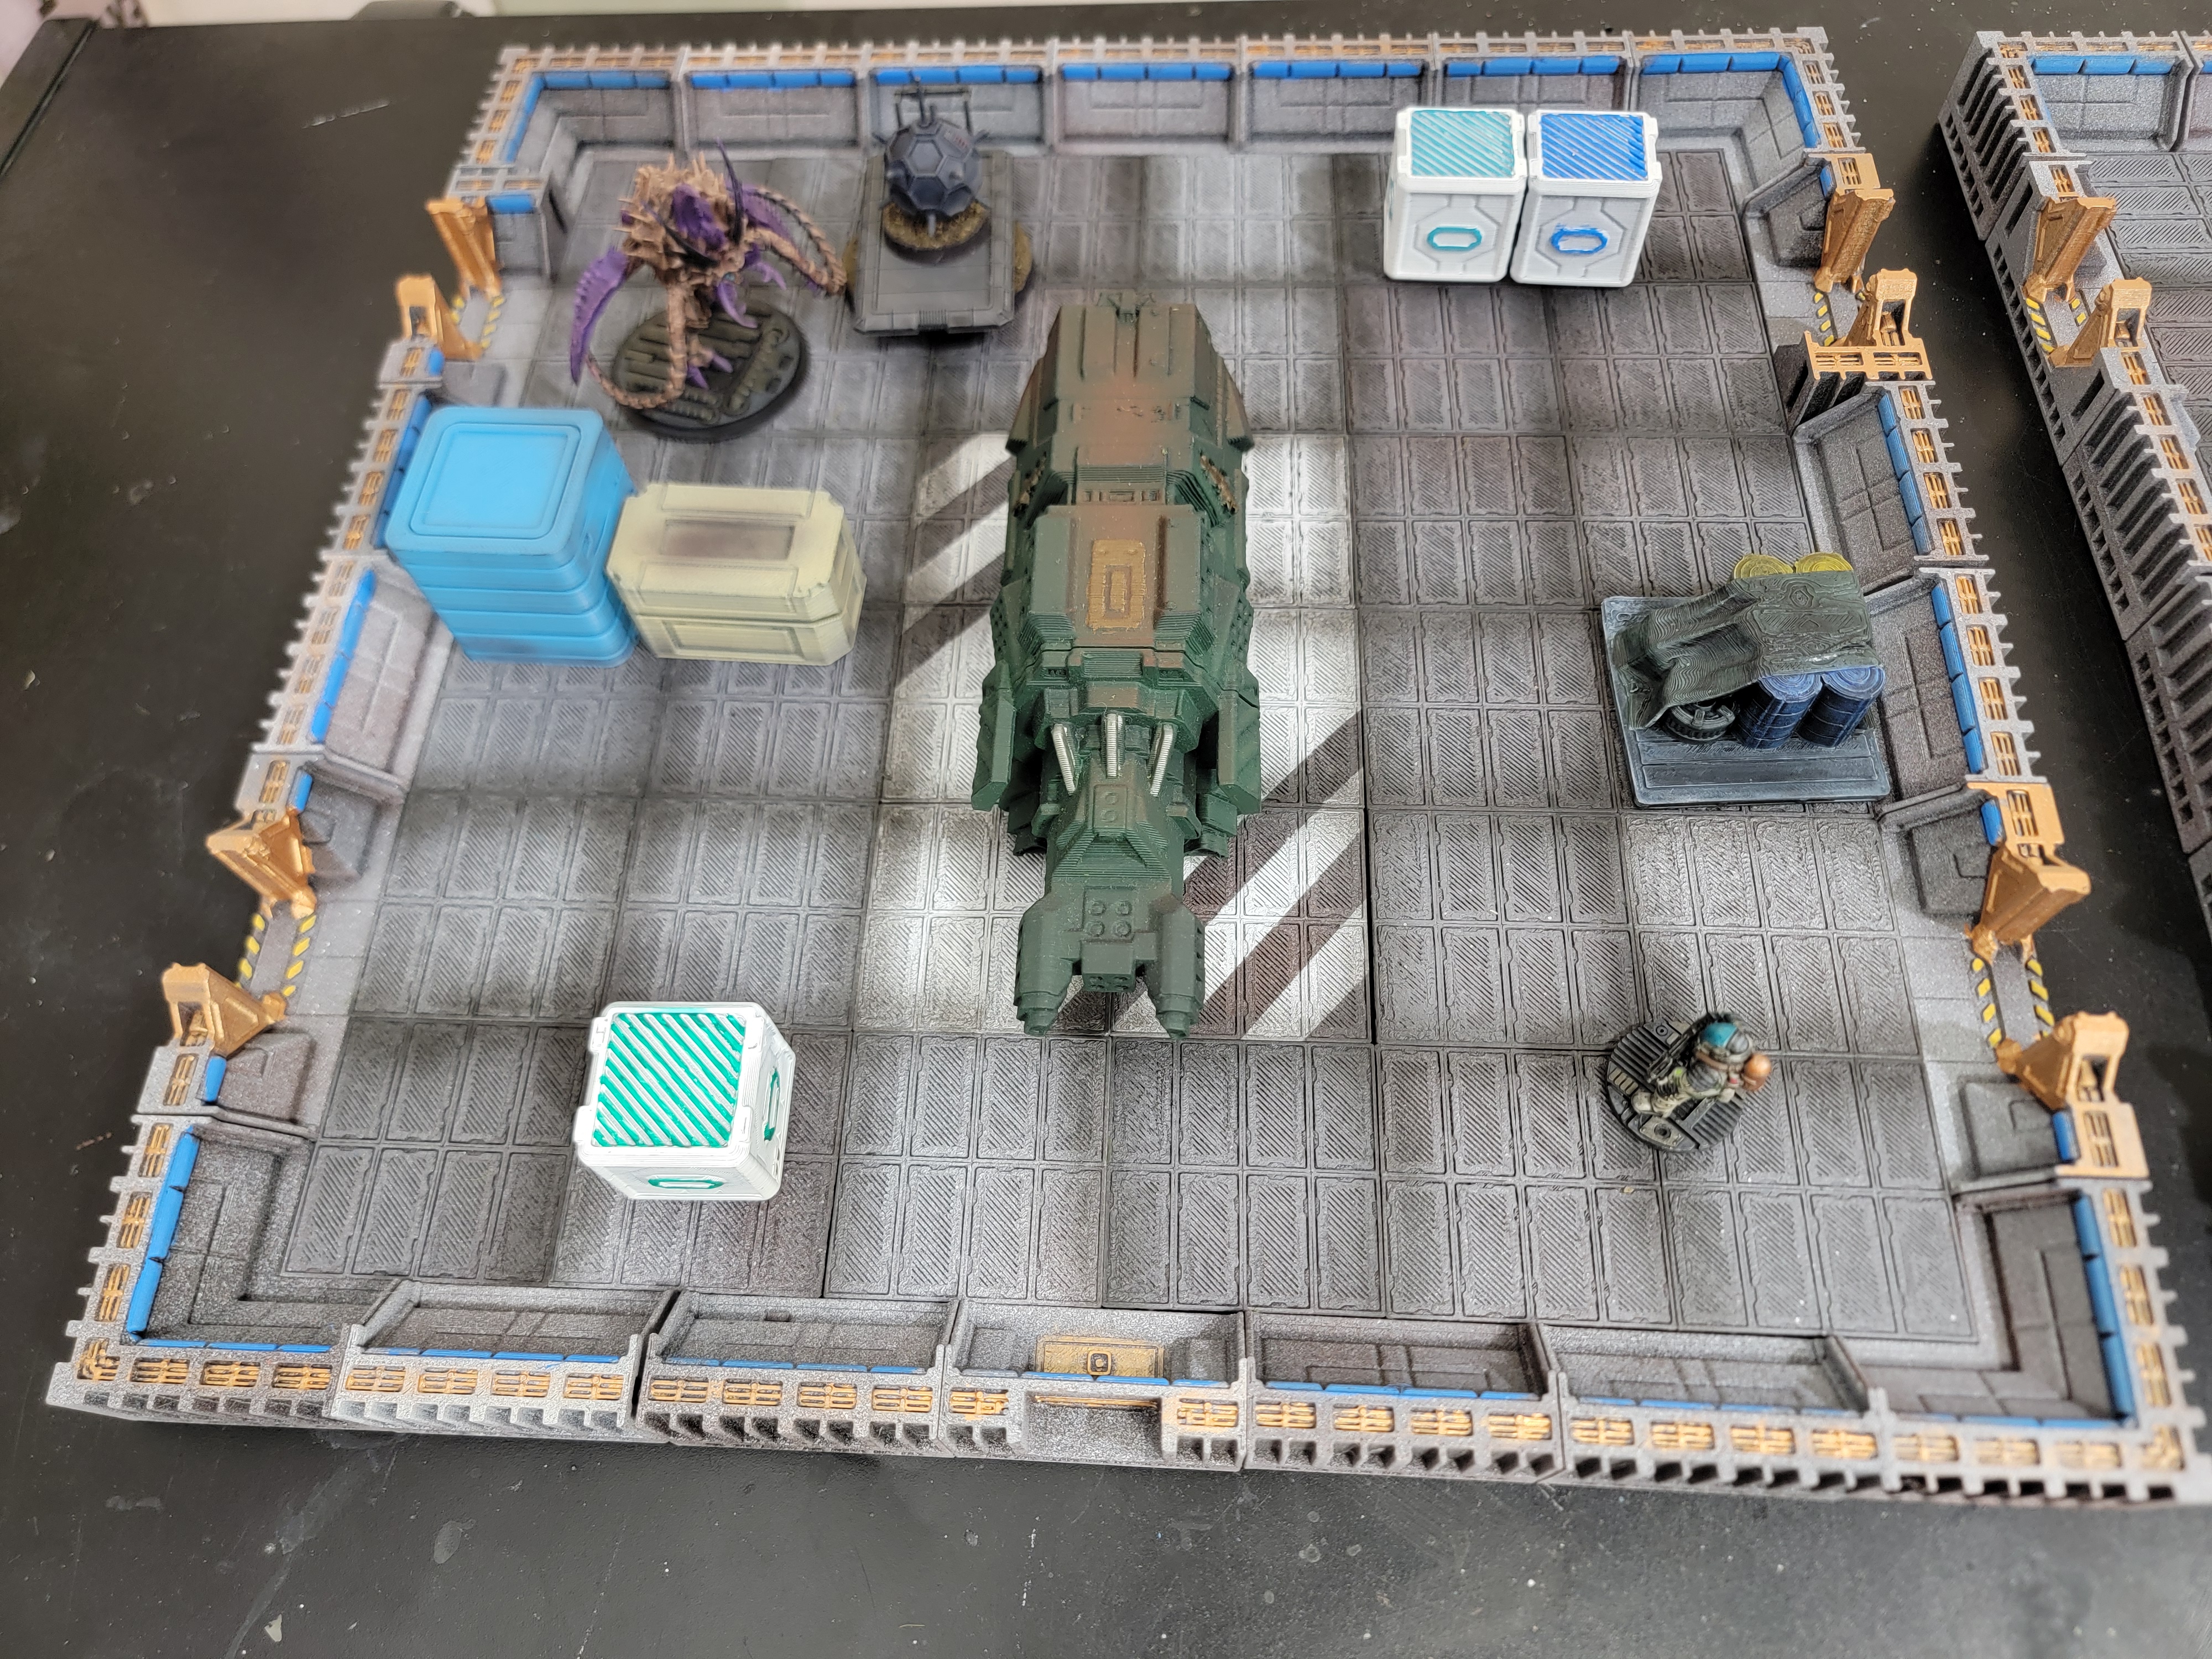
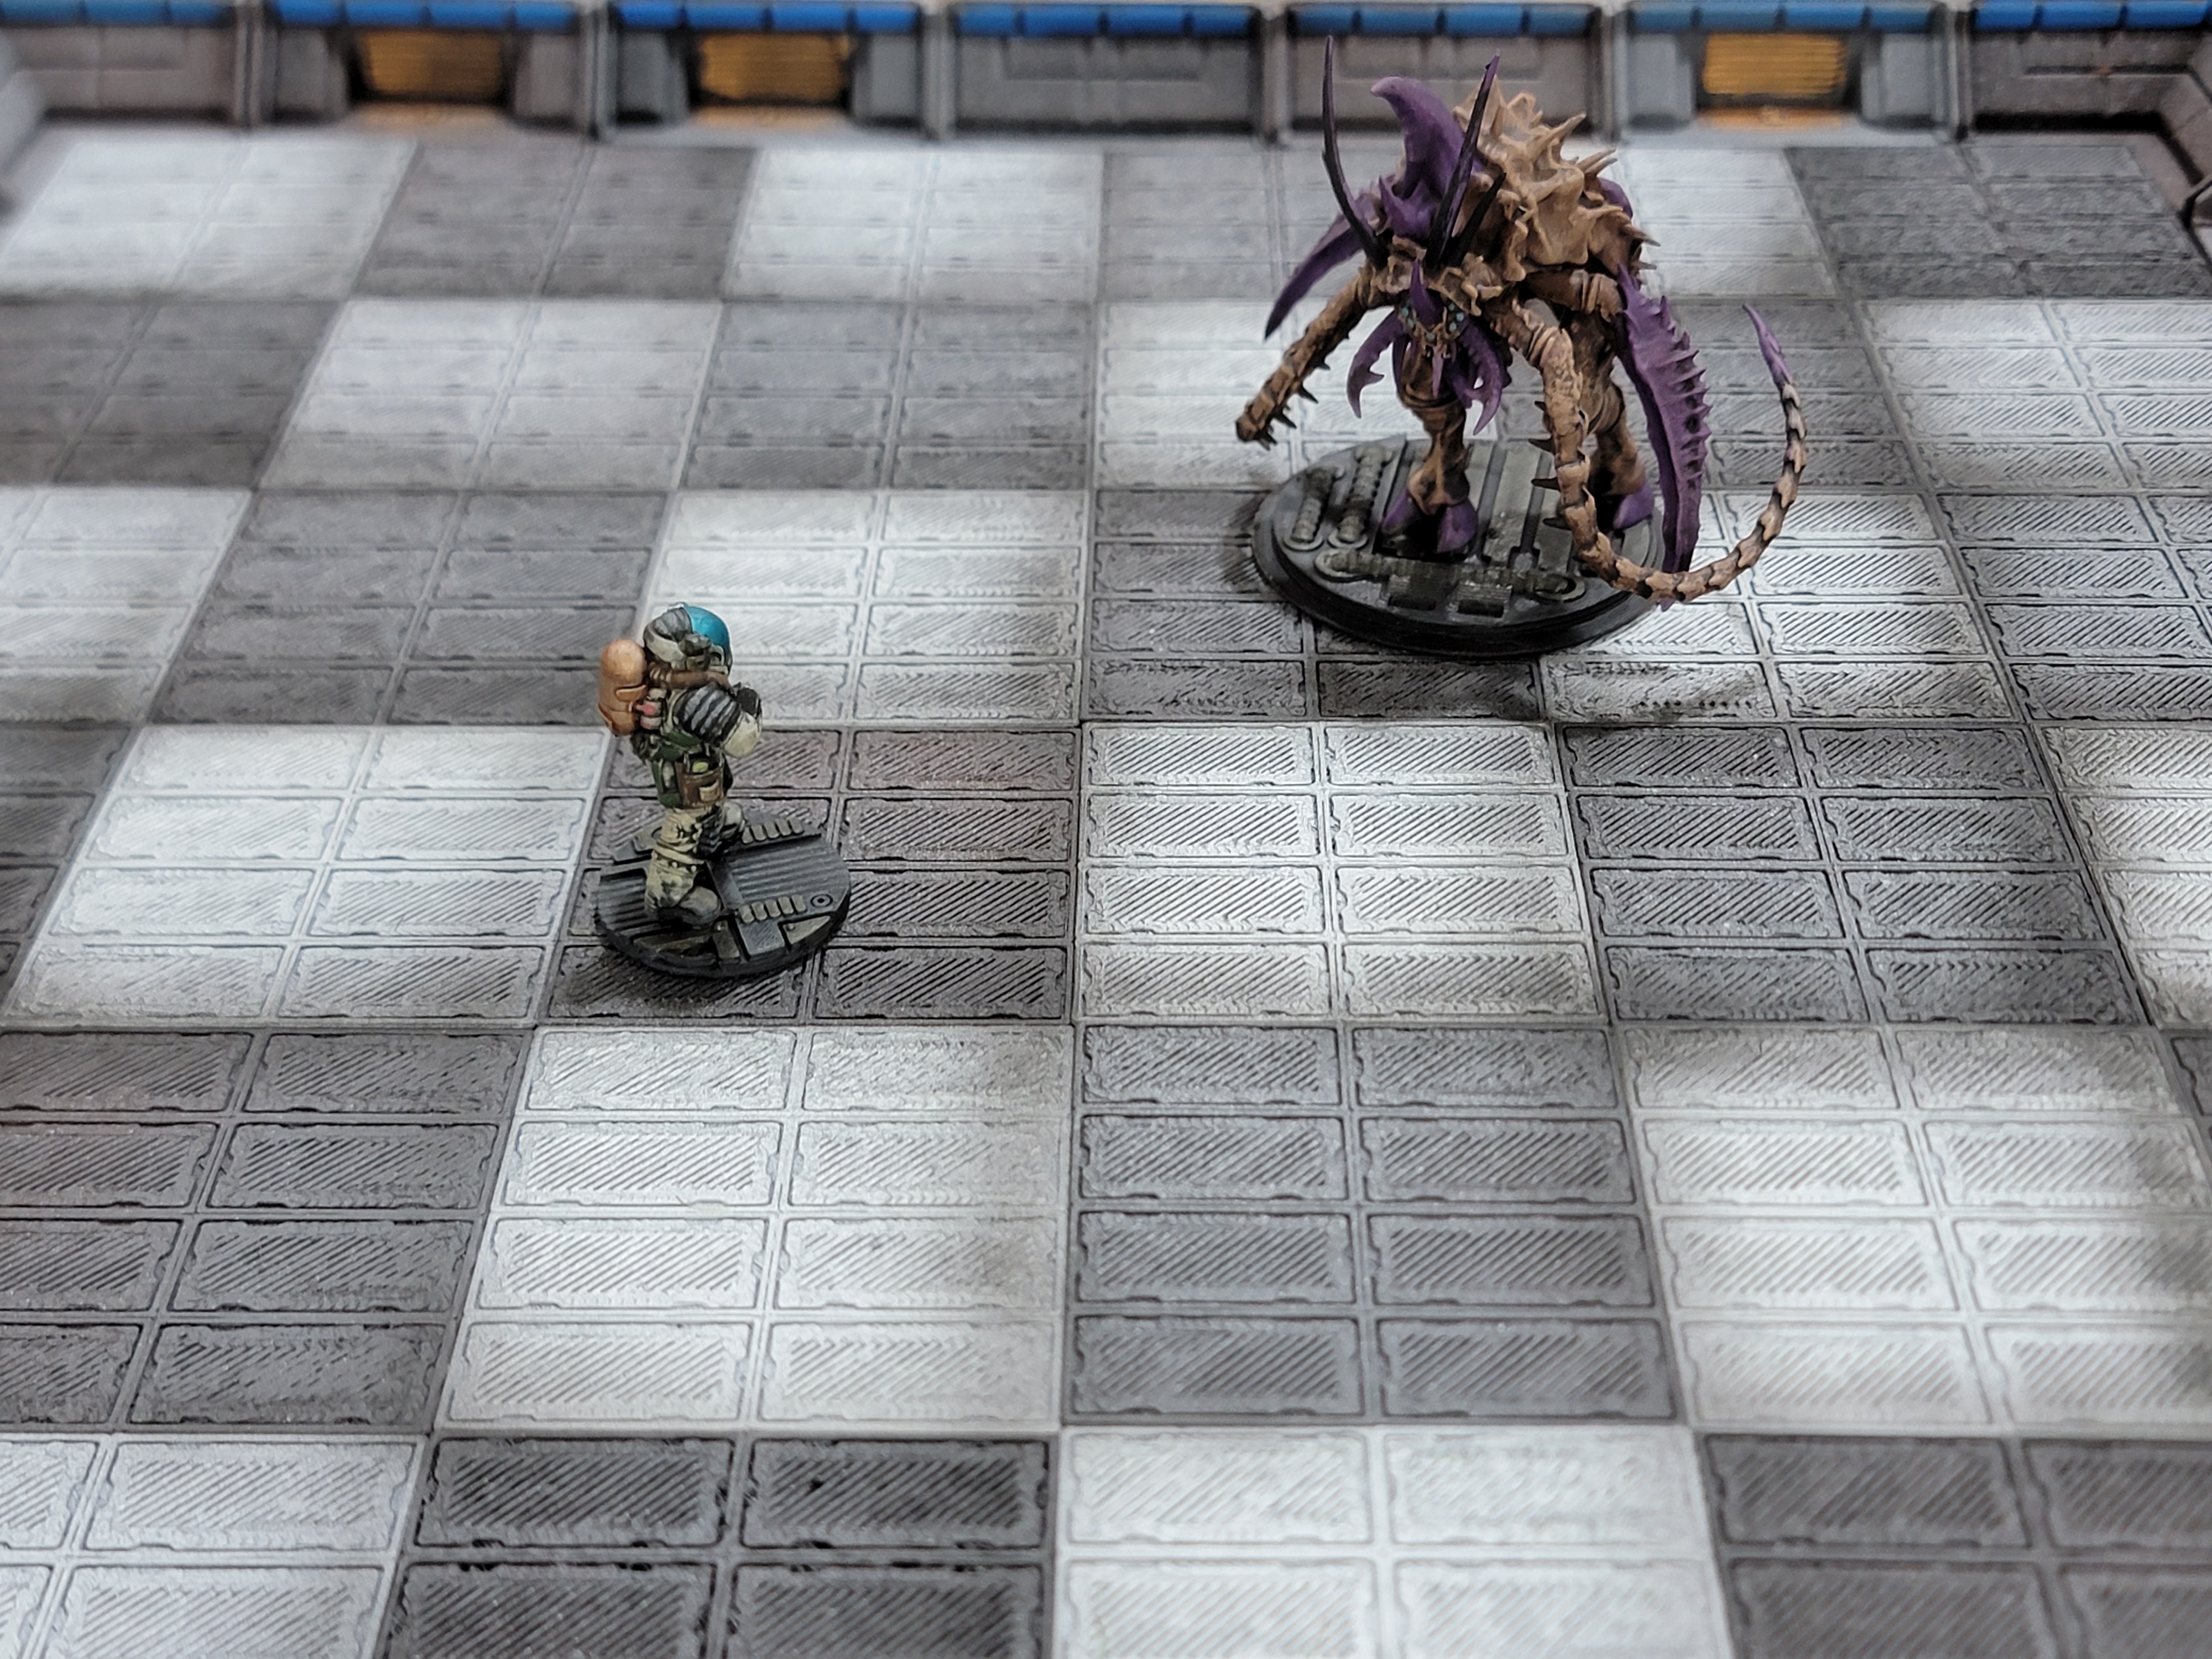
Notice how a little bit of terrain filled the space up quickly. I was so worried about creating different room styles that I never considered that with maybe 30ish pieces you can make many, many, many different rooms to play through. I don’t even have a full set of units on that board. You’d have four scrapjacks and up to six enemies running around. Things get messy and dense quite quickly.
I’m glad to have this stage of the project done. The next one should fly by, after which all I have to do is find time away from DPS and Desiderium to play some Scrapjacks. I think I should be able to find time, if only at least to play a solo game or two to test the system. After putting all this work in, I’d feel silly to just set it aside.
The grand irony is that at the end of all this, I almost want to keep going. Find a better system for construction and maybe build a full on spaceship interior. I’ll keep the idea on the backburner for now, as I lack a game I would use it for, but it’s one of those “White whales” of wargaming. Play on a fully modeled spaceship interior with tight corridors, deadly action, and uncertain dice rolls!
I’ll circle back one day on that one. Maybe.


Leave a comment