Elder Scrolls: Call to Arms (“Call to Arms” for the remainder of this post) has been on my table more times this year than anything else. Its only real competition is perhaps Battletech: Alpha Strike which I hope to get back to in the near future.
I suppose I’m not quite ready to review the system, oddly enough. I’ve only played one cooperative mission and haven’t tried it as a solo game. When I first set out I thought I’d never even try coop or solo but as I’ve played more and more I’ve come to understand and respect its systems. Today, I want to look at the dice system—one which I was initially wary of and now rather enjoy.
The dice in the game come in five flavors:
- A modified D20 skill dice
- Red, black, and yellow damage and defense dice
- Green accuracy dice that modify the D20 skill check
We’ll break them apart mechanically one by one.

The Not-A-D20 and the Green Skill Dice
The D20 skill check is, like in an RPG, a skill check to determine if your attack or ability succeeding in connecting with the opponent. You only roll one D20 and compare to your stat with this being a “Roll lower” system. For example, if I roll to hit you with a two-handed weapon, I use my strength attribute—we’ll say it’s a 4. I roll the D20 and get a 3, so I connected. The damage is then done by the damage dice separately.
This number is further modified by any green dice you roll, which serve both as a method of improving your odds of success and a chance to trigger a Dragonborn (helmet symbol). More on that under the damage and defense dice section—just remember the green dice have one.
The D20 is modified and actually has weighted results. You get the following:
2 x critical successes, with one additionally giving you one point of health, stamina, or magicka back. These also add an additional black damage dice to attacks.
2 x critical failures, with one additionally giving you one point of health, stamina, or magicka back. These are impossible to modify and always fail.
2 x 1, 2, 3, 4, 5, 6 results. 1-4 are generally successes, with 5 and 6 being successes for particularly talented miniatures. With a single green dice 1-6 are all likely successes.
1 x 7, 8, 9, 10 results. These are all generally failures.
The result of this math is that the odd off success are generally somewhat in your favor with 2/3rds of results being successes. Add in green dice and the odds tip even more in your favor. The skill dice wants you to connect but doesn’t ever want you to be sure of it.
The Damage and Defense Dice
I’ll start by saying these are officially the “Effects Dice.” Here’s the explanation taken from the (free) rulebook:
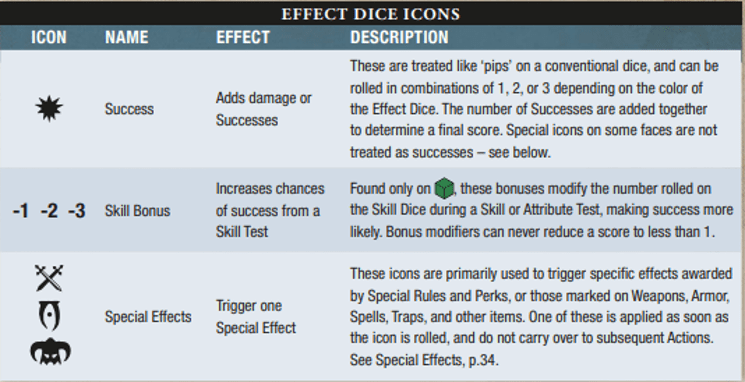
You can never roll more than three dice of one color, with the dice being from worst to best: yellow, red, and black (EDIT: I was originally wrong and stated Red was the best–the black dice are actually the best). The dice contain hit symbols that determine how much damage you deal or block and then they contain three special symbols: crossed swords, oblivion, and dragonborn (the helmet). Weapons, spells, armors, and… well, everything really, will trigger additional affects when you roll relevant symbols. An example of this can be seen on this Steel Warhammer (taken from the rulebook):
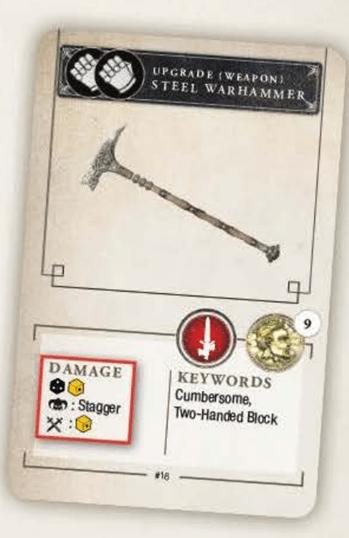
Here we see that the warhammer rolls a black dice and a yellow dice. If you roll a dragonborn you inflict Stagger (deny an action) and if you roll crossed swords you get to roll an additional yellow dice. The end result is a system of exploding dice where your first roll begets more rolls and you can never fully predict what will happen once the dice leave your hand.
Scoring additional symbols that roll more red dice or give you a follow up or valuable special effect feels great. When a hit crits, it really hits hard and leads to a game where damage can spike tremendously. Thankfully, you reliably deal damage so it’s not often that you do nothing at all—assuming your opponent’s roll doesn’t deflect the incoming damage. Everything stated above happens for both attack and defense so they may have their own exploding defensive dice to save them.
Further, the dice and their symbols are such a maze of possibilities that I really can’t predict them even after 30+ games. A yellow dice is simple: two blanks, three single hits, and one two-hit. Only one helmet.
But did you know the black dice, ostensibly worse than the red, is reliably going to roll a 2 hit thanks to the increased presence of dragonborn symbols that tend to trigger additional dice? That matters—because the Red has a greater chance of rolling just a 1 but has no blanks and cannot be a zero. So the black dice has more burst potential but the red dice has more reliability (and some burst potential anyway as it still has symbols).
I’ll say the authors clearly have a grip on it. Every time I see a weapon that seems poorly costed, I realize that the way its symbols work together means that it’s totally at the right price point. This can get tricky, with a weapon rolling a black dice being better than one rolling a red dice once you factor in the symbols. Broadly speaking, let the points cost be your guide. Again, the authors know what they’re doing.
Friendly Friction or Frustrating Failure?
I’ve talked about “friendly friction” before: it’s the idea that some games possess friction that removes the competitive nature of the game enough to result in a space I’d call “friendly competition.” To play the game in the first place you have to be ready for that friction to intervene and can’t take it too seriously. That’s important here. I’d contend these dice dance the line pretty closely—to the point where I think every person who plays will walk away with a different opinion.
Personally, after a lot of playing, I see the patterns and while I can’t fully predict what will happen I can see enough to judge my decisions. Because there’s so many objectives in the game between side quests, main missions, and other secondaries that appear during the match, the dice help feed this sense of an almost “Choose your own adventure” atmosphere to victory. One match I may decide I absolutely need to kill my opponent yet in another match I may realize the way his armor stacks up I’m better off trying to kill the monsters or achieve a secondary objective like opening chests or pickpocketing.
By themselves the dice would be frustrating but as part of a wider ecosystem they actually come into their own and help to build a game where you can never be sure of your decisions and have many potential paths to victory. You can build your adventurer party that’s just interested in loot or you can build your guild of assassins aiming to kill something, whether that’s the opposing player or the adversaries. There’s some chaos here but you can manage it.
The Takeaway
You probably skipped here. Fair. In short: the dice here swing without being too “swingy.” You can learn the patterns and predict the results but never be sure of them. It lets you really think about how you build out your party and what synergies you seek, which fits the core underlying theme of freedom of choice and the freedom to really customize a party to the small details.
Elder Scrolls as a video game system always emphasizes your personal choice. The video games want you to be able to produce your niche dagger focused spellthief who refuses to use destruction magicka due to some prejudice his daedric cult holds. I obviously feel the tabletop game does just the same—and these dice help it achieve this objective. A more focused set of dice with more strongly predictable results would end in a game where you can reliably make the right decision every time. This in turn would end in a series of “meta builds” and defeat the purpose of a game emphasizing your freedom of choice.
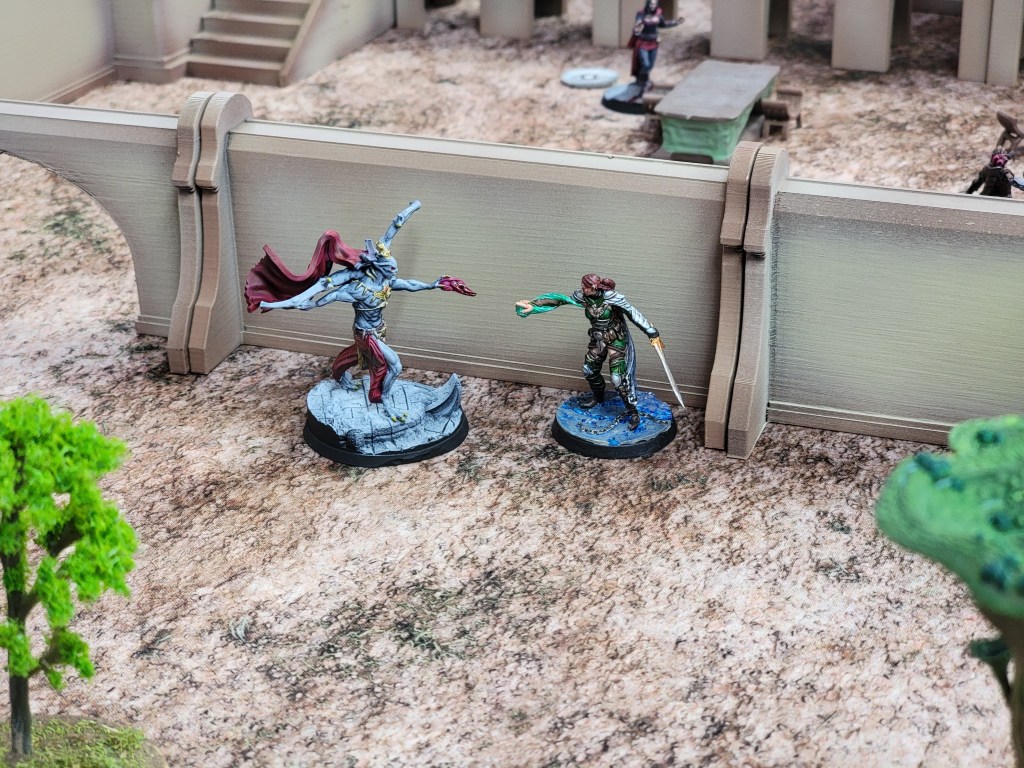
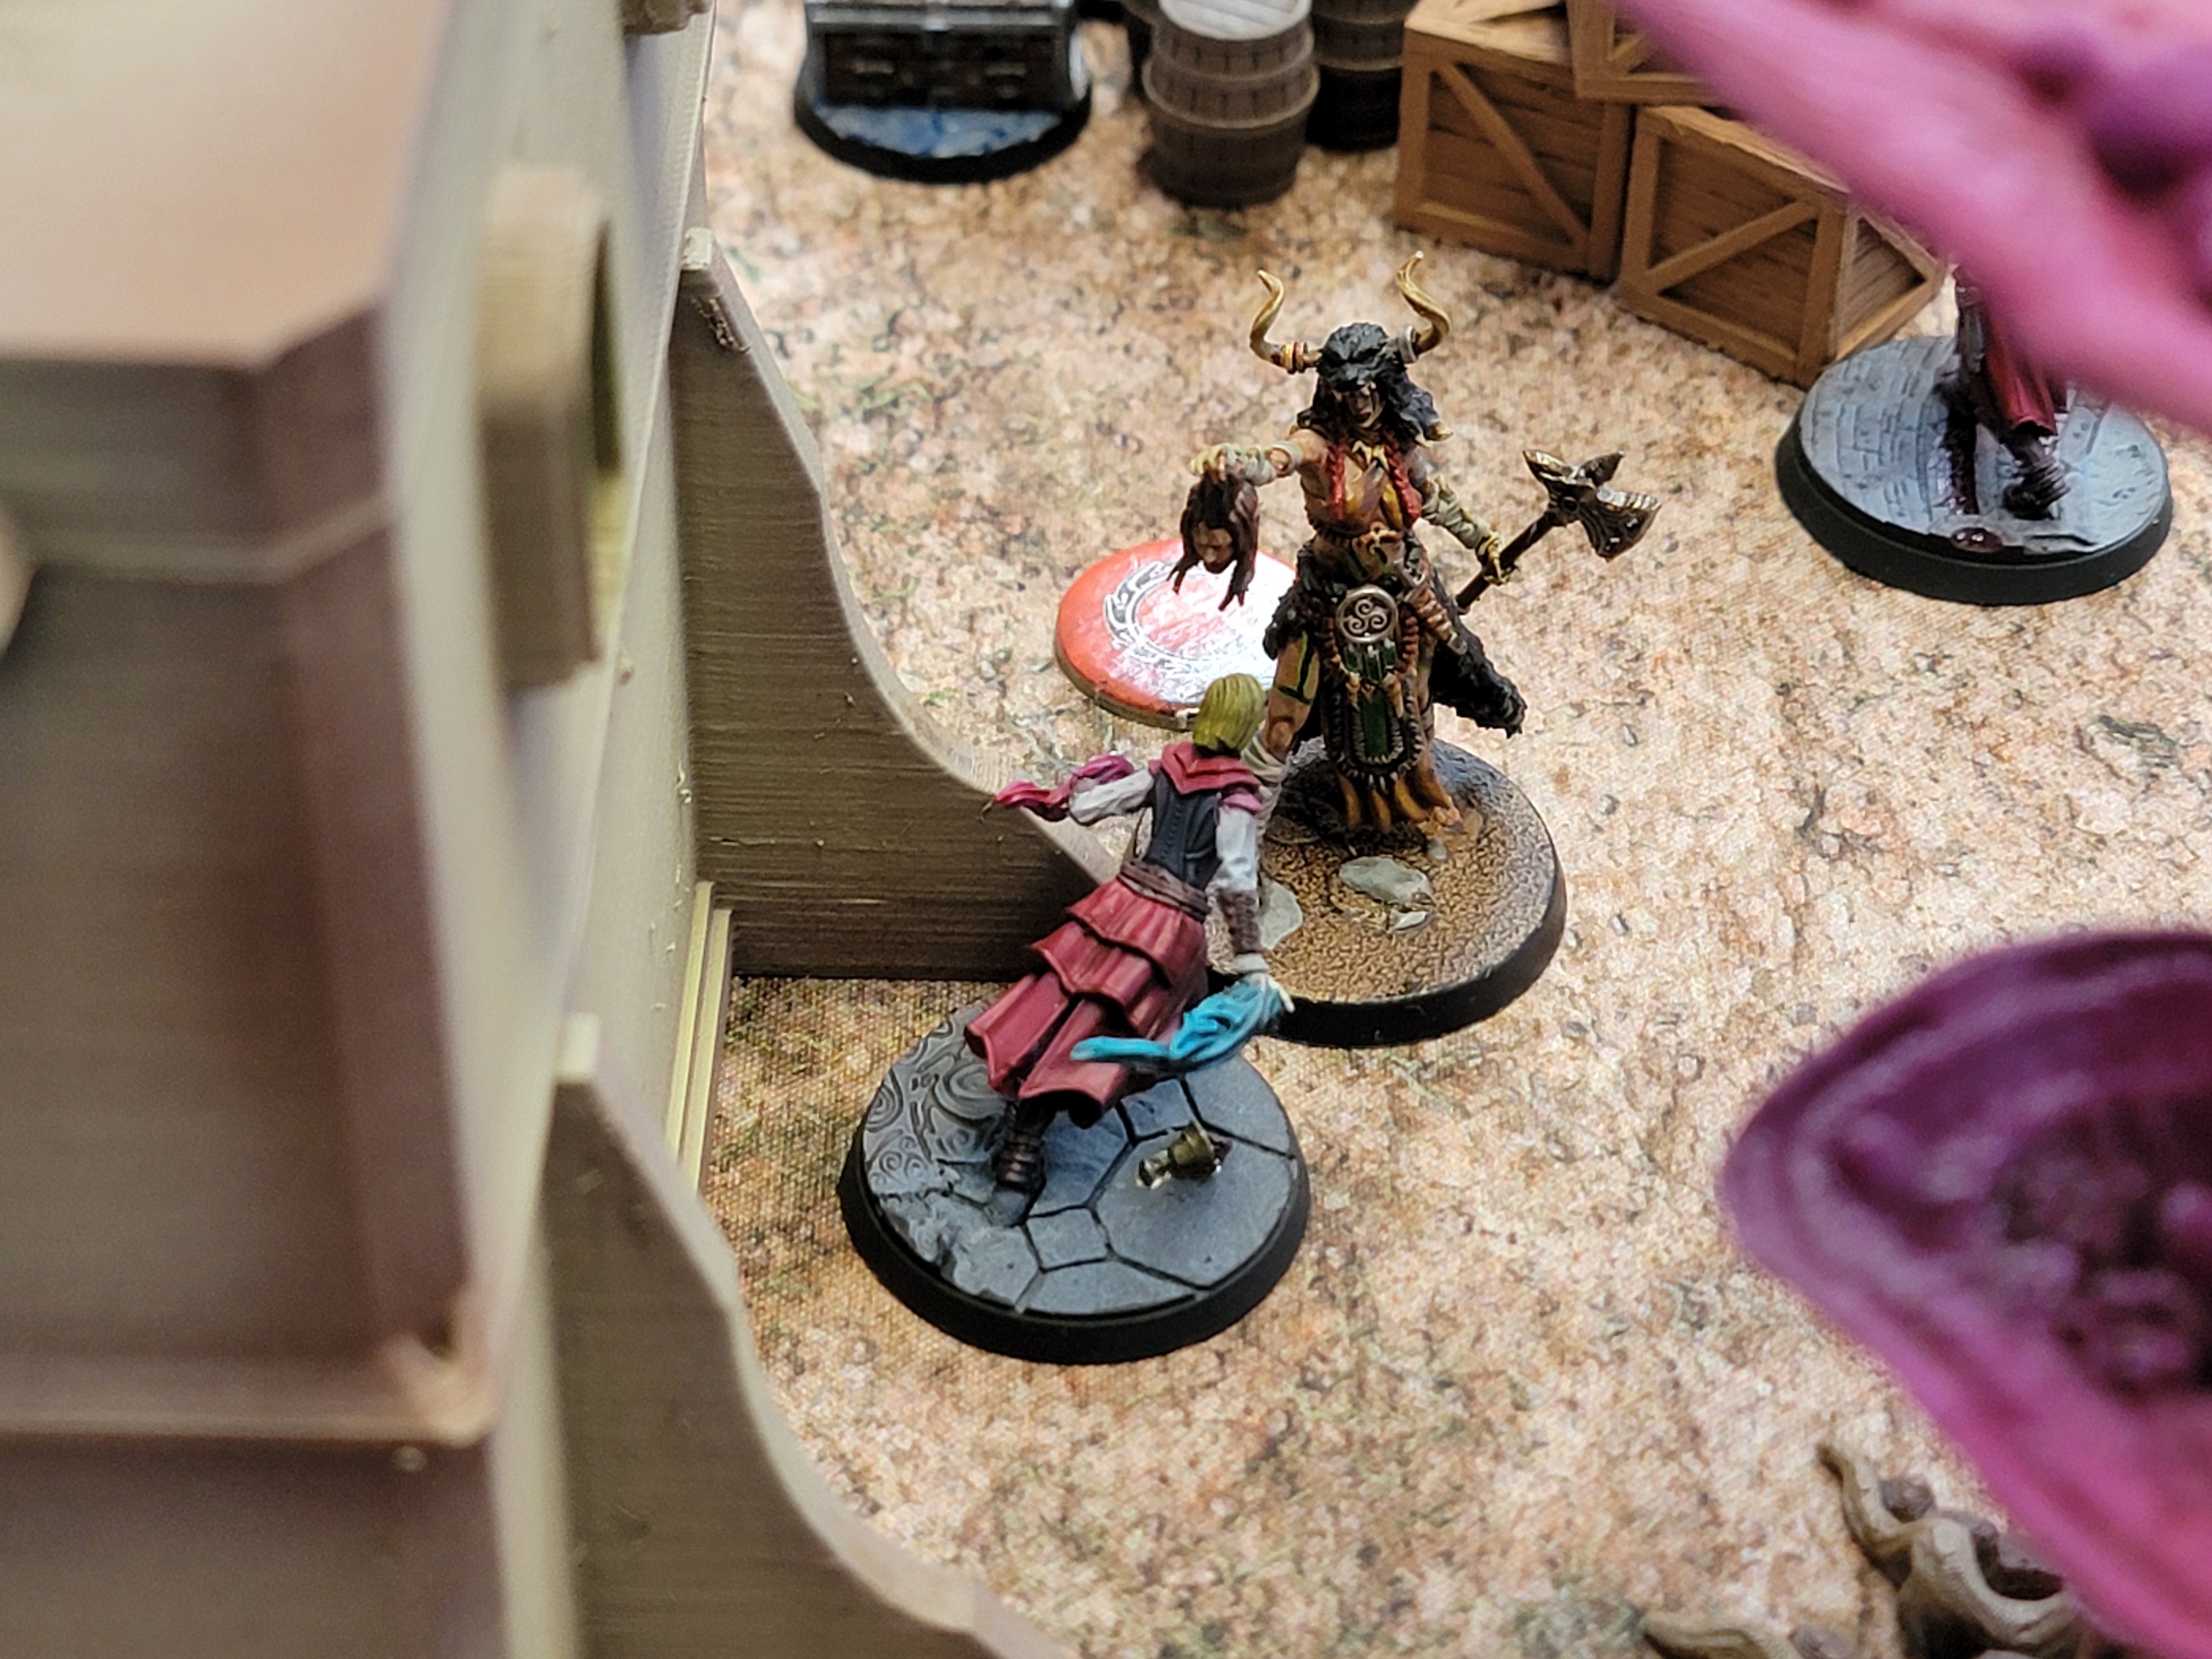
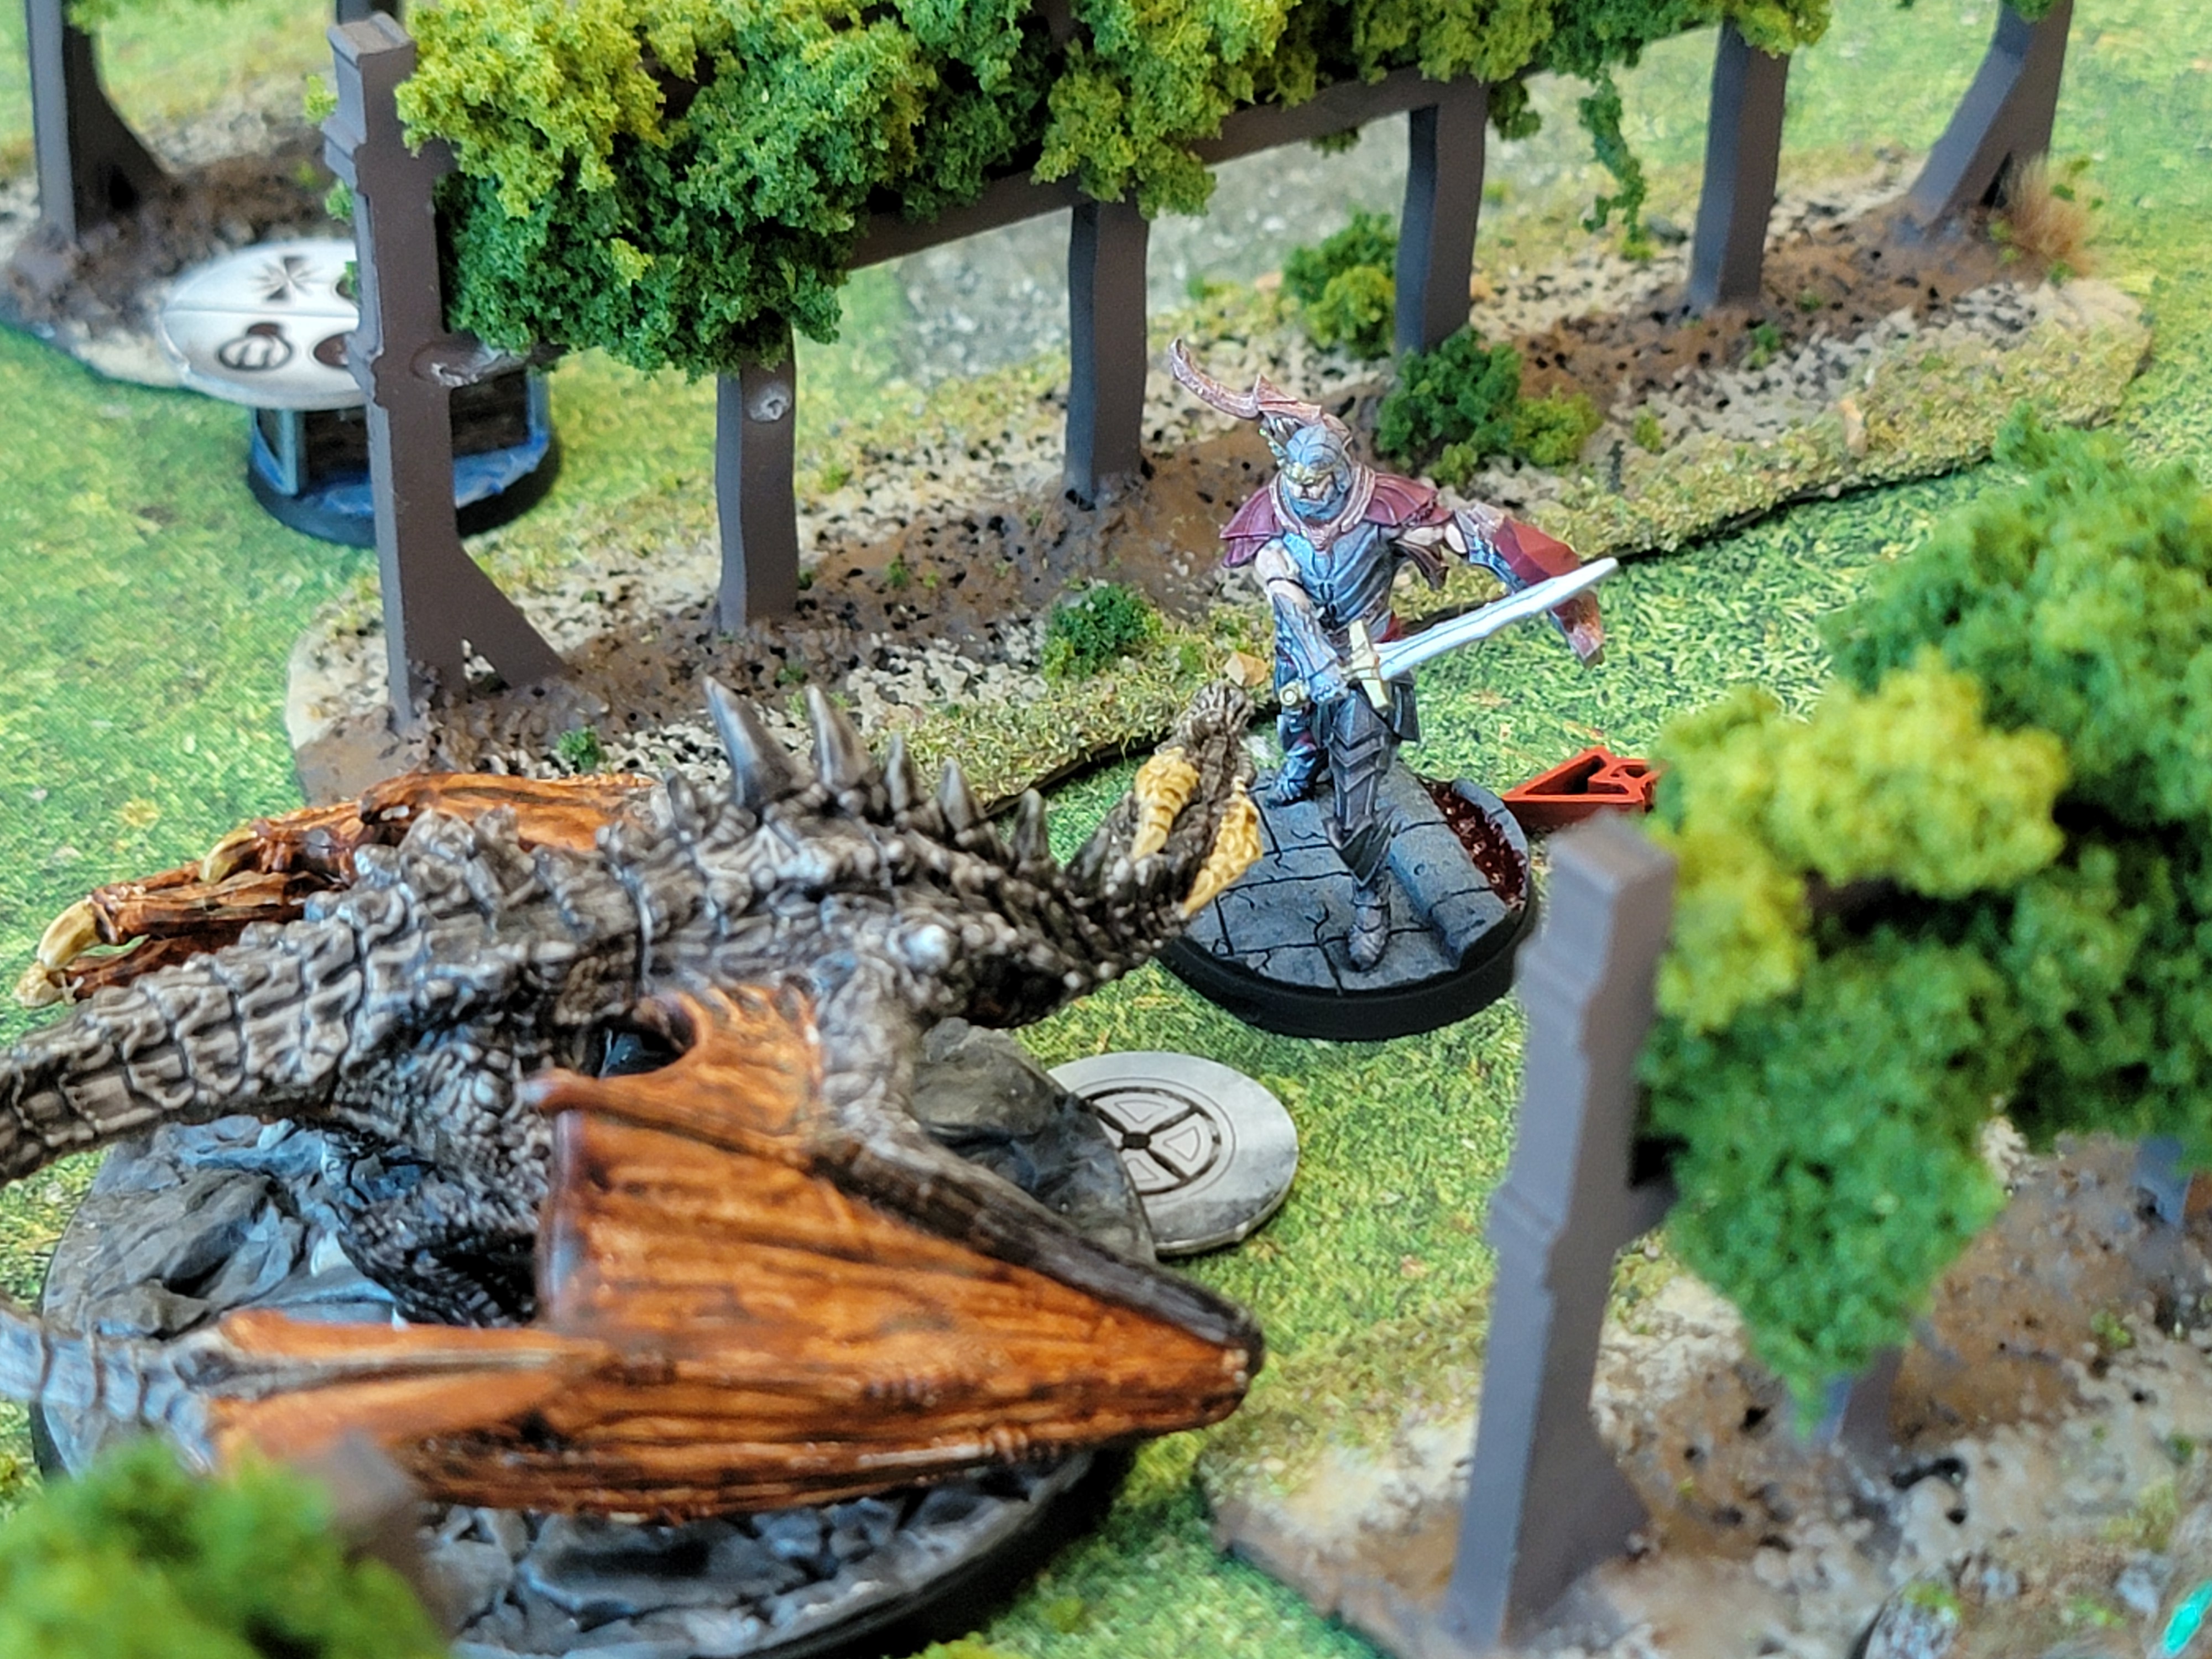
Call To Arms is a game where you bring your Reach Folk group of bandits focused on dispersion and archery to fight my fiendish magicka focused vampires with their gargoyle companions meant to fly over and smash you in the face while their overlords achieve objectives and fling ice spikes at you. In many games one of those two forces would be the clear and obvious “right choice.” Here, we ended in a 14-14 tie after I dominated the early match.
Those dice? They helped keep the game unpredictable—such that when I flew my gargoyle in to one-shot an archer, he did it without a second thought. Yet when I flew my second gargoyle in, he only did one point of damage thanks to the archer rolling a heroic defense roll. I knew that could happen but when I did my risk calculus I sent him in anyway. Was that the right decision? Should I have held him back? My opponent and I could have debated that alone for minutes.
That’s why I like this dice system: when we look at the core objective of Call to Arms we can see the dice support it fully. That and I get an endorphin high every time I roll a crit and additional red dice on my dragonborn vampire.

Sometimes… sometimes I’m a simple man.

Leave a reply to platypuskeeper Cancel reply