Quar is, weirdly enough, kind of a doozy. A Clash of Rhyfles is a skirmish level ruleset in which roughly 10-20 Quar fight each other on a 2×2’ board. Well, the free basic ruleset is that. The advanced rules wrap in tractors (tanks) and crewed weapons, while likely upping the size of your game and game board. Per usual: this is not a review. It is a read through impression of the rules and I have not played the game, so absolutely take it with several grains of salt.
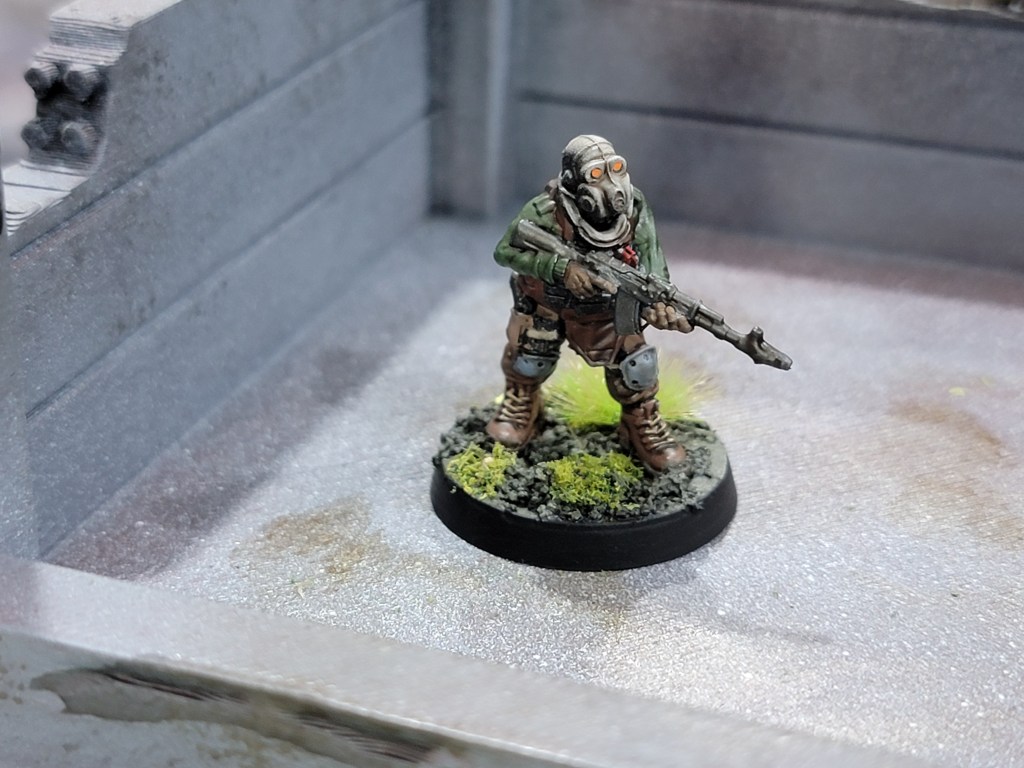
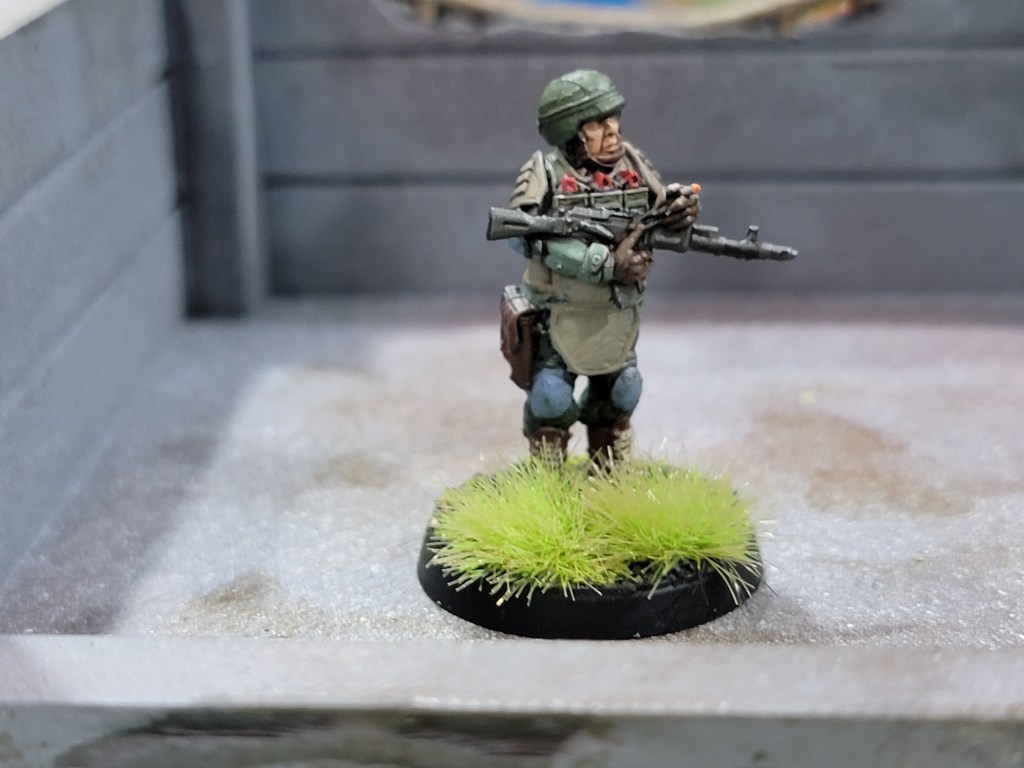
All artwork is taken from the main website and the rulebook itself, to show off some excellent paint jobs and artwork associated with the game. I am 90% done with my first reinforced squad, so expect to see those in a post in the near future. For now, I can’t claim any credit for the pretty, pretty images below.
Bottom Line Up Front (BLUF)
Put simply: I like it. Even the things I disliked at first reveal themselves to be better thought out than I expected. In particular, I think the infantry level rules are easy to recommend if they interest you at all. The rules in general involve a lot of charts (discussion below) but for infantry these are mostly simple results explanations that you can memorize as they follow a standard logic throughout.
Vehicles and crewed weapons add some activation oddities that fit the ruleset well but add a fair amount of complexity and may push the ruleset out of some players’ reach. Read them before you commit to buying a tractor. I am specifically thinking of my efforts to make a QRS that lists all actions possible in the game—accounting for duplicates it’s around 30+ when you include tractors and crewed weapons.

The aim here is clearly to recreate a world in which Quar fight Quar with roughly 1920 real world level technology. Battles are brutal, with positive hits resulting in out of action Quar. It fits the grimsical vibe and I genuinely feel the ruleset reinforces that aim quite well. It’s a bit “Clunky” in a manner but it has an internal logic that makes sense—just know you’ll be referencing charts often and the ruleset has a fair bit of randomness built in.
That said, we hit the caveats. We’ll start with the army lists feeling a bit “Under development” in general, which causes some confusing situations when you read through the profiles. The forces with plastic sets are reasonably fleshed out with a good variety of options but when you go beyond them profile lists start to thin out. I believe these will alleviate over time but they’re worth noting as it has caused some confusion in my play group as we approach the ruleset.
Next, the “Clunk.” I have been on record as disliking unnecessary charts before—I do feel like this ruleset has a bit more charting going on than necessary. In a way, I can stomach this: Quar are clunky in and of themselves and it does fit the setting. Just know that you’re getting into a little more than the colorfully snouted Quar might indicate to you on first glance. The consistency of the charts lends me to believe this is not as big an issue as it might first appear.
The Appeal
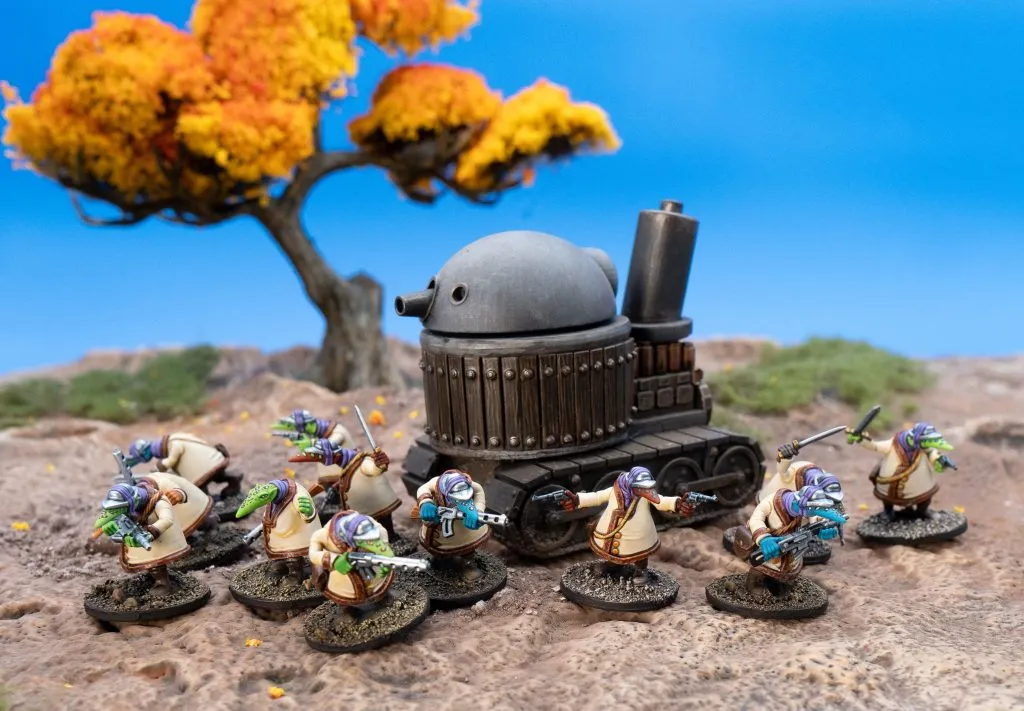
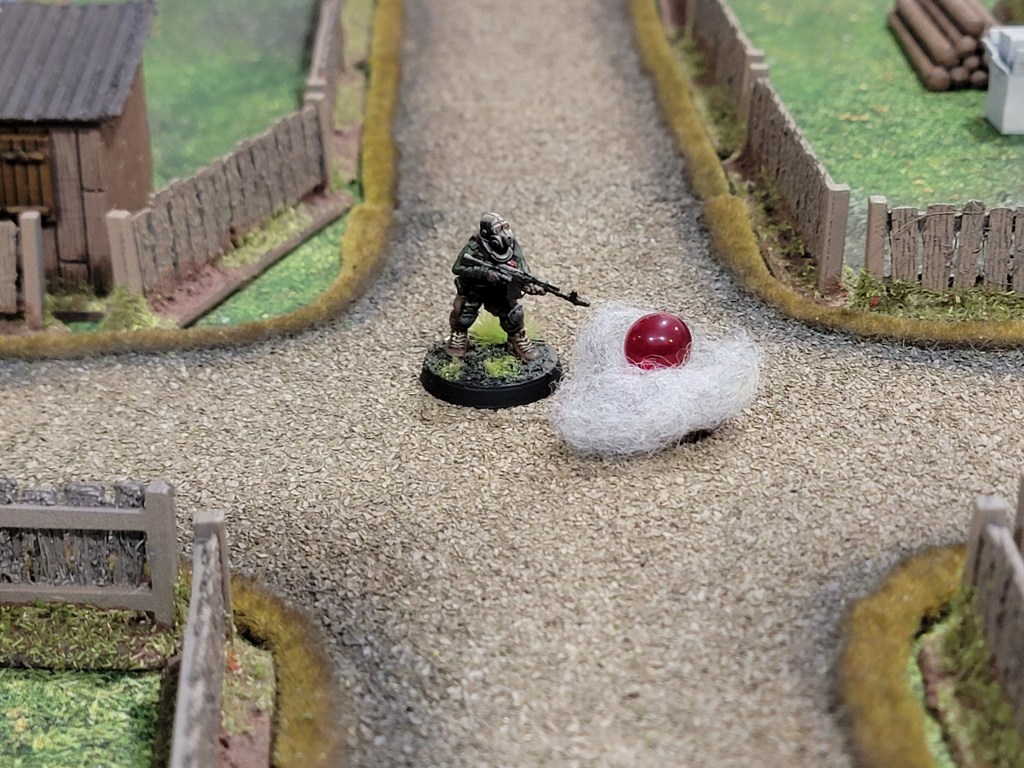
Quar are bright, colorful, and fun to paint. The setting is unique and interesting with a lot of quirkiness built into a grimsical package. The ruleset feels crunchy, with a fair number of charts to roll on—but these all follow a consistent logic and help the game add up to something that really represents its setting while offering just enough thought to be worthwhile. This is a ruleset where you’ll throw smoke to cover a charge, or coordinate fire between combined elements to enable an assault.
It should appeal to the gamer who enjoys a bit of randomness in their outcomes, and revels in the risk of most any action going bad. Even shooting can end poorly for an enterprising Quar, with a critical failure (~0.5% chance) causing your rhyfle to explode in your face, taking your Quar out of action. Add to that a reaction system that means your enemy is almost always firing back and you build to a system in which nothing is ever quite certain and combat is always a risky affair.
It’s both well thought out and a bit silly. I reiterate: it fits the setting well.
The Charts and Dice
The charts in the game come in three varieties: 1D6, 2D6, and 3D6. We’ll go from most to least common.
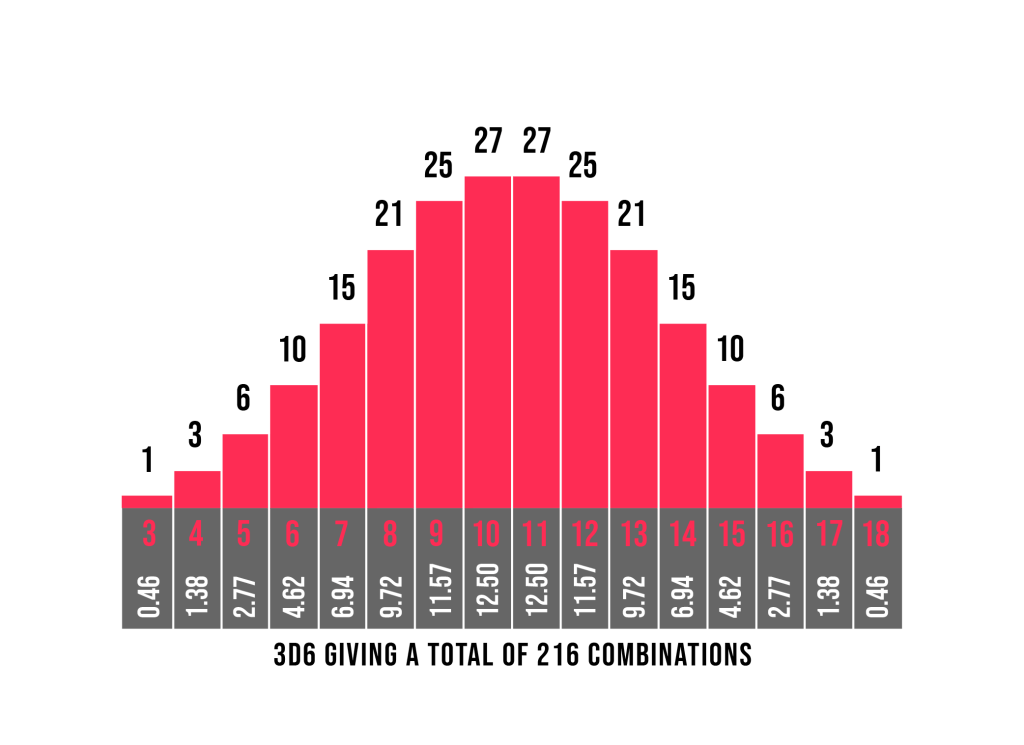
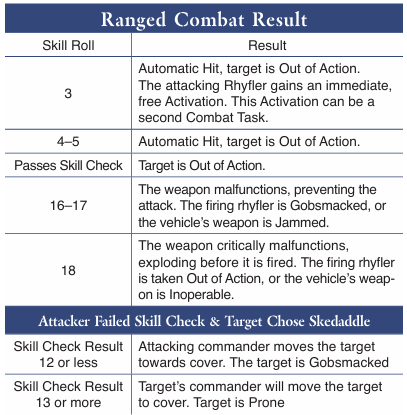
The 3D6 charts are used for skill checks throughout the game. You establish a target number (TN) by “gathering” modifiers, then roll against that TN on 3D6. The bottom three and top three numbers are critical results. On a 3 (~0.5% chance), you succeed magnificently—usually entailing a success and a bonus. On a 4 or 5 (~4.15% chance) you succeed no matter what. In between extreme ends of the scale, you’re just testing against your TN for success or failure. Then, at 16-17 (~4.15% chance) you’ll usually gobsmack yourself, and on an 18 (~0.5%) you’ll normally take yourself out of action. All charts using 3D6 follow this logic, roughly, and as a result do not appear very difficult to recall. If you play the game with any regularity I expect these get easily memorized.

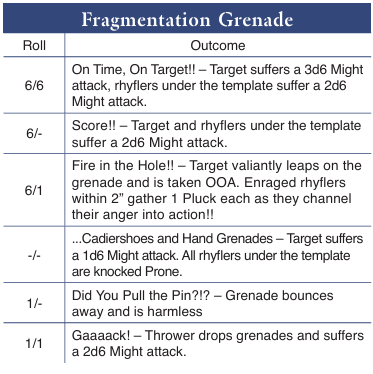
The 2D6 charts are used for more ‘random’ outcomes independent of your Quar’s skill. You are essentially rolling for 6s and 1s. Roll a 6, a good thing happens. Roll two, an amazing thing happens. Roll a 1, a bad thing happens. Roll two, an awful thing happens. The most common example of this is grenade use. Double 6s mean you likely kill your opponent. Double 1s mean you likely kill yourself. I’d expect to memorize some of these—again, they follow a logic. Some you won’t interact with as much and you’ll likely always reference.

The 1D6 charts are primarily used for medic actions, crewed weapon and vehicle damage. They’re a straightforward chart reference and I don’t expect to memorize them. Vehicles and crewed weapons have the chart printed on their cards, which makes this easy enough.
Overall, just about everything you do references a chart. These charts have consistent logic and appear easy to remember but you should be aware of this before you buy into the ruleset. It’s a “Roll dice, check chart” world and for some people that’s an understandable deal breaker.
Activation
Activation is… interesting. I’m not sure how I feel about it and I suspect many players will dislike it outright. You have a deck of cards with numbers on them varying from 3-5. This is how many activations your opponent gets. So you draw a card, then your opponent activates three times. After they take those activations, they then ask you if they have a fourth activation. After that, they ask if they have a fifth.
You’re left with some certainty of what you can do, but you don’t truly know how much you can do in a turn until you do it. I really dig this from the uncertainty angle: you’re never really sure but you can still execute a coordinated plan. The fact that your opponent draws your activation card is a clever way of handling this and overall, I like it. I think it fits the setting well and I’m looking forward to trying it out.

The Action
The free ruleset looks like it is fast moving, brutal, and a fun time. I see the appeal here in the idea that everything can go wrong and yet you still need to use coordinated action and thoughtful planning to achieve your objectives. It’s a fun mix and I don’t doubt it’s a good time where you’ll balance risk versus reward constantly.
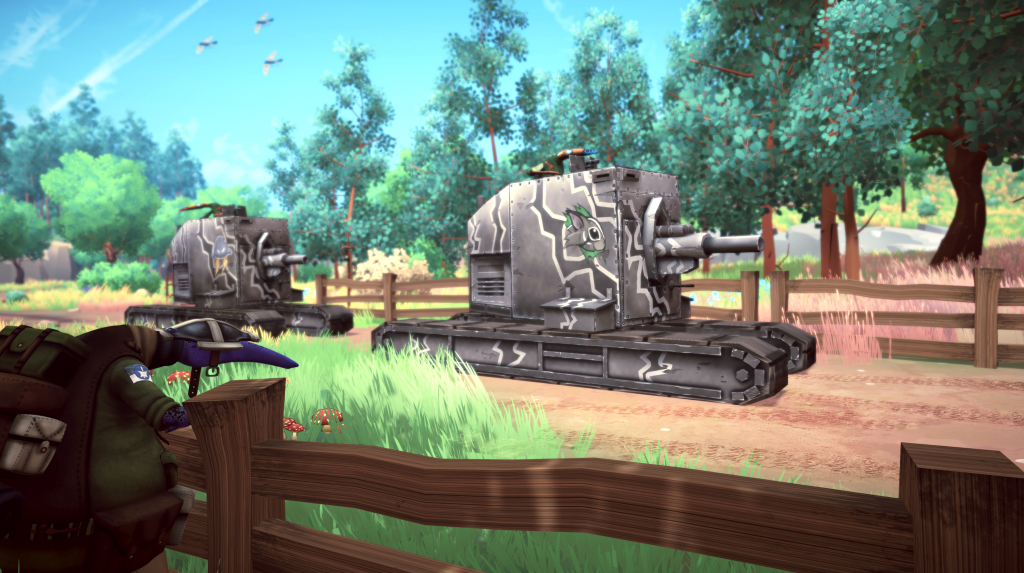
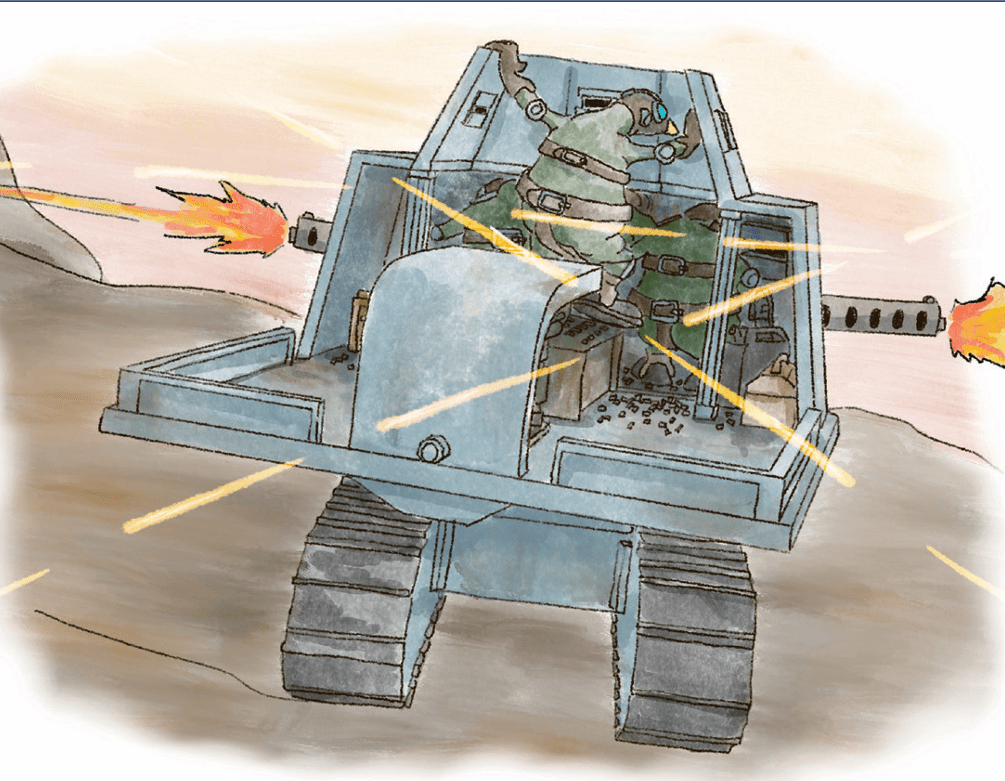
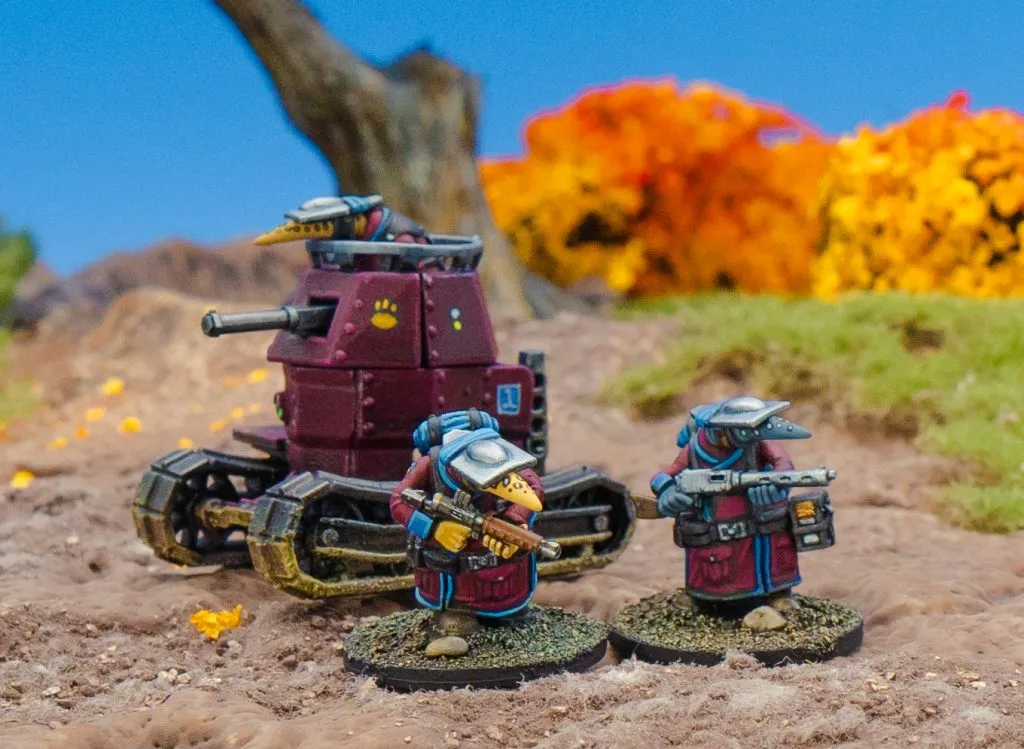
Throw in the tractors (in the paid ruleset) now and we start to get a little more complicated. When you activate a tractor you activate the models inside the tractor, usually in an order: driver, gunner, commander.
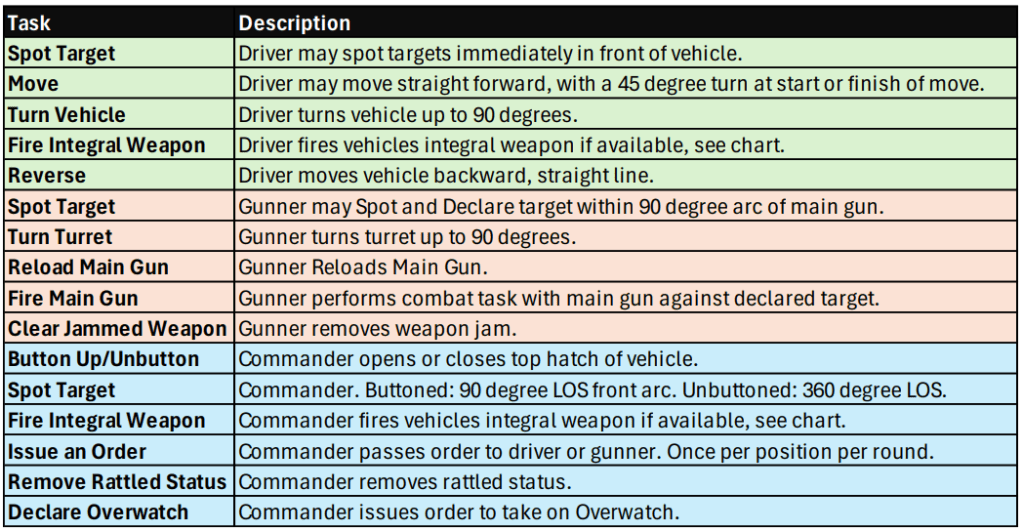
I really like this and again, I think it fits the system well. It’s just a fair amount of rules overhead to keep in mind. Tractors are more complicated in this system than you might have expected when looking at their wacky designs and I recommend trying the basic free rules before you graduate to these. You can see the activation drain and trade off that exists here: I could activate three normal Quar to do something or I could activate just one tractor to push forward, line up a shot, and then fire. This decision tension is really cool to me.
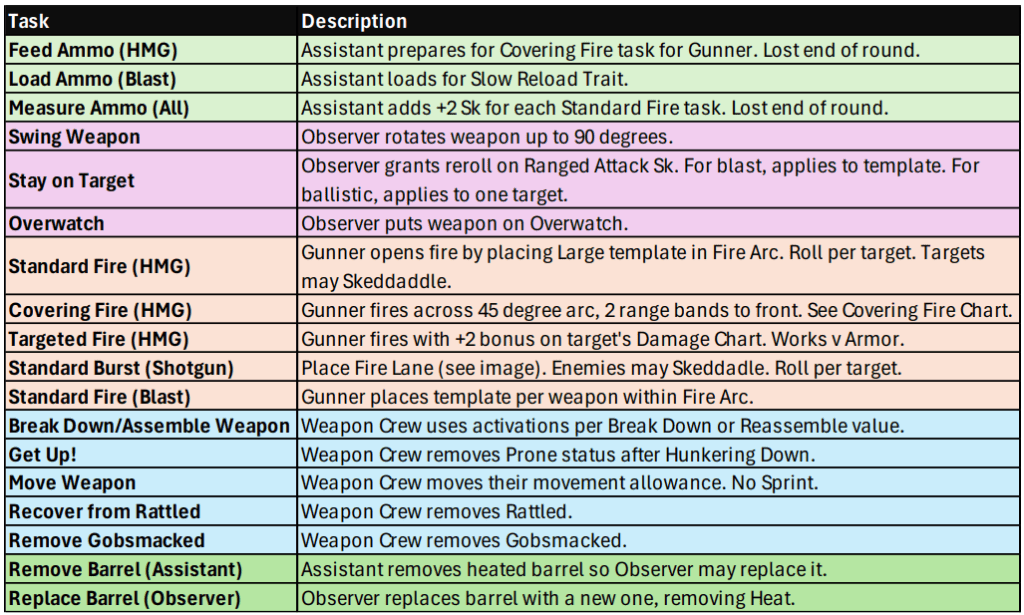
Next we have crewed weapons, which work much the same way as tractors. You activate individual positions. So, for instance, you might activate the reloader to load up additional ammo, then reorient the gun and fire. You might risk your luck in activating three models with a fourth activation going to the gunner to fire… only to discover you don’t have a fourth activation. “Friction” is probably the right word here and the system clearly focuses on it.
The Caveats
By now you get the idea: the basic rules seem approachable, fun, and reasonably fast moving. If you want to throw 10ish Quar at 10ish Quar on a 2×2’ board for some fun, I think you’re in for a good time. As you add the optional rules the complication of the ruleset grows with more and more charts and different activation considerations. You have to be ready for this. I’d say the grand sum is a ruleset of medium complexity, high friction, and a touch of “Oops, you blew yourself up!” thrown in for good measure.
The next caveat is the army lists. They’re… well, growing. You’ll note at time of this post publishing, the crusaders are really well fleshed out. So are the Coftyrans. The Gloam Hyyn? Not so much. Tollyn Maeryn? Not so much. They exist and have options—you could certainly work your way around and maybe just “Ally” in some Coftyran or Crusader options. I don’t believe you’ll have a big issue there so long as you’re playing with friends.
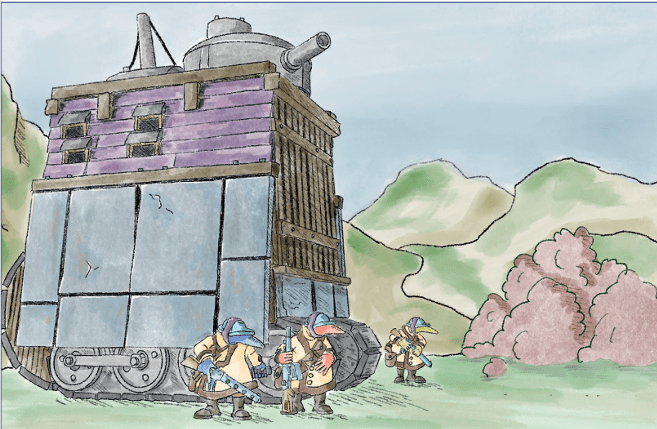
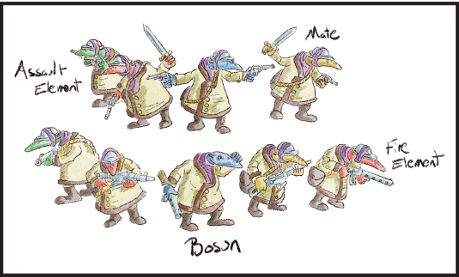
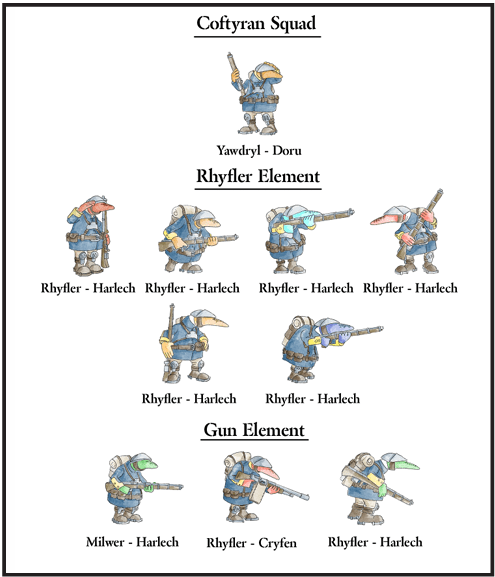
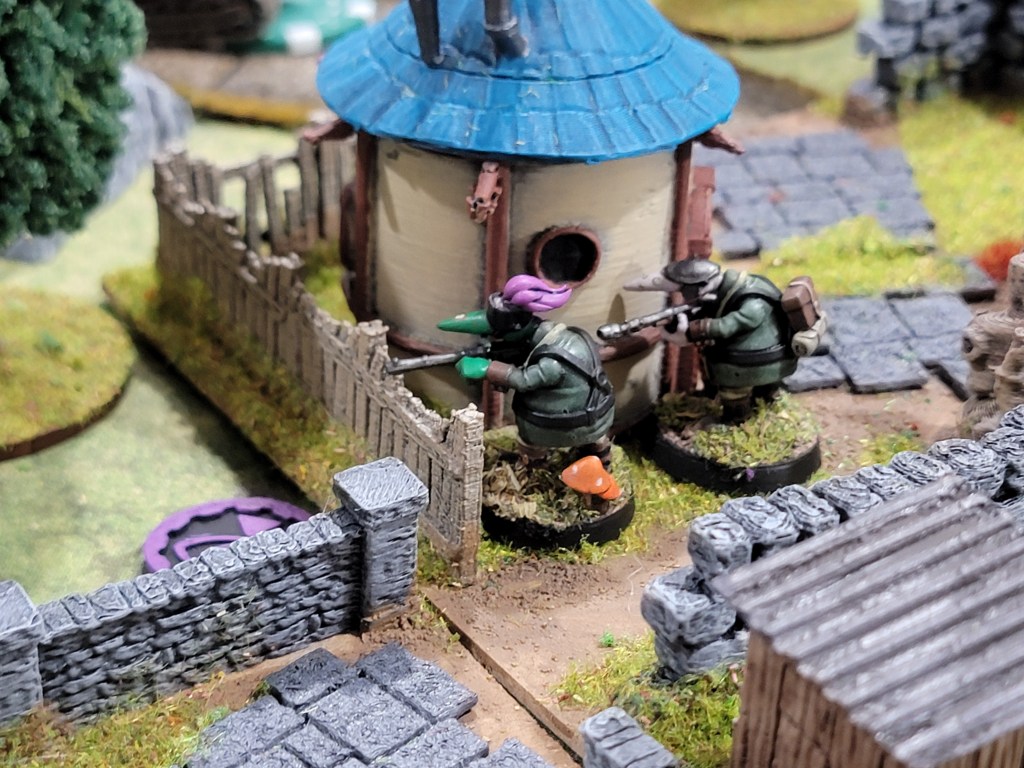
My bigger problem is, as of this writing, squads are oddly unclear. It’s a ruleset that asks you to form the proper squad and leaves you with… uh… these images to guide it:
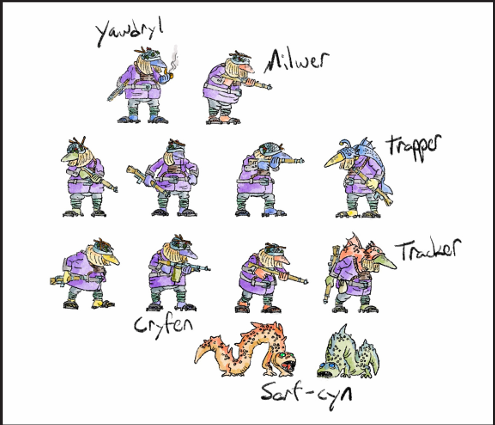
Notably, in this image it appears the Gloam Hyyn have a Milwer with a rhyfle and a rhyfler with a cryfen. Look at their profile listing, there’s no profile for a regular rhyfler with a cryfen.
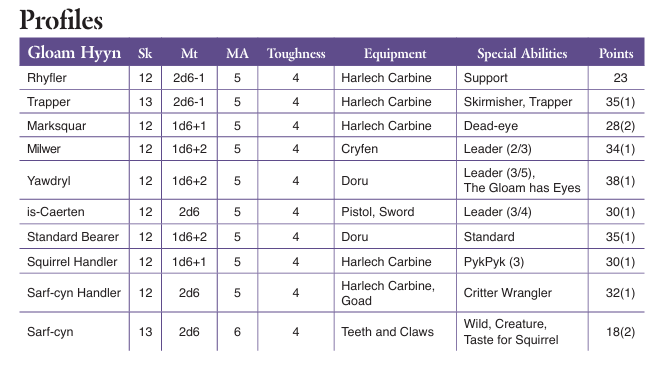
No, wait—it’s clearly backward? I’ve investigated and confirmed that’s the case. The Milwer has the cryfen and the rhyfler shouldn’t. Stuff like this pops up a bit in the army listings—and again, I expect it to alleviate over time. Another example of an oddity is the Fidwog having tractors in their base squad structure… which you don’t know how to use in the base, free ruleset. That’s not killer—it’s a free ruleset after all. Just be aware that you probably want to plan your list before you commit your dollars.
Beyond the lists and the charts, I can’t say there’s much else here that seriously concerns me. It’s likely the Quar themselves are what attracted you and so long as you can stomach the above, I think they come with a ruleset that fits them quite well.
Conclusion
I’ll make it simple:
Do the Quar themselves appeal to you?
Can you stomach, or better yet, revel in the charts?
Are you okay with a ruleset that will bite you and expects you to account for it?
There you go. Answer ‘yes’ to all of the above and I think you’re in safe territory for me to recommend the rules. Answer ‘no’ to one or more and you should question it. I can never recommend a ruleset across the board: every ruleset has an audience. I think by now you know if you’re this ruleset’s audience.
I know I am.

Leave a comment