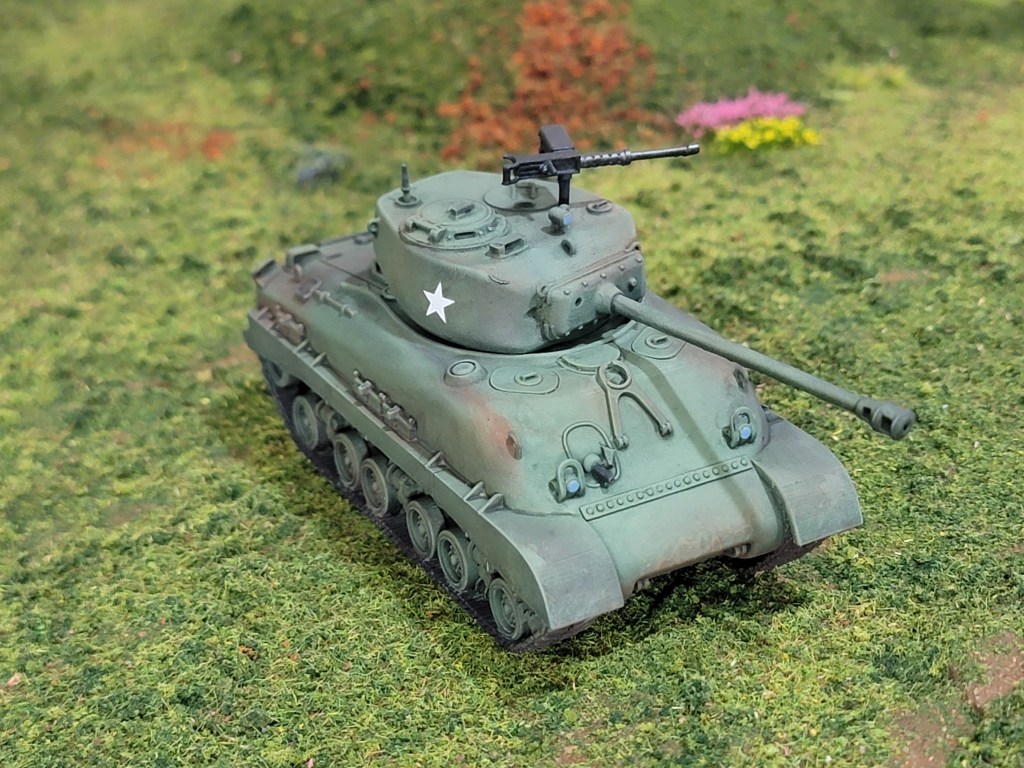
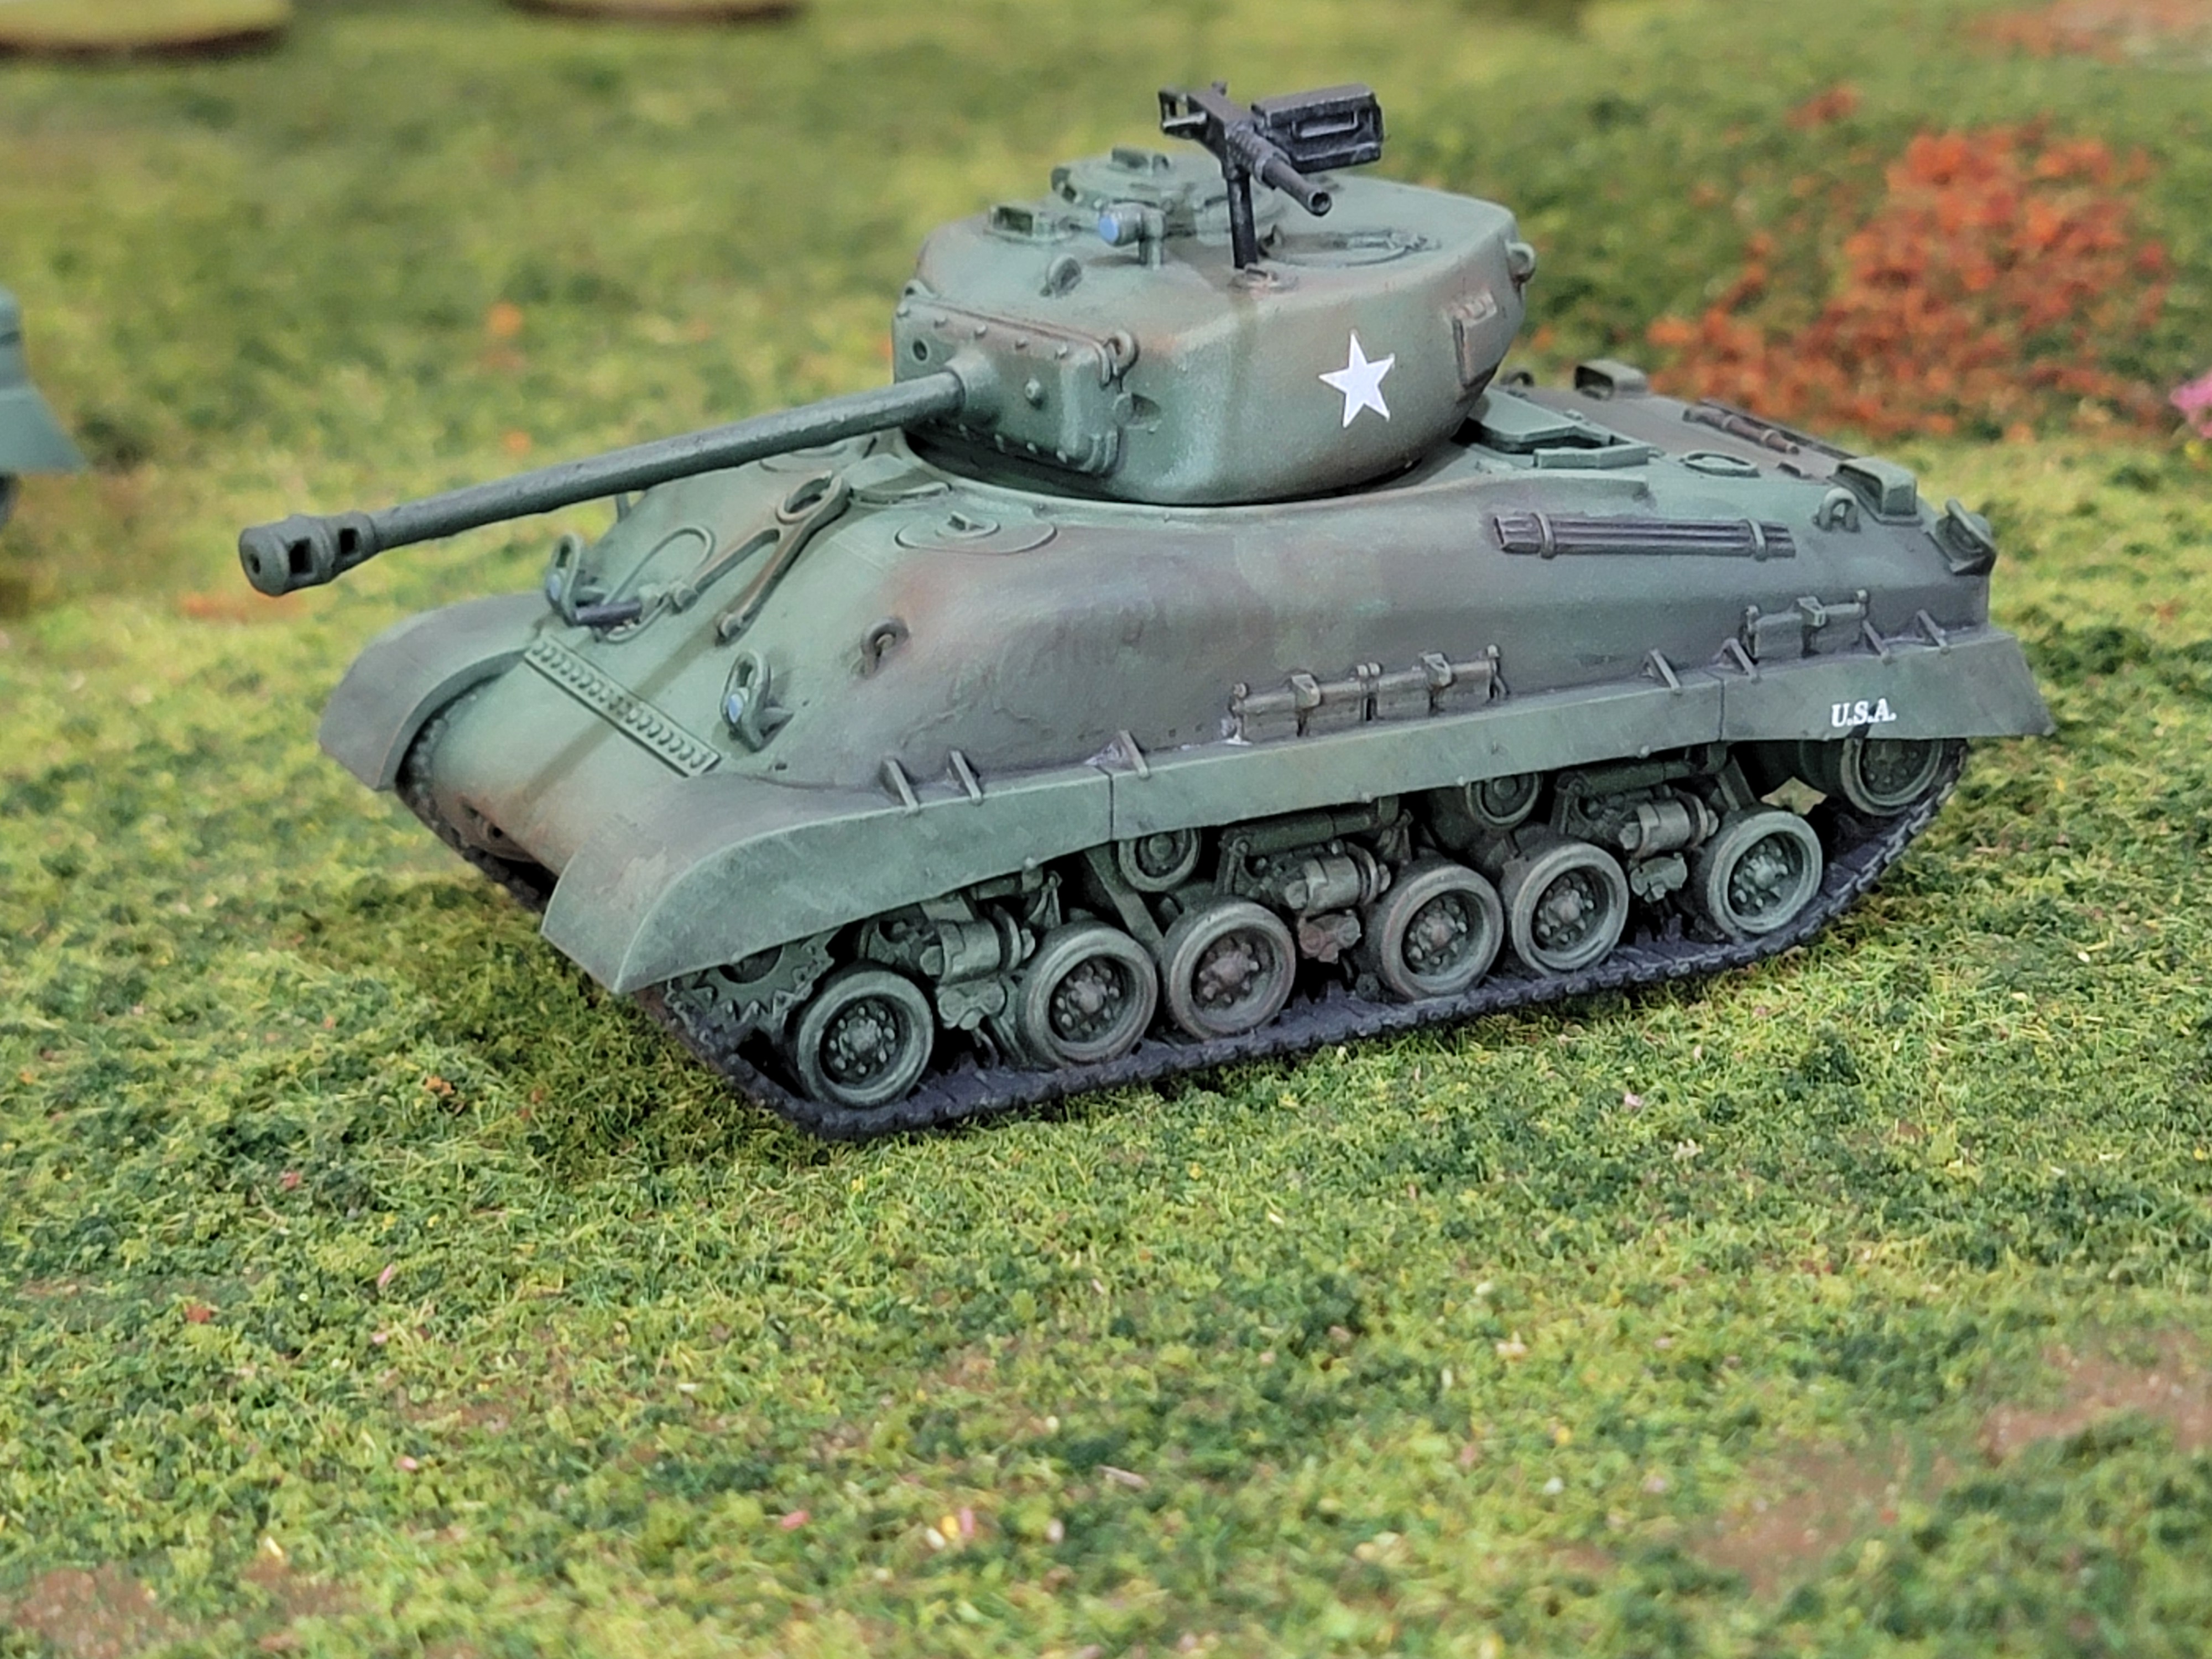
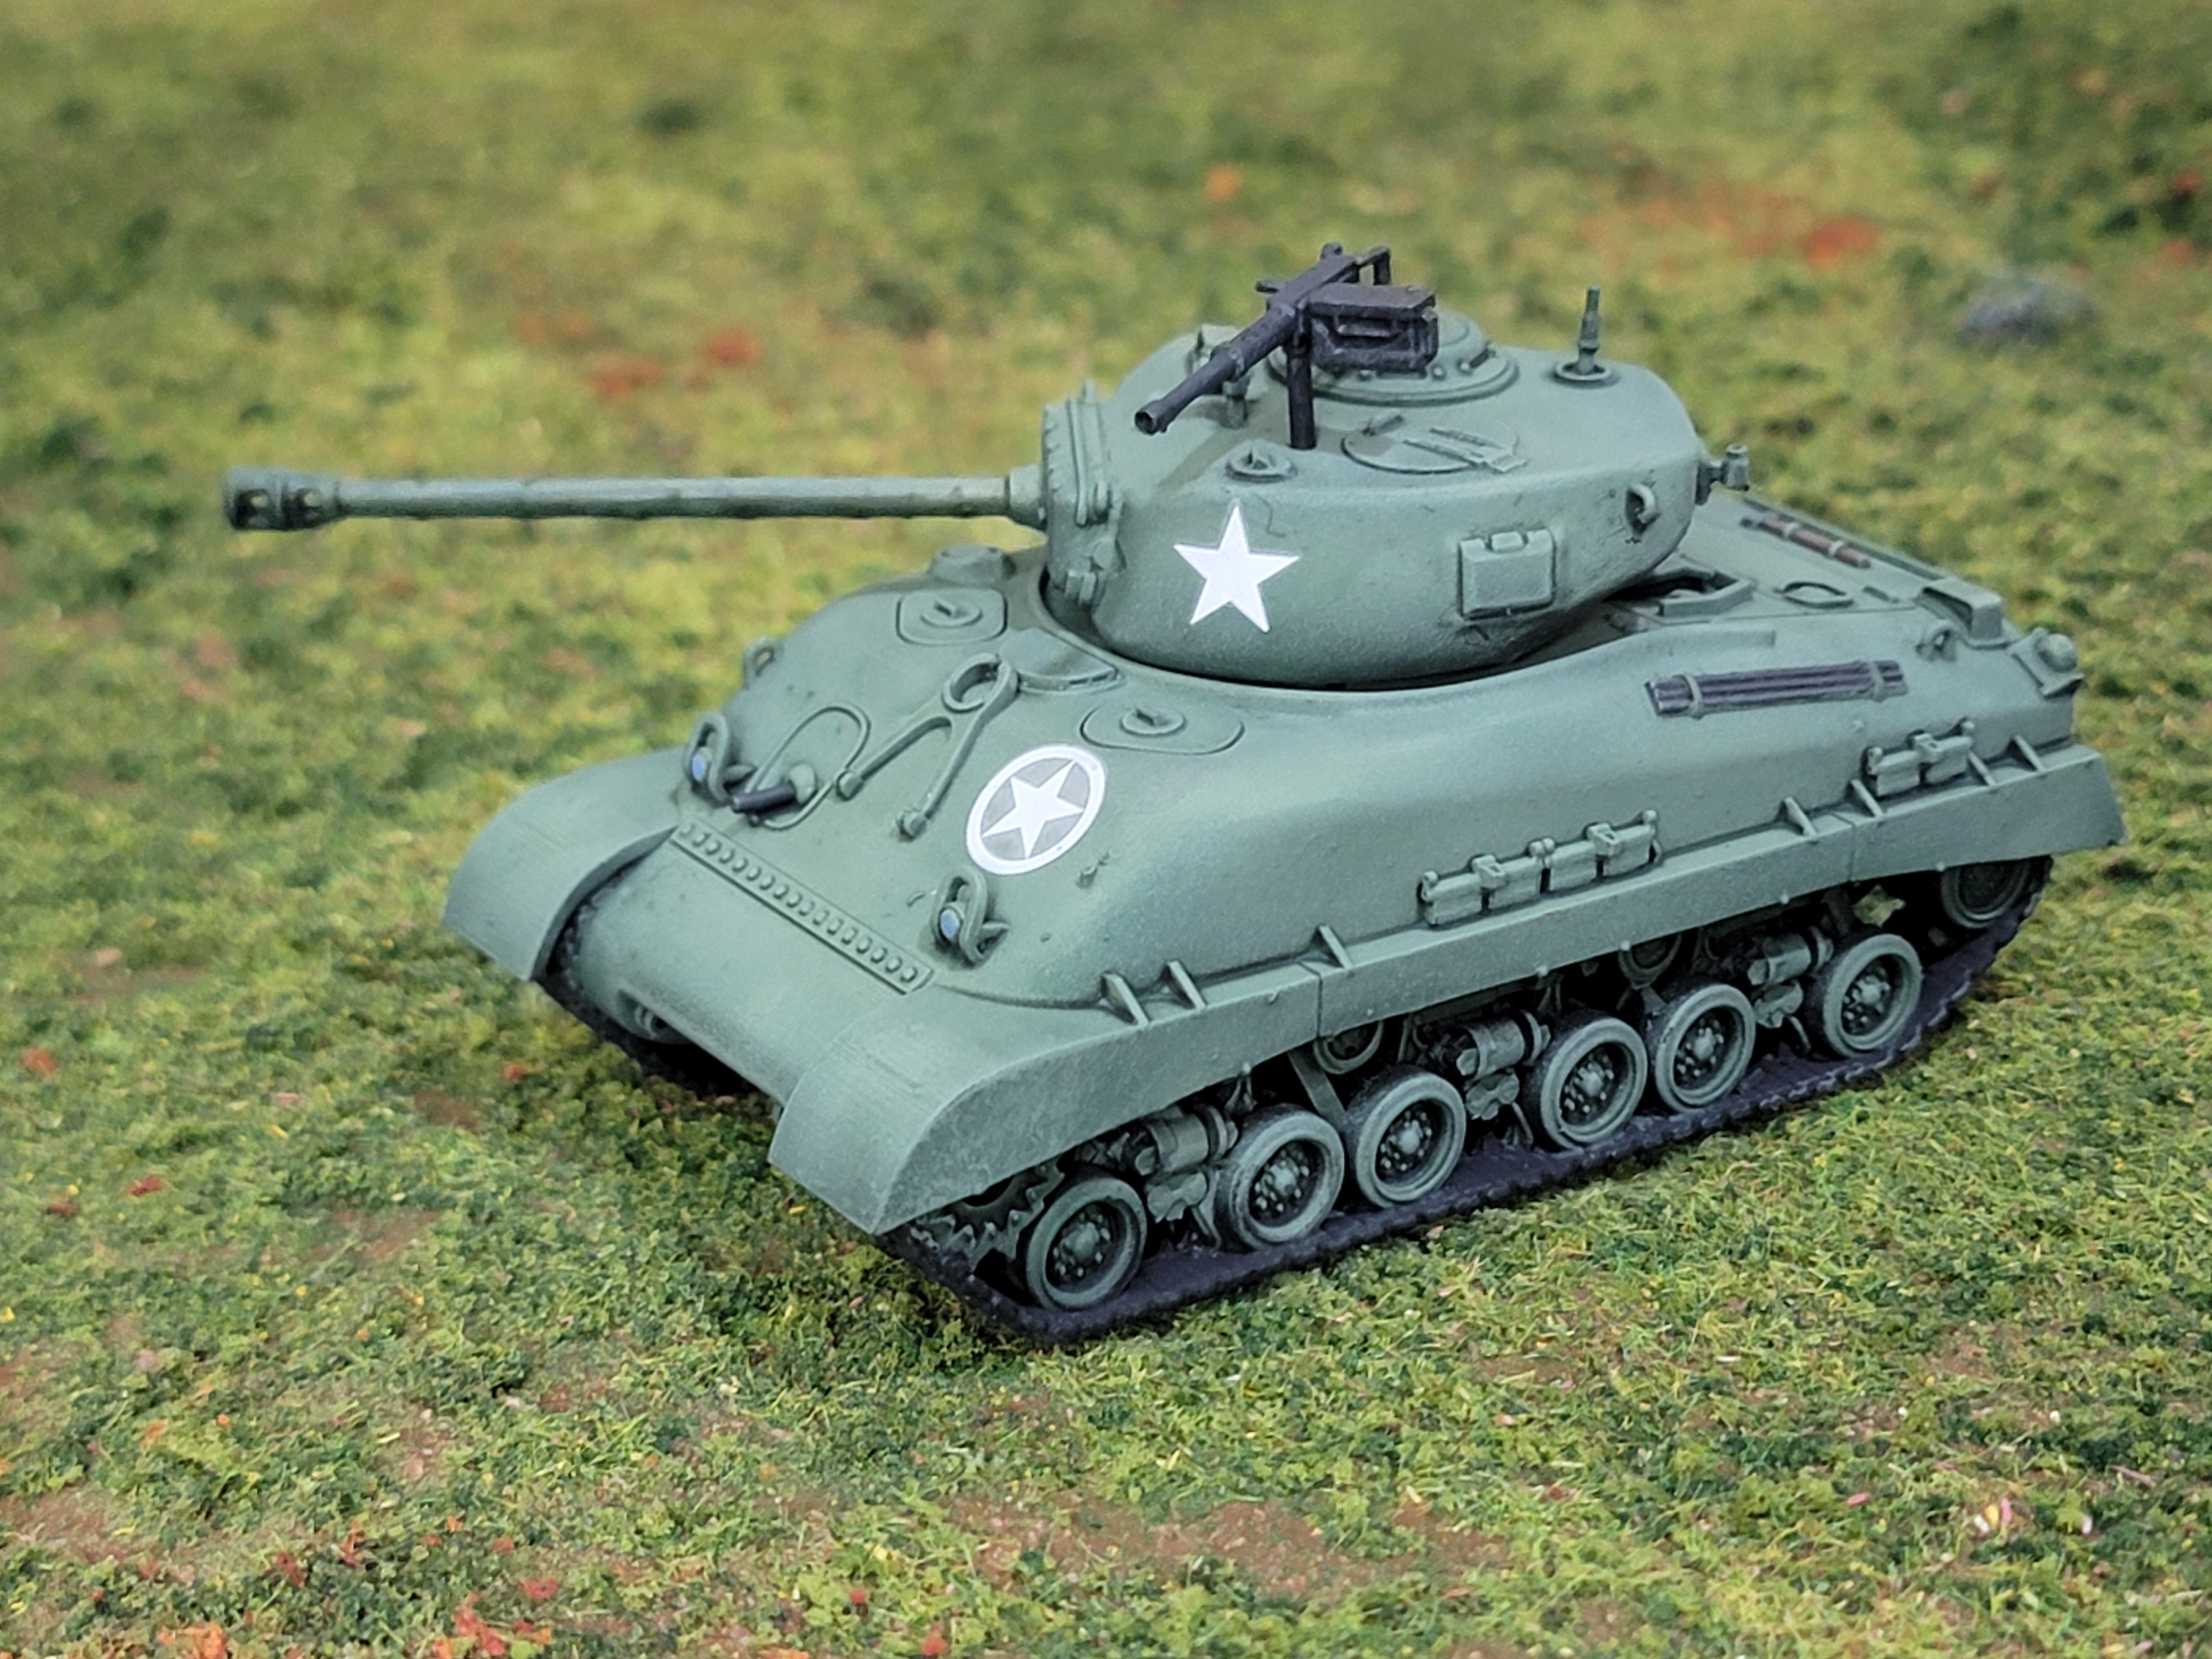
America: a country so consistently backward we named every goddamn thing “M-XYZ” and just went from there. The M4A1 (76) W was the Sherman tank with a 76mm cannon, which was the up-gunned version with better armor piercing. It’s a fantastic tank and was a reliable, consistent force on the battlefield.
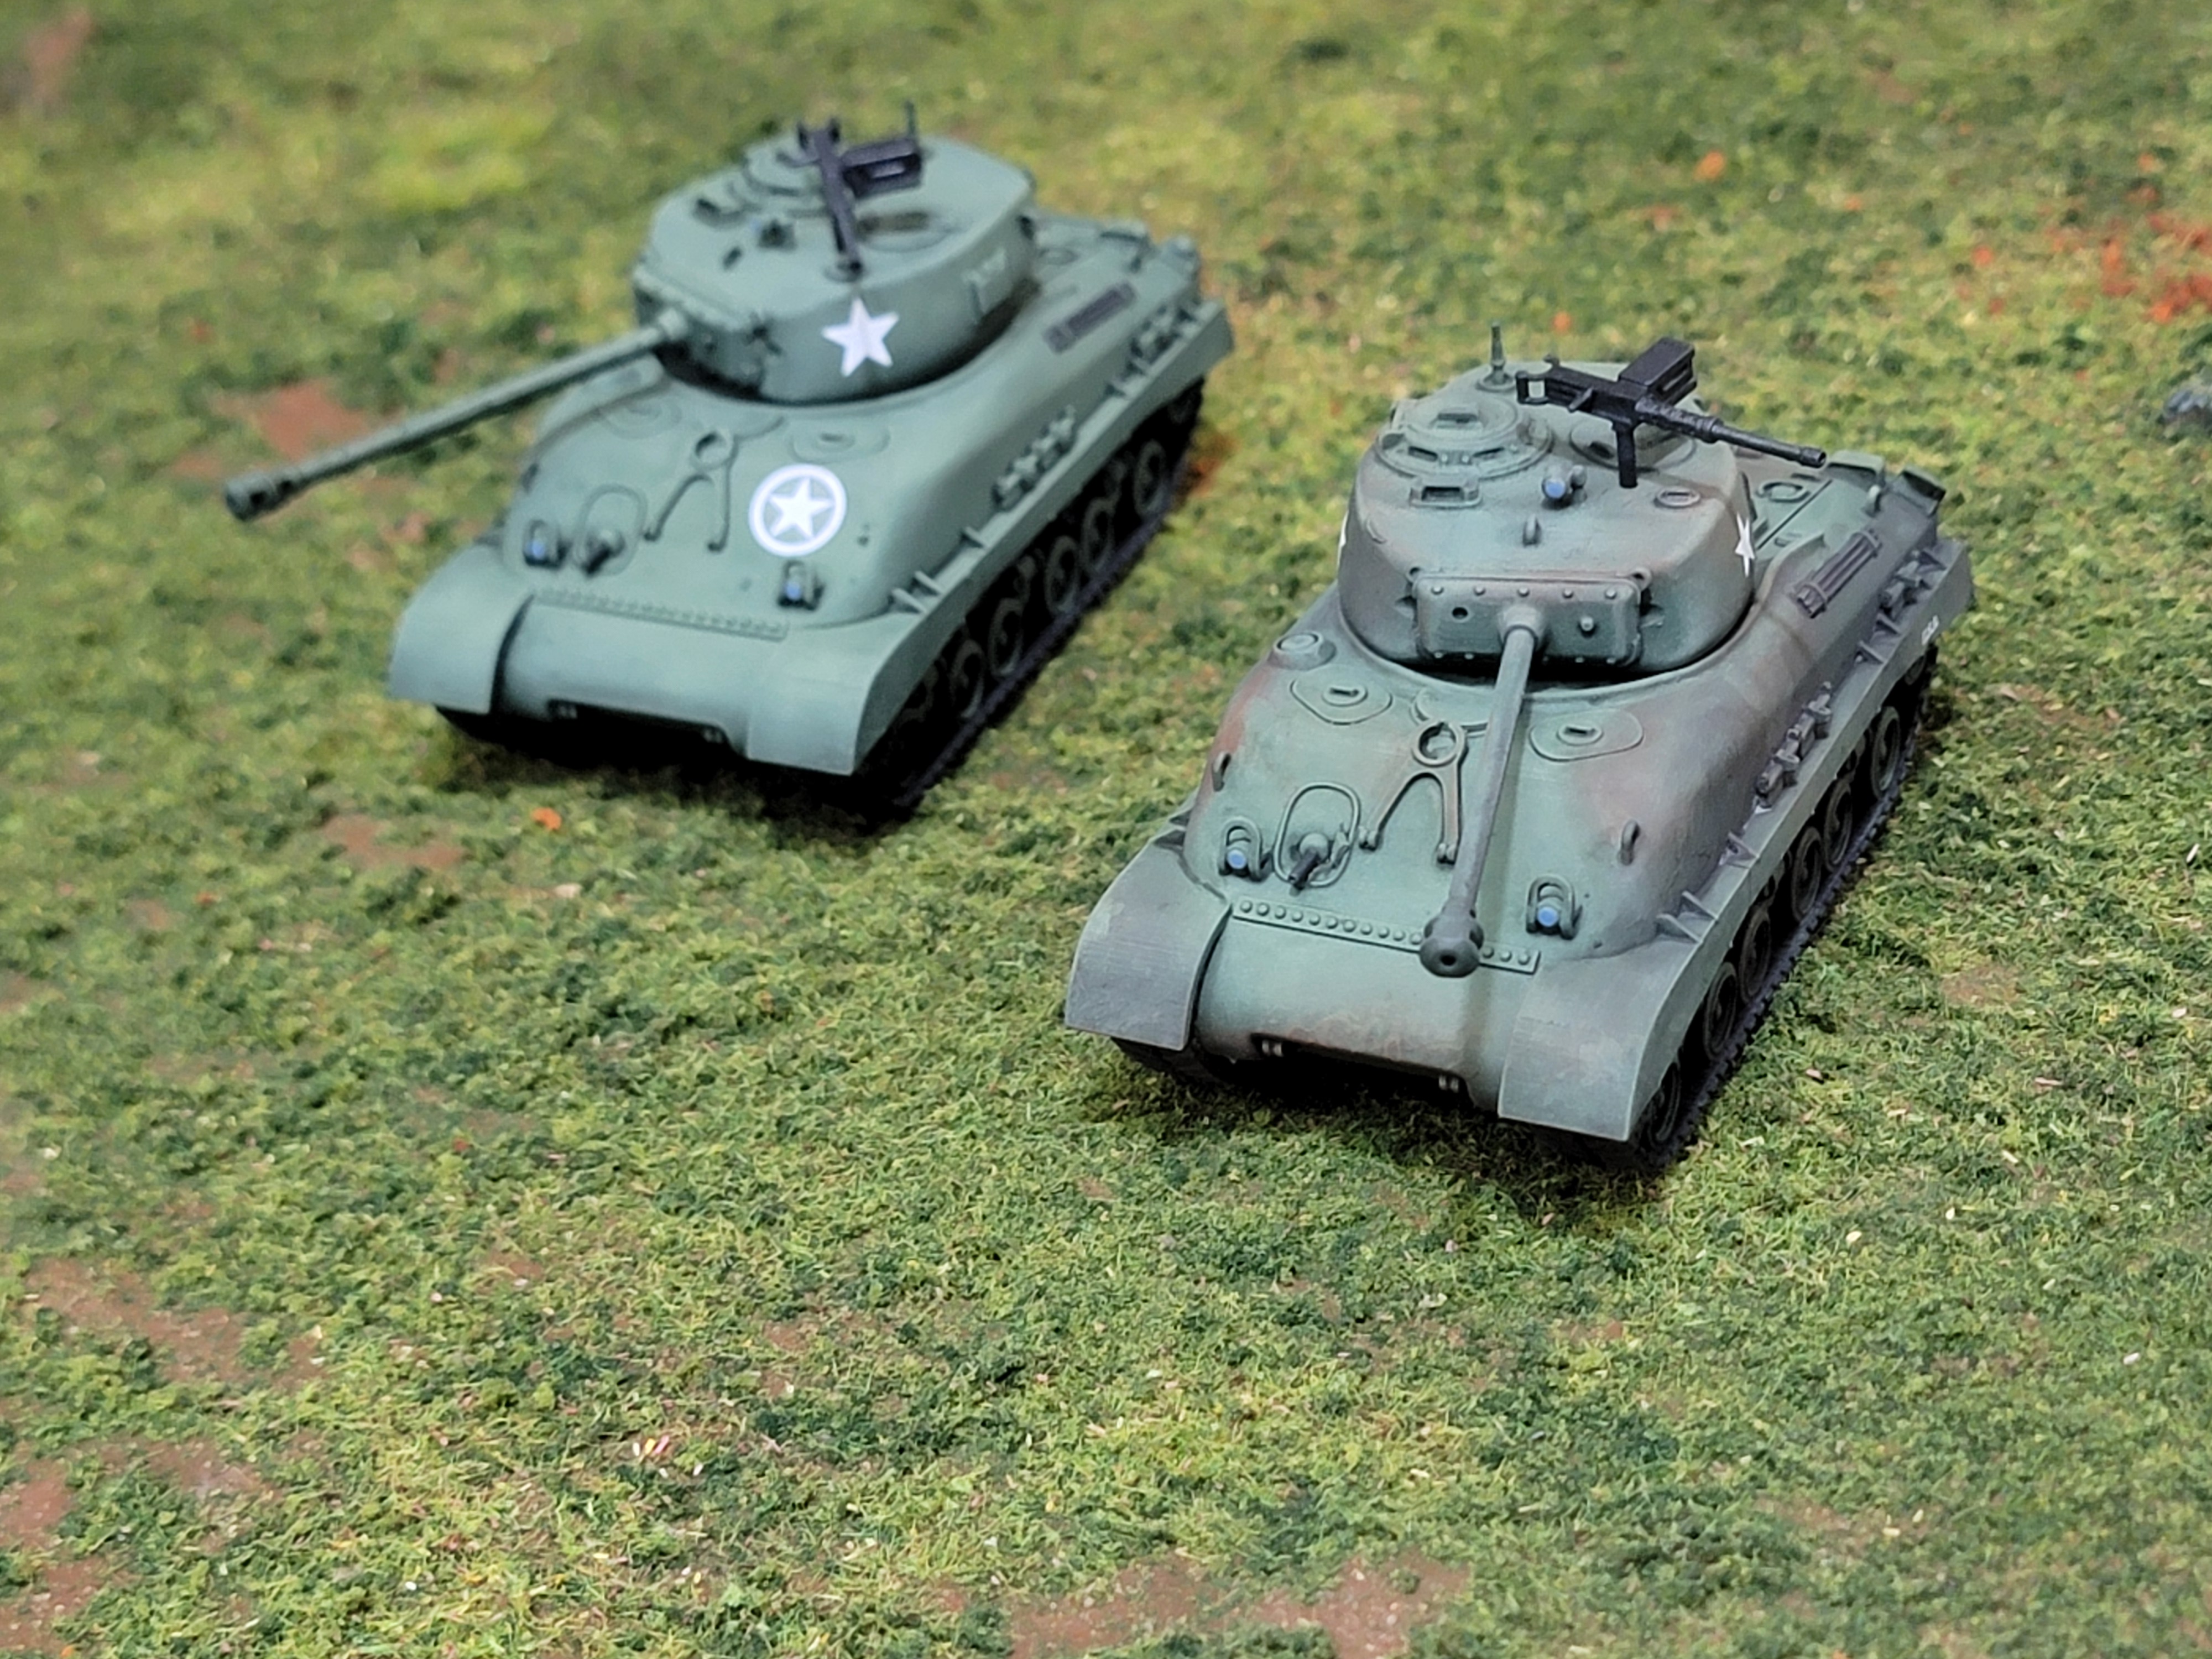
Oh, the “x2” means “times two.” I made two. I sat down and assessed the variety of options available to me and went “Nah, two Shermans is all I’ll ever need.”
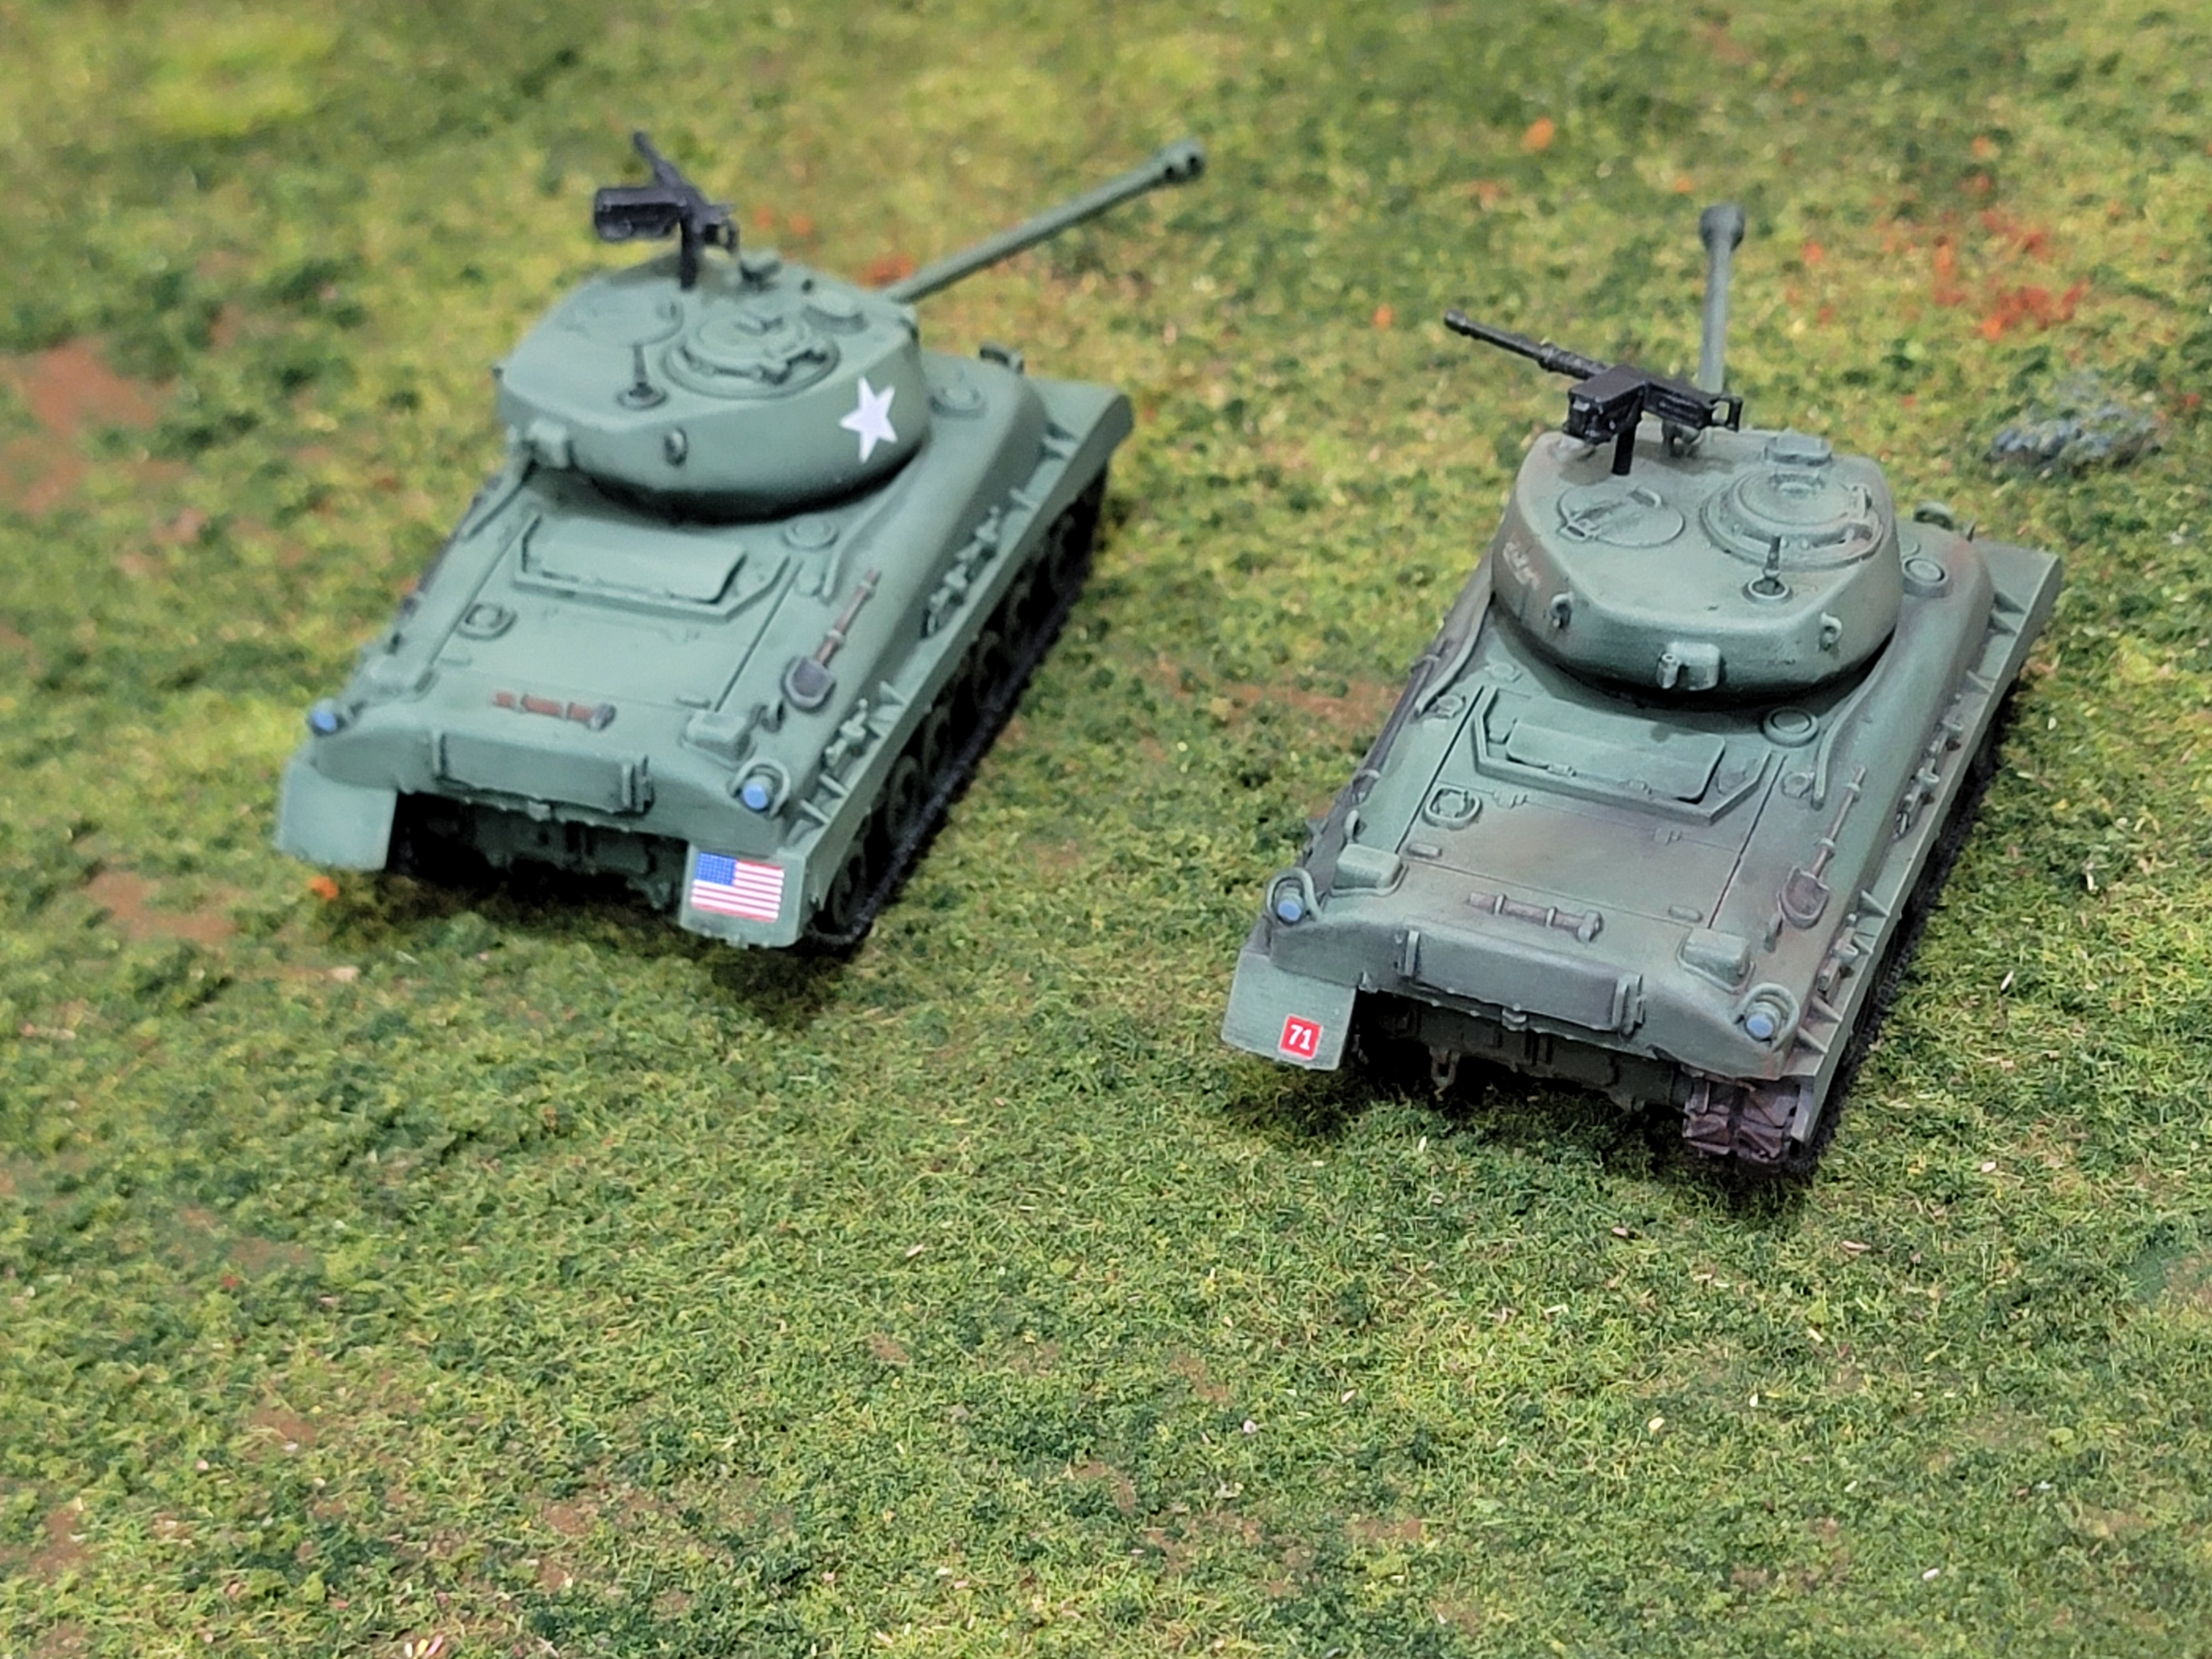
To be fair I might print off a half-track at some point but these really do cover the majority of everything I’ll ever need. I love painting tanks–they’re fast and gratifying. Here, I kept one tank clean–more or less factory fresh with a tiny bit of wear. The other I dirtied up using Vallejo pigments. I made the choice based on, well, having dropped one of the tanks and broken off the rear right side tread armor.
I won’t pretend these are the prettiest tanks in the world. This whole project was a process of emphasizing speed over quality. That said, it’s remarkable how good tanks can look with so little effort put into them.

The core of the technique was easy enough: I airbrushed the base color, then dry brushed very lightly around any “edges,” most of which are of coursed curved on a Sherman. After that, I picked out details rather quickly. I then washed them with a custom mixture using a green speedpaint, speedpaint medium, and black wash, after which I applied the decals. The final step was a quick matte varnish to seal.
There we go. Another quick post and a project fully to bed. Onward to the next one. Wait, which one is that?
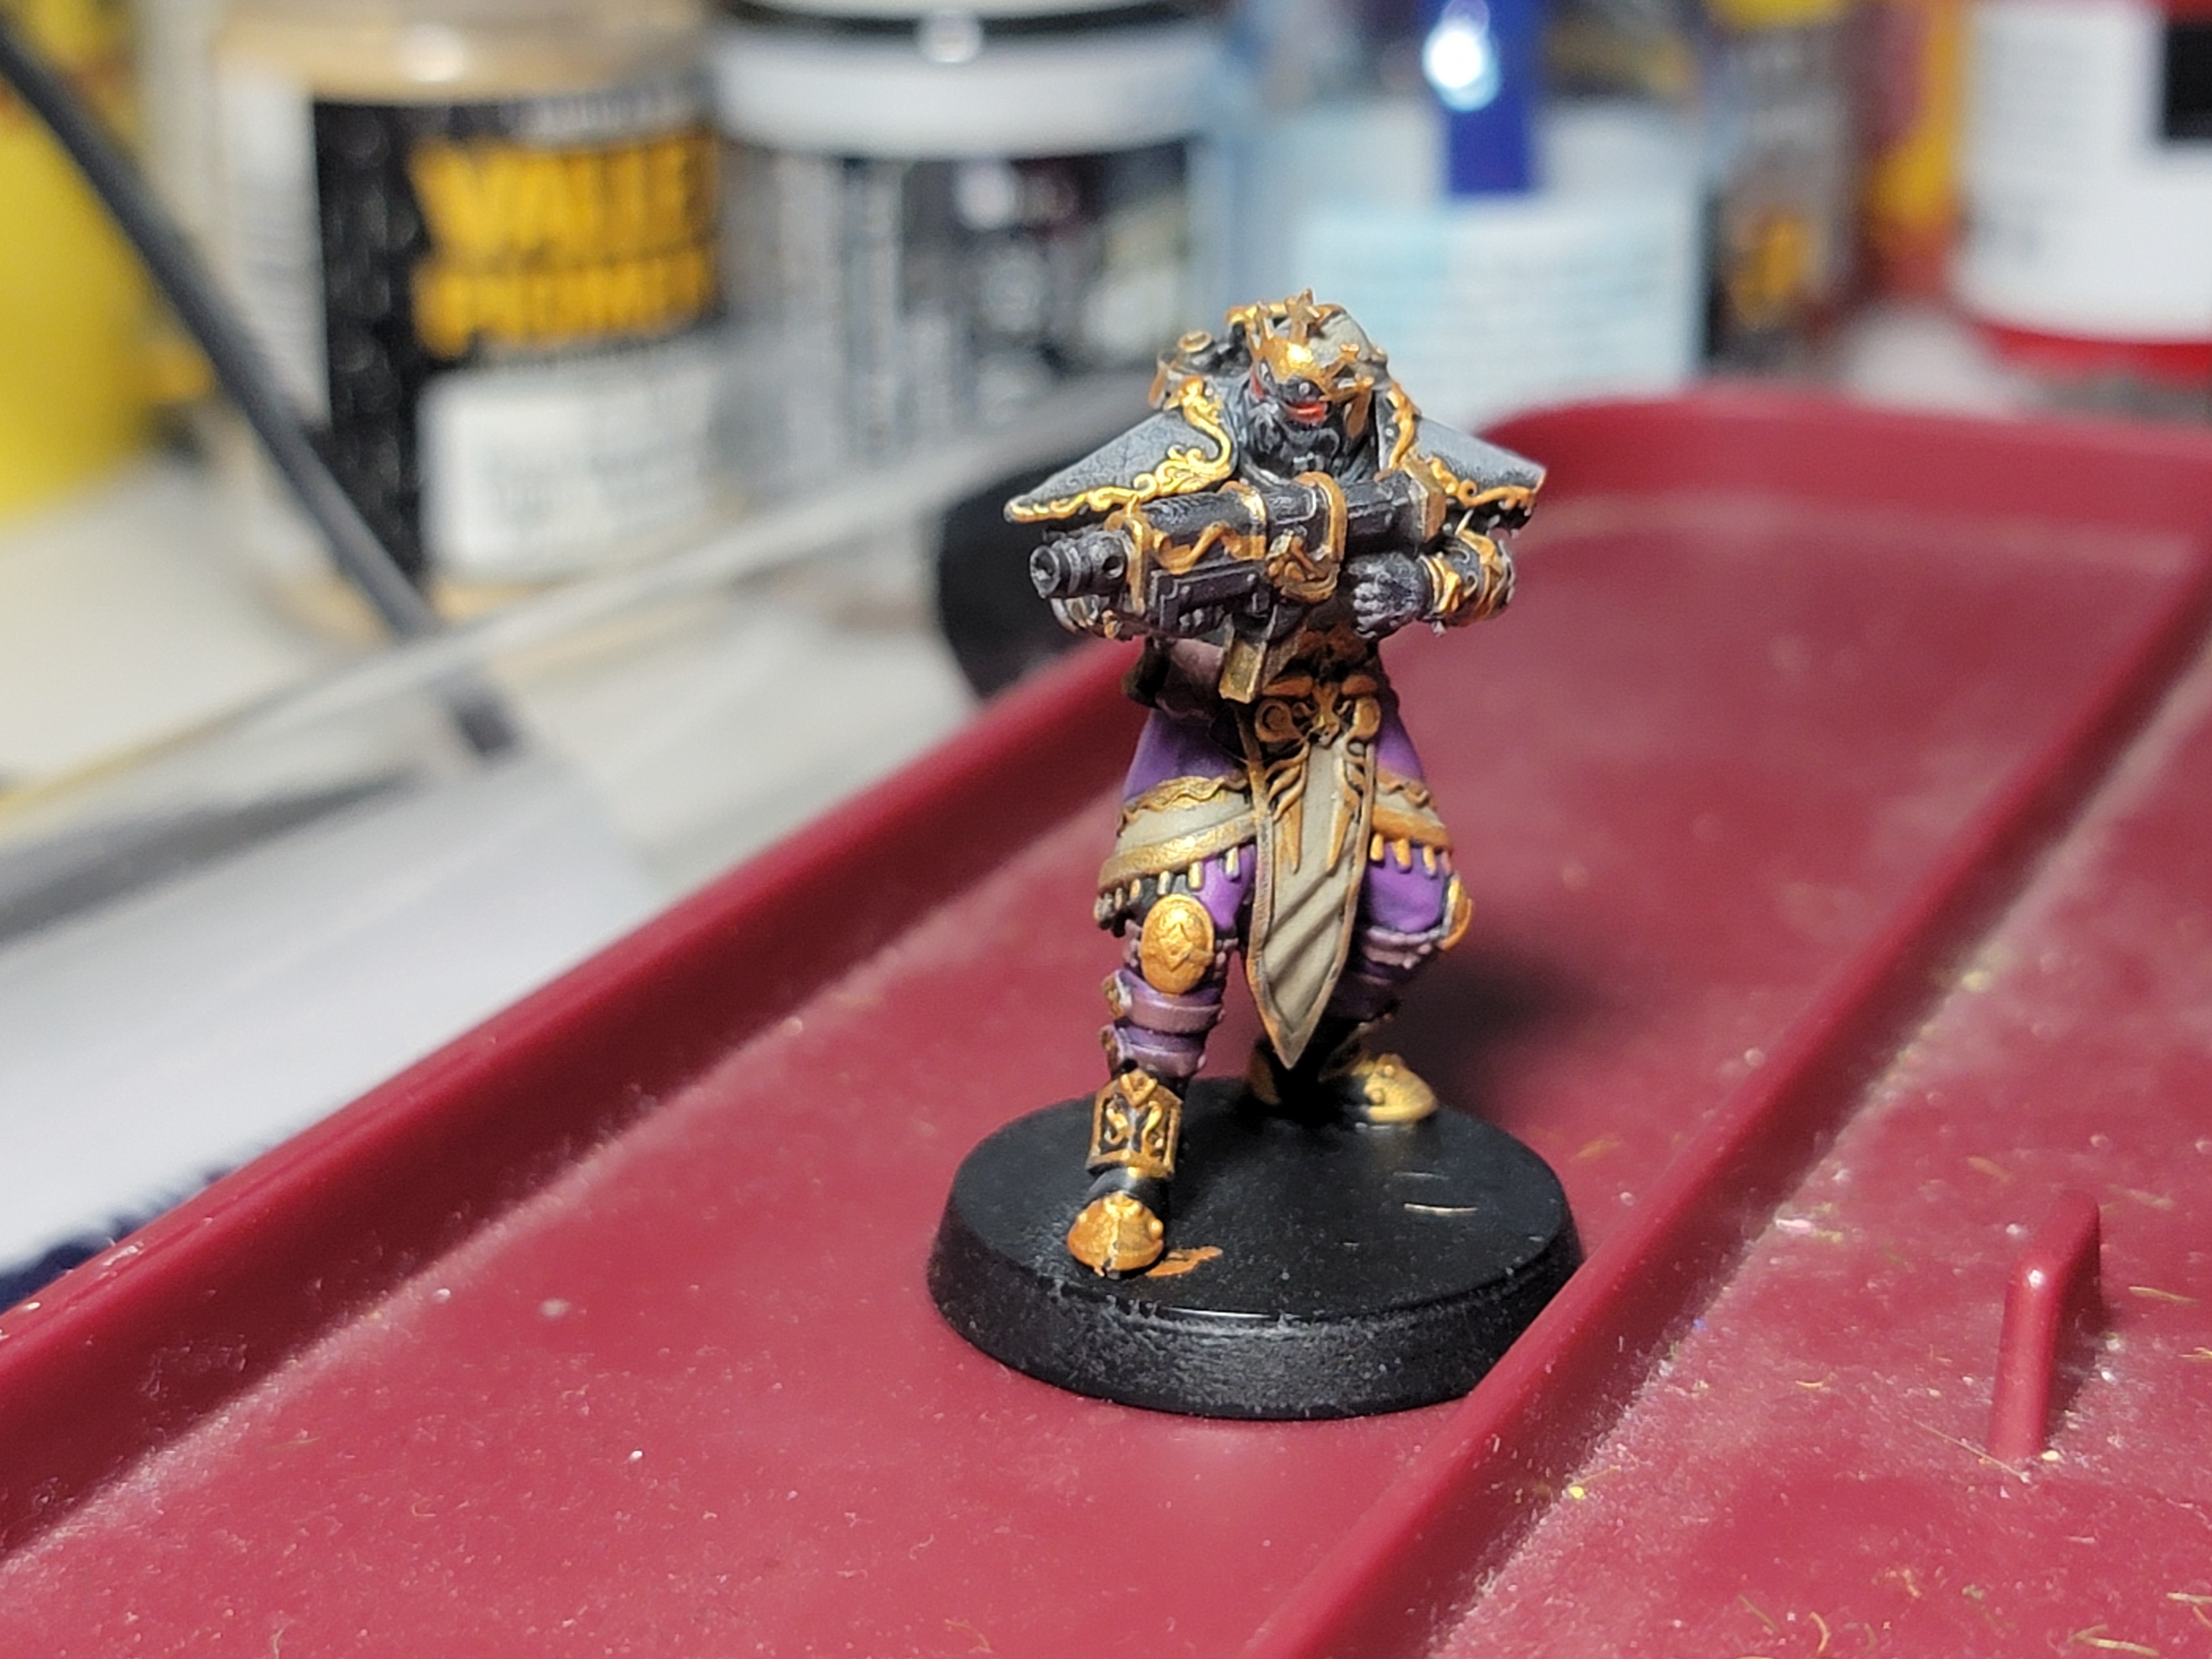
Oh man… this is going to take a while.

Leave a comment