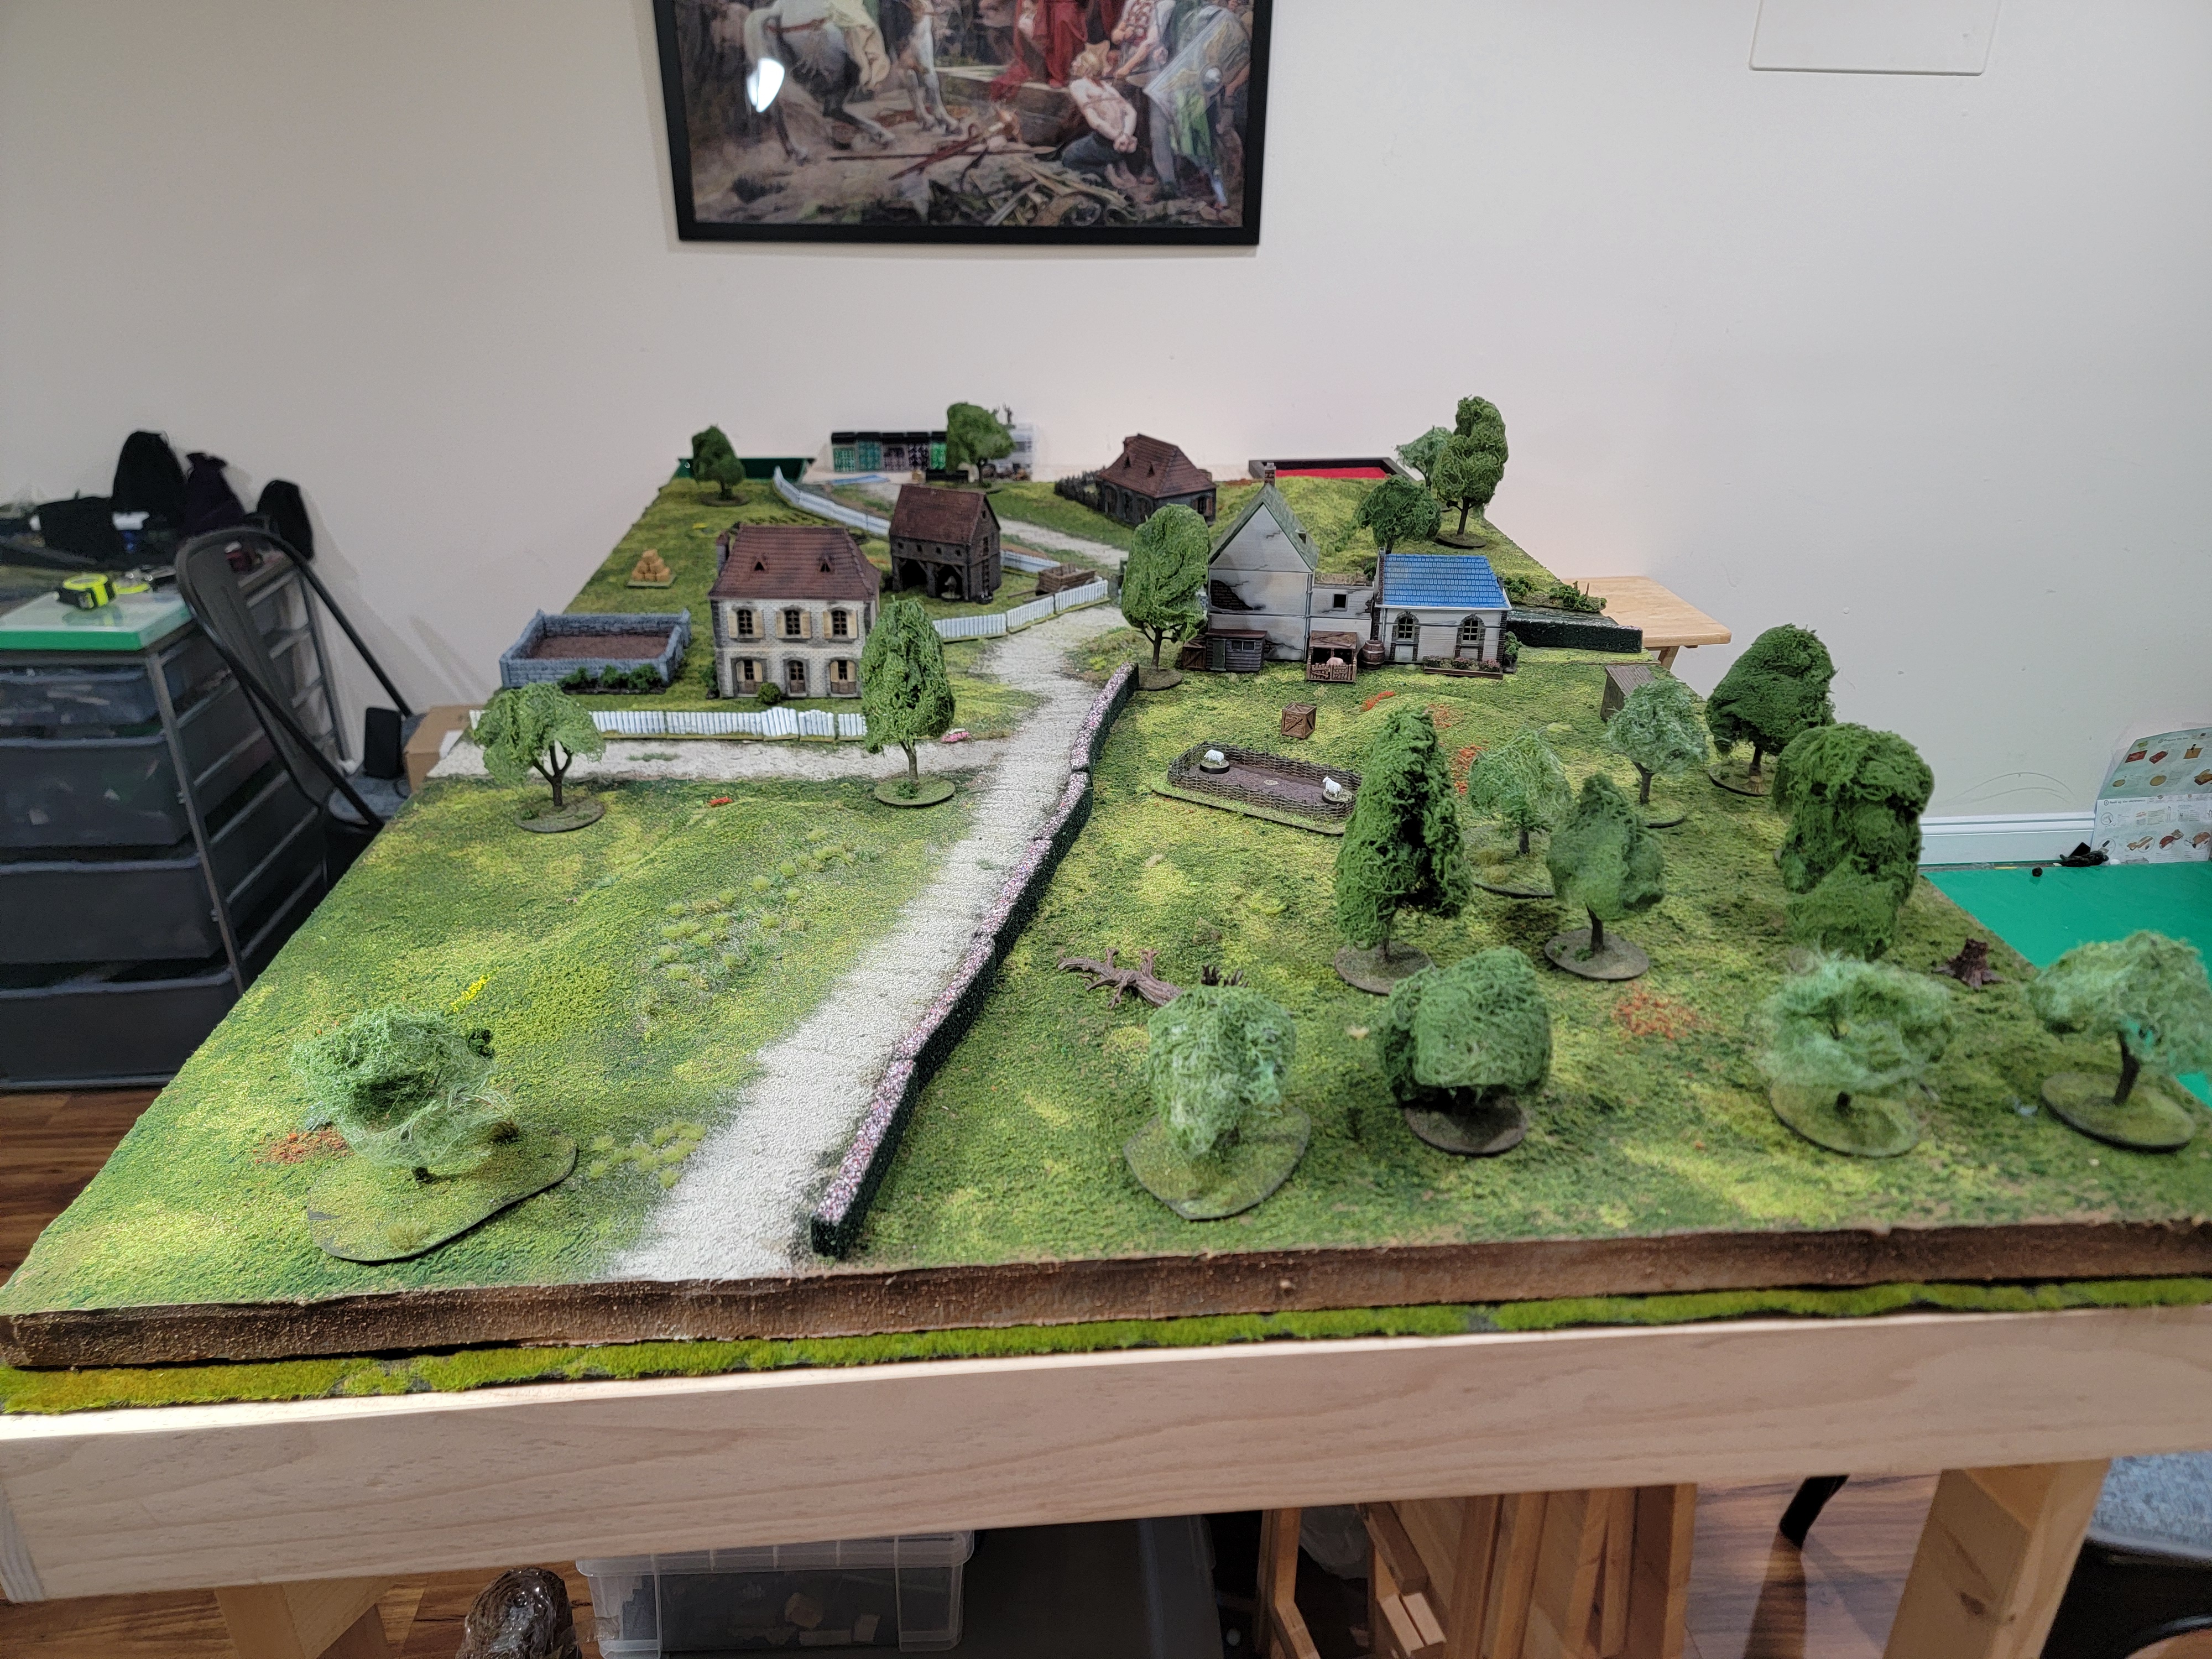
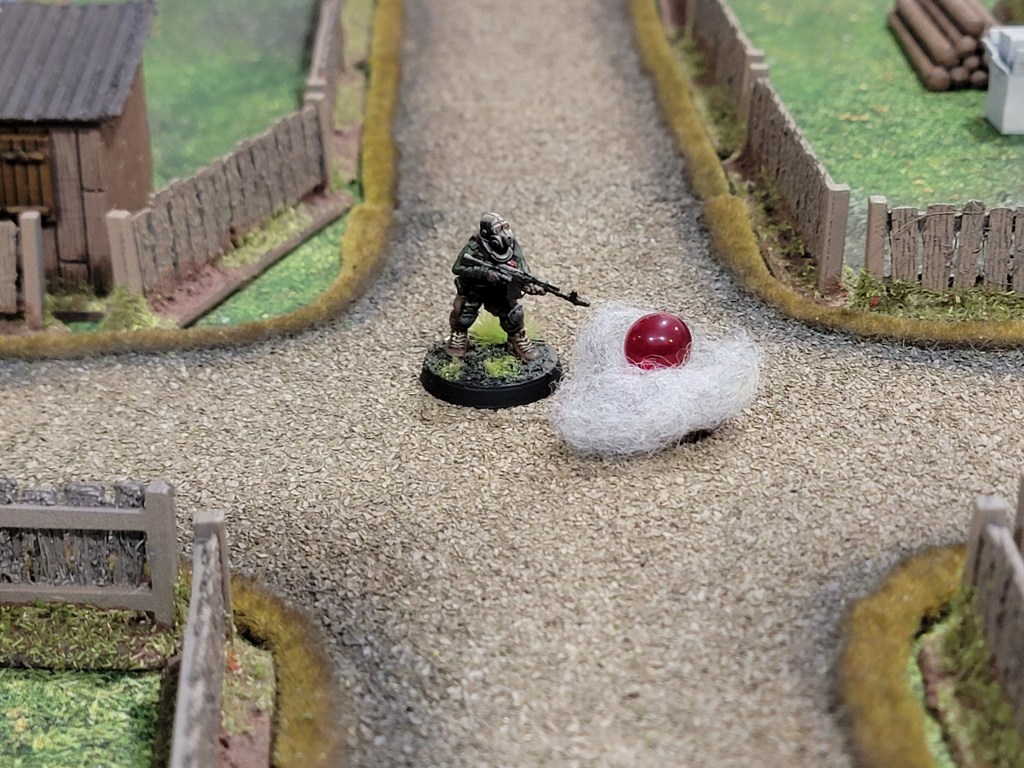
Okay, I’m being cheeky. I built a 6×4 foot Ireland board for the Battle of Clontarf in Midgard, which I’m running just a few weeks from now. The board itself is meant to represent Irish countryside, not actually be a proper recreation of the battlefield. Its secondary purpose is to serve as two 4×3 foot boards for Saga or other small skirmish games and then to further serve as a board for large wargames–examples at the end. There’s a few features worth noting, but first, the pretty:
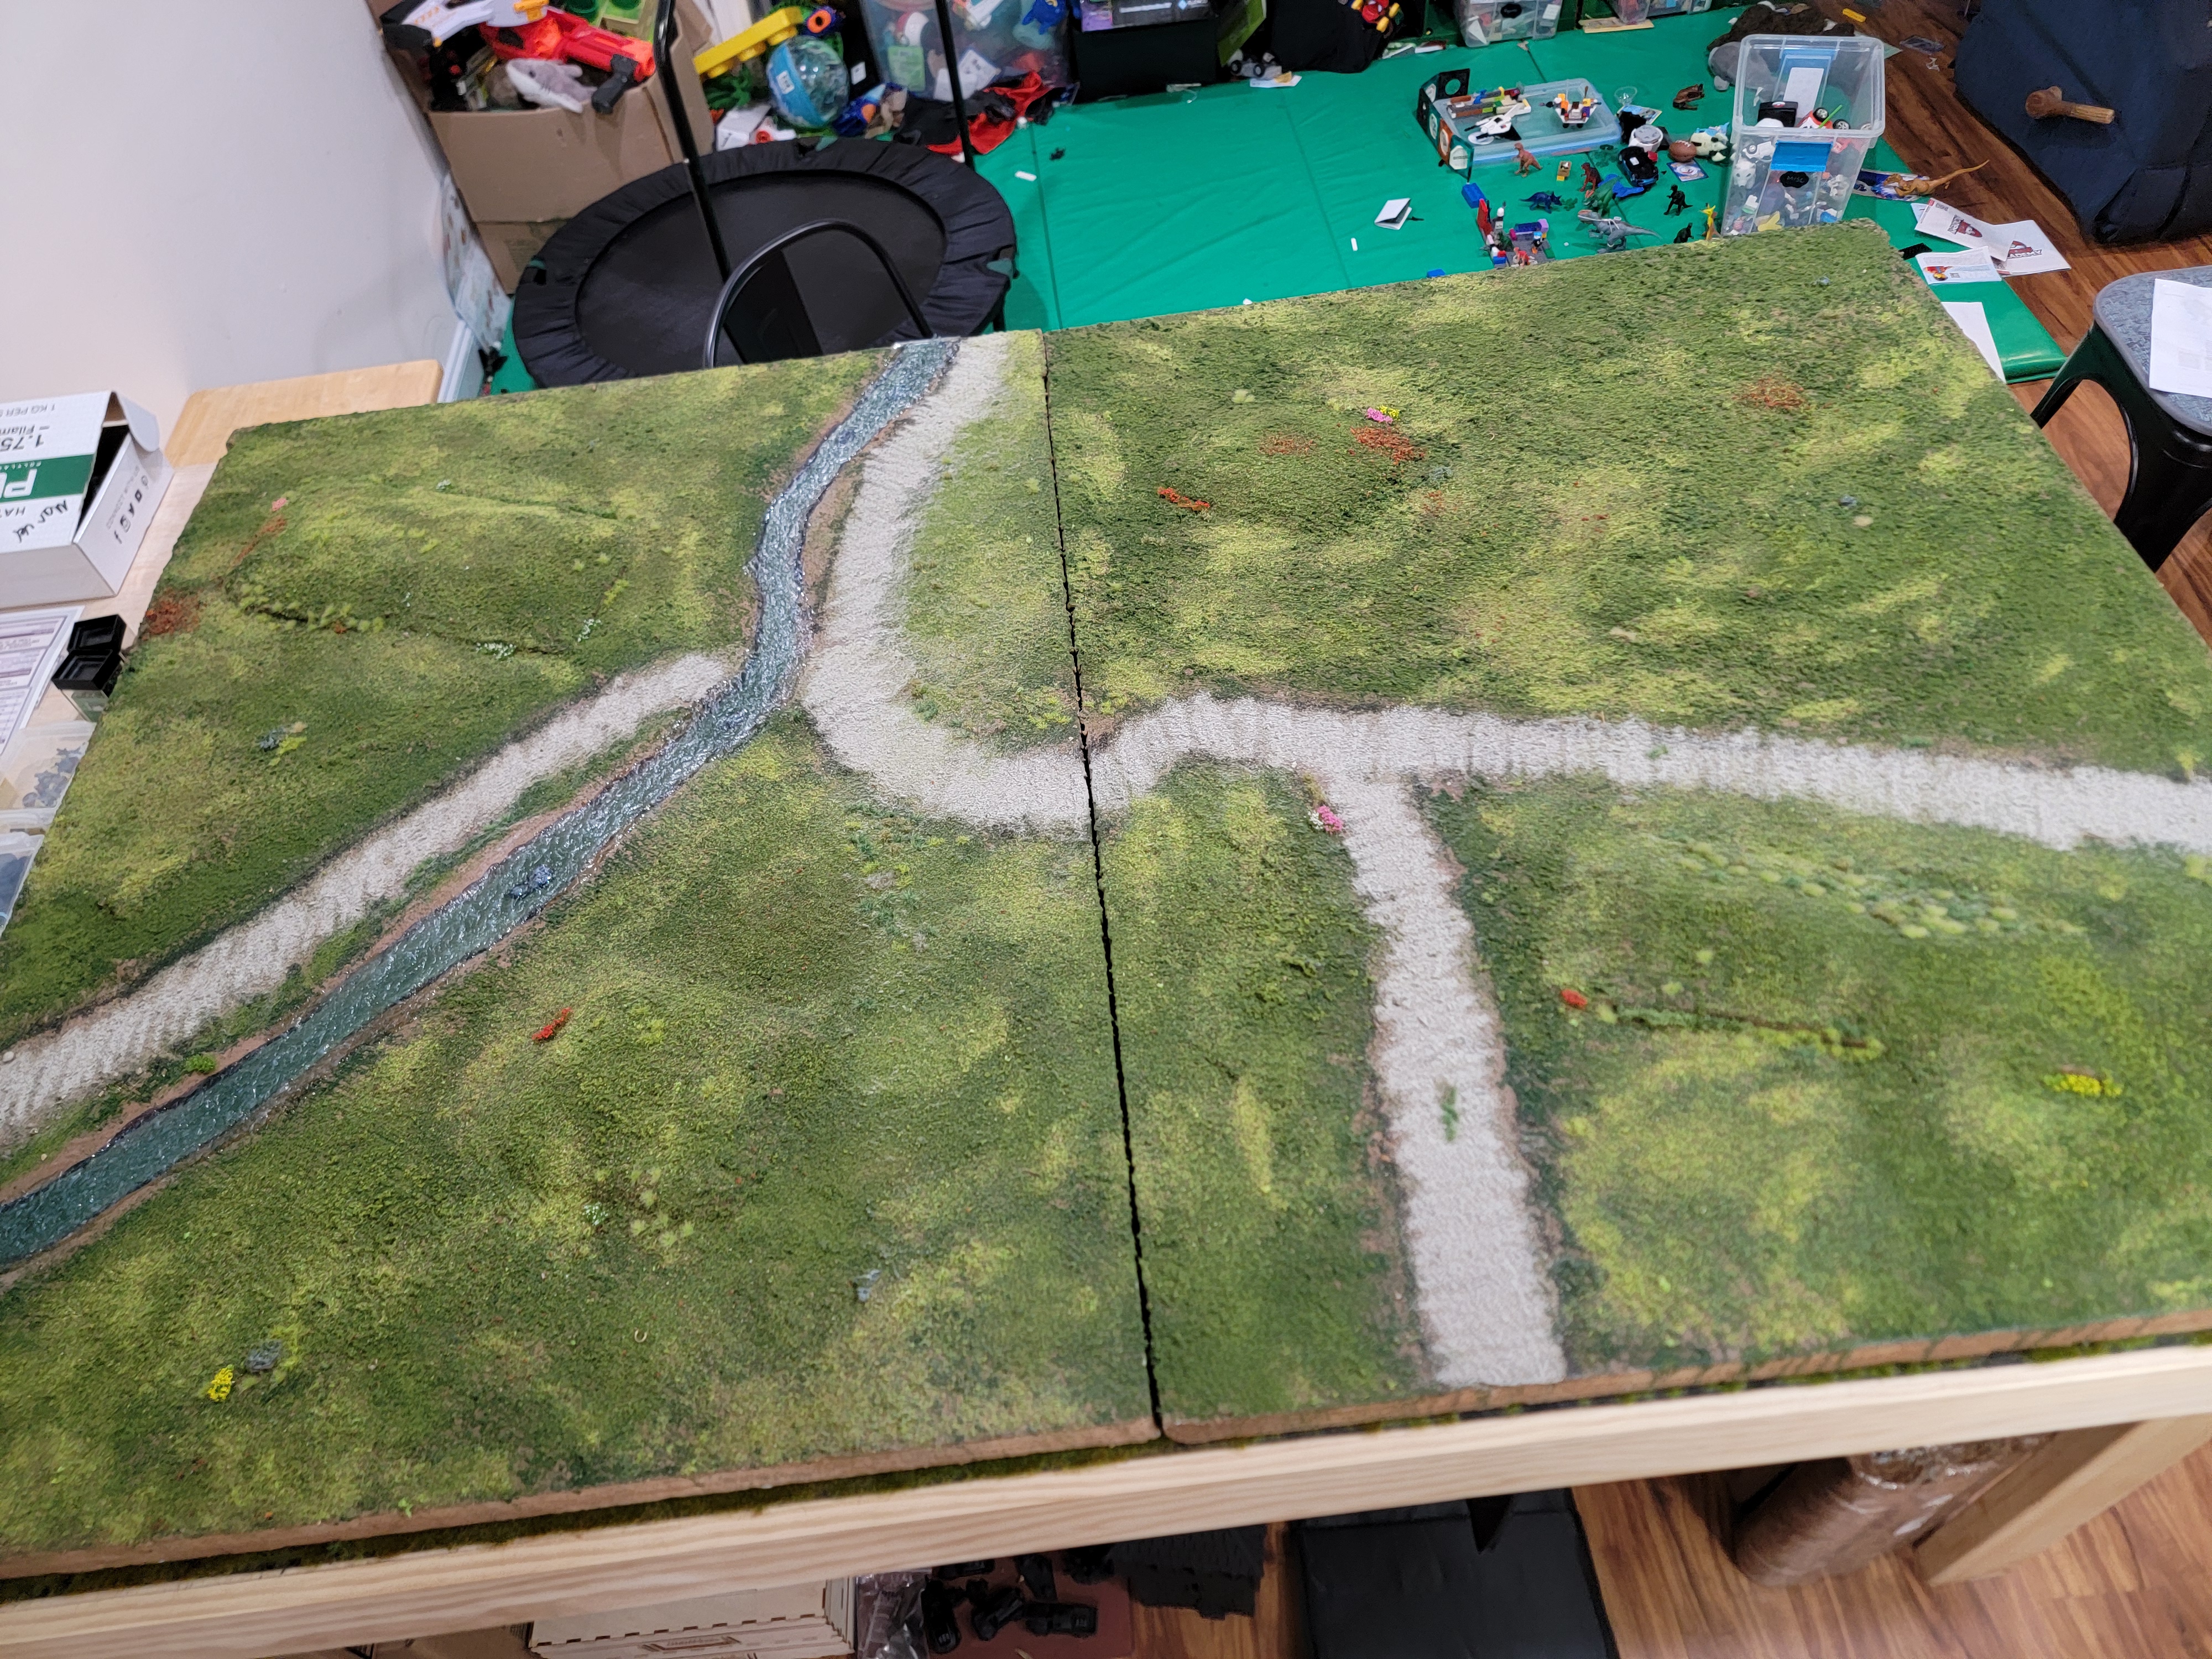
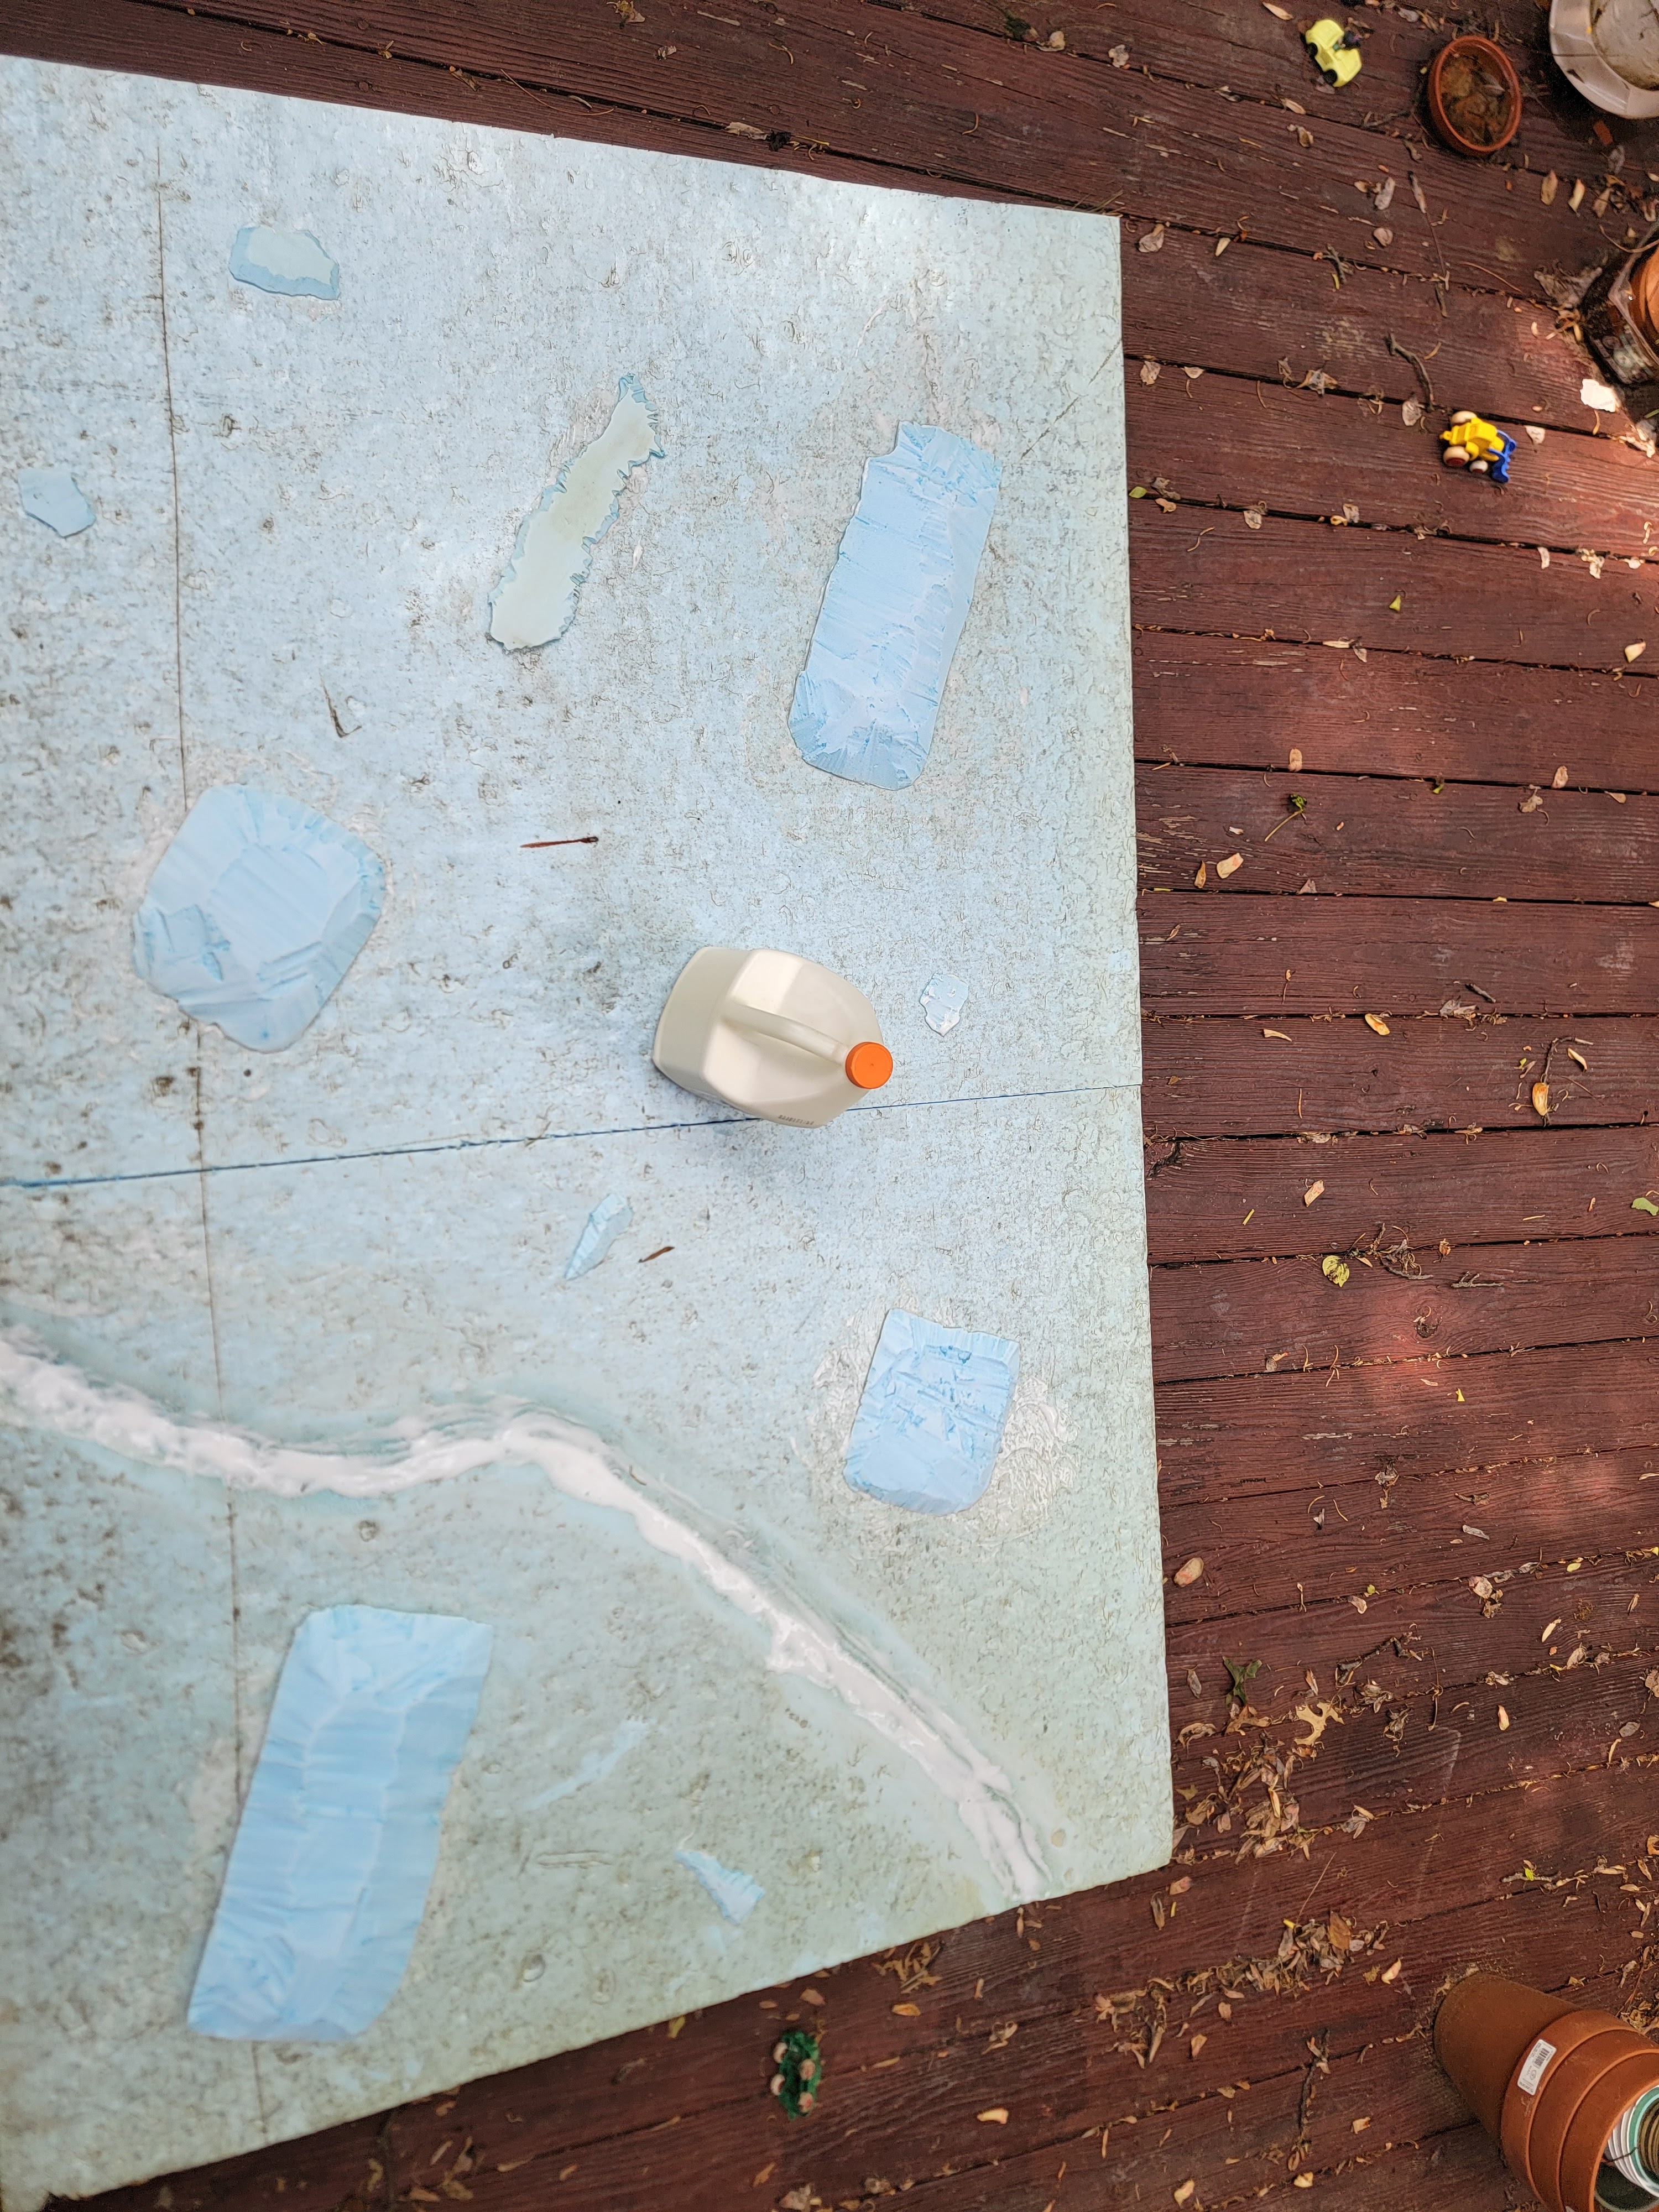
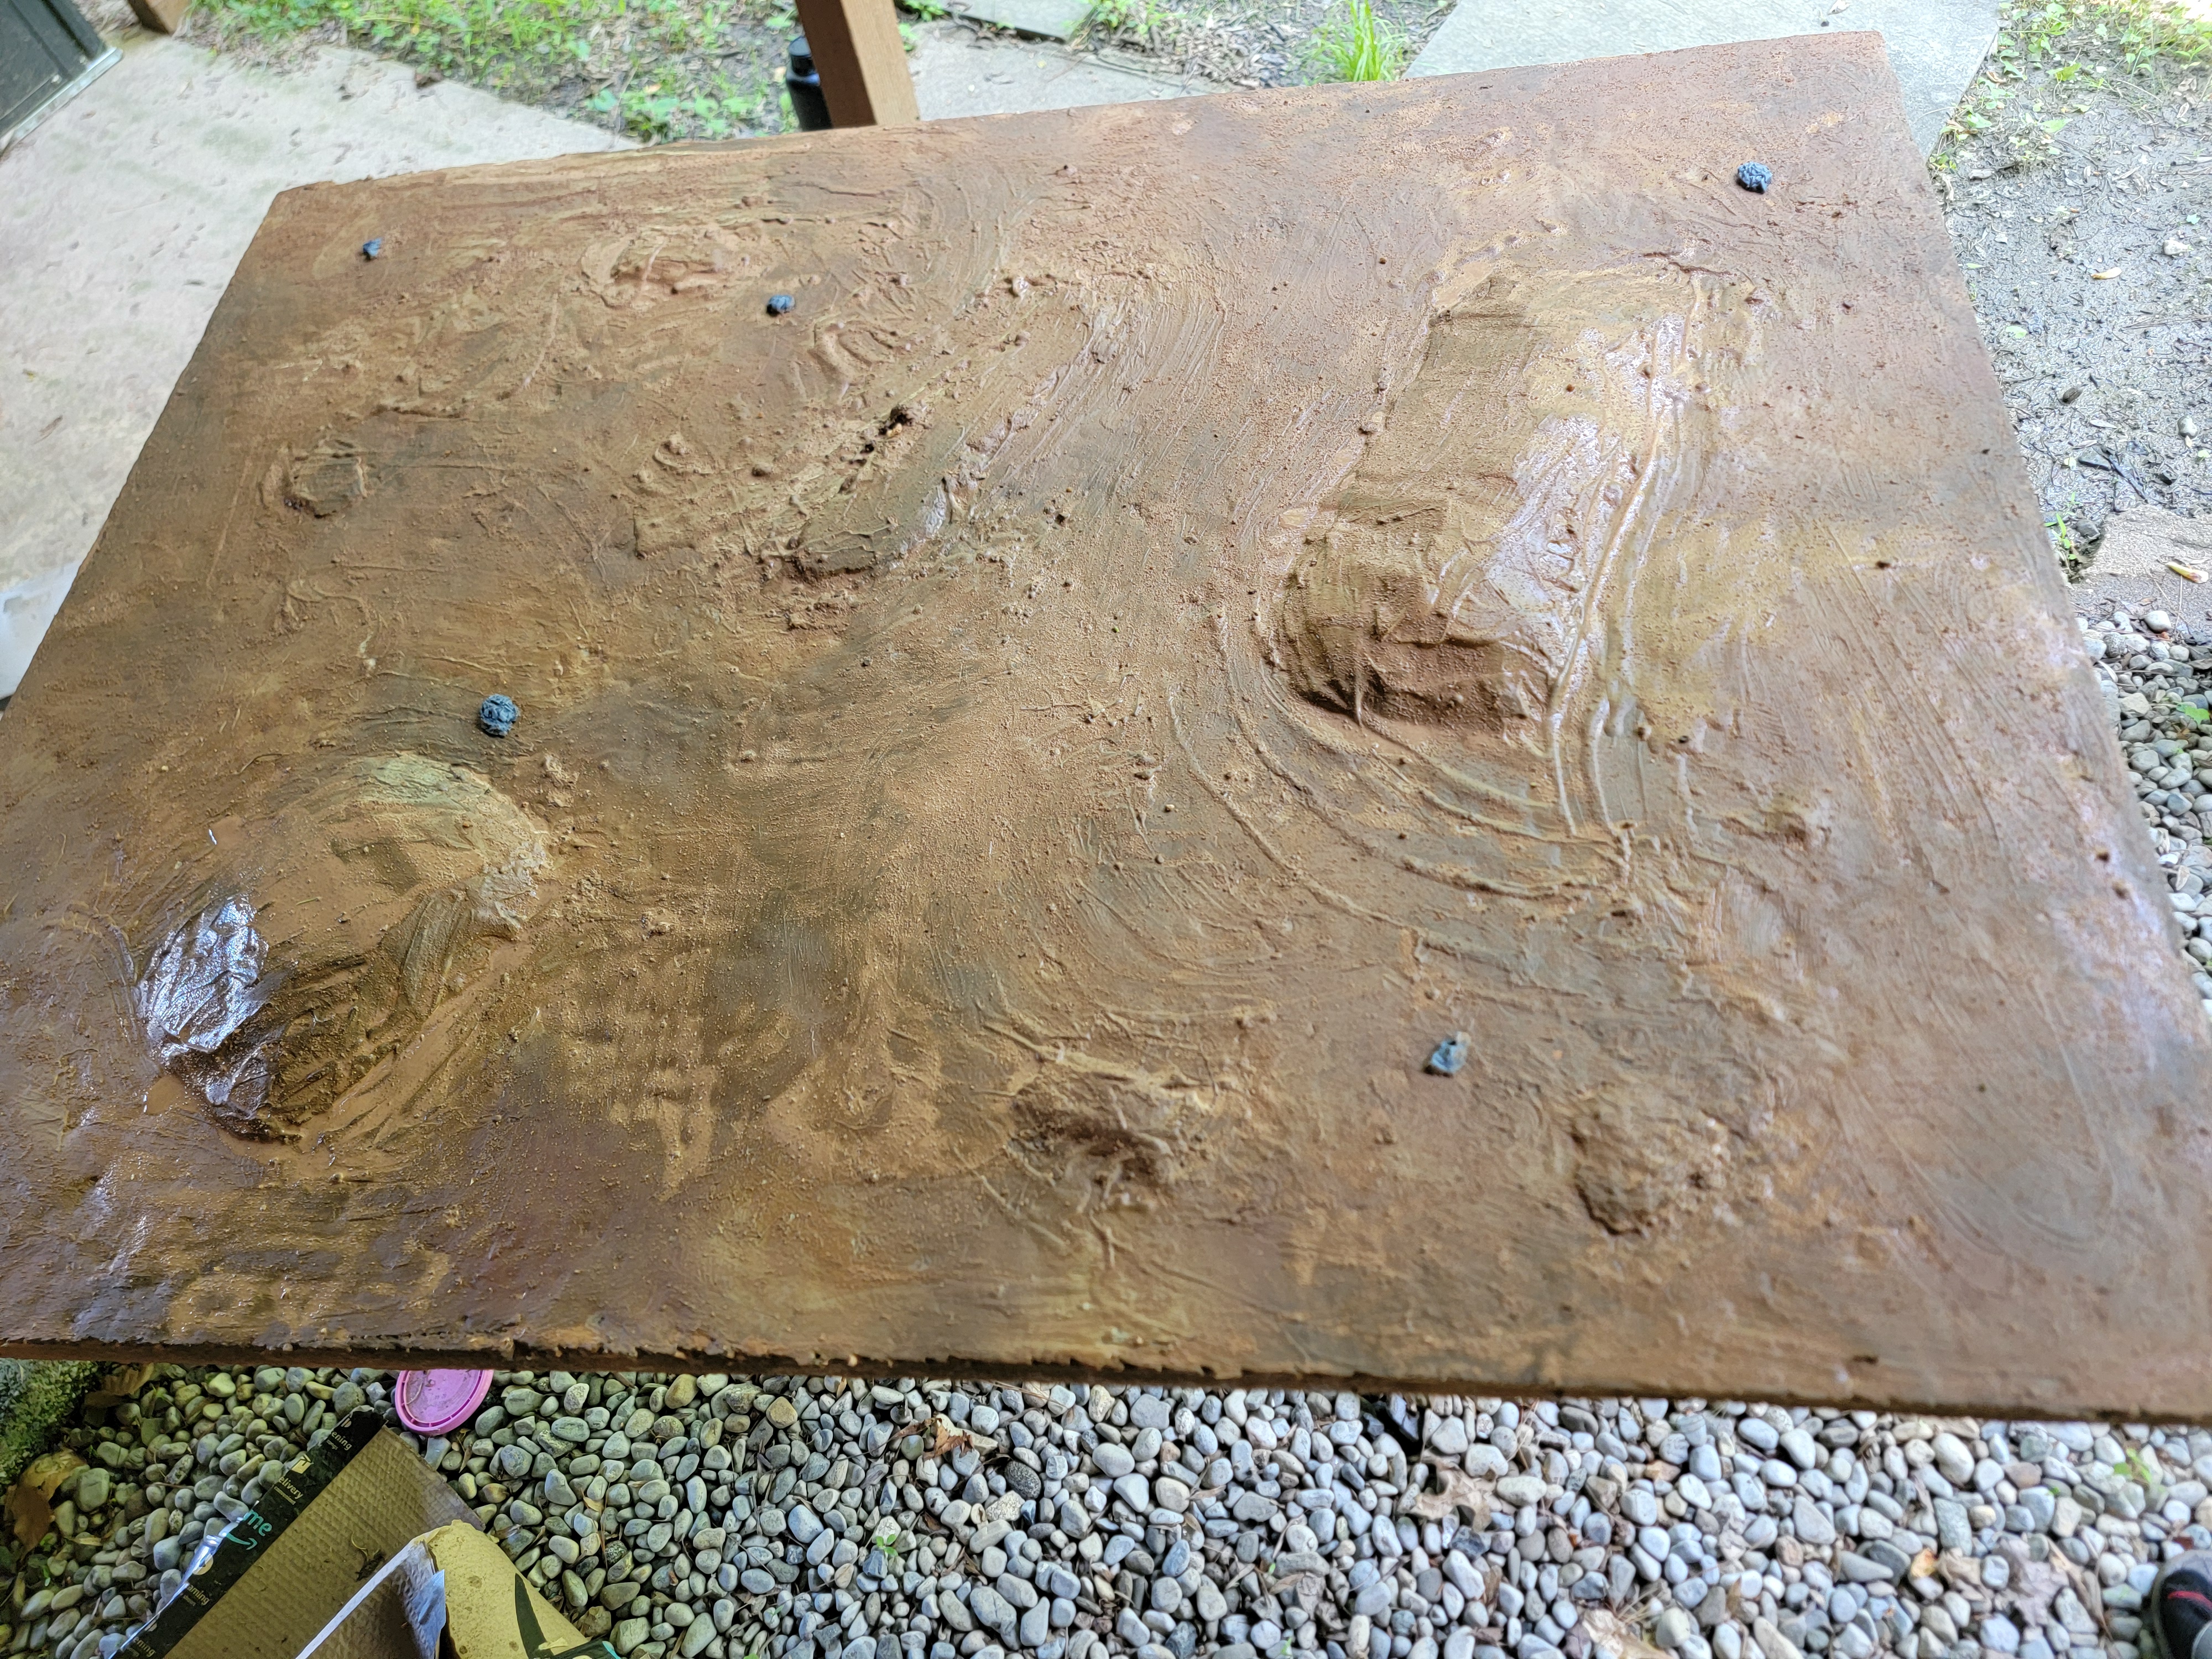
First off is the hills. I included them because… well, I associate Ireland with hills, honestly. These were challenging to me–I did not want them to be too artificial and they needed to be playable. I succeeded in the latter but somewhat failed in the former. I made the hills by cutting into and sanding 1.5″ thick insulation foam. I should have spent more time smoothing the edges and ended up having to disguise the cliff edges that probably shouldn’t exist in the first place. On the better end, I took scraps of foam and fixed them down randomly which really helped to add character and undulations to the fields. If I were to do it again I’d do the smaller hills and more undulations, less of the big hills.
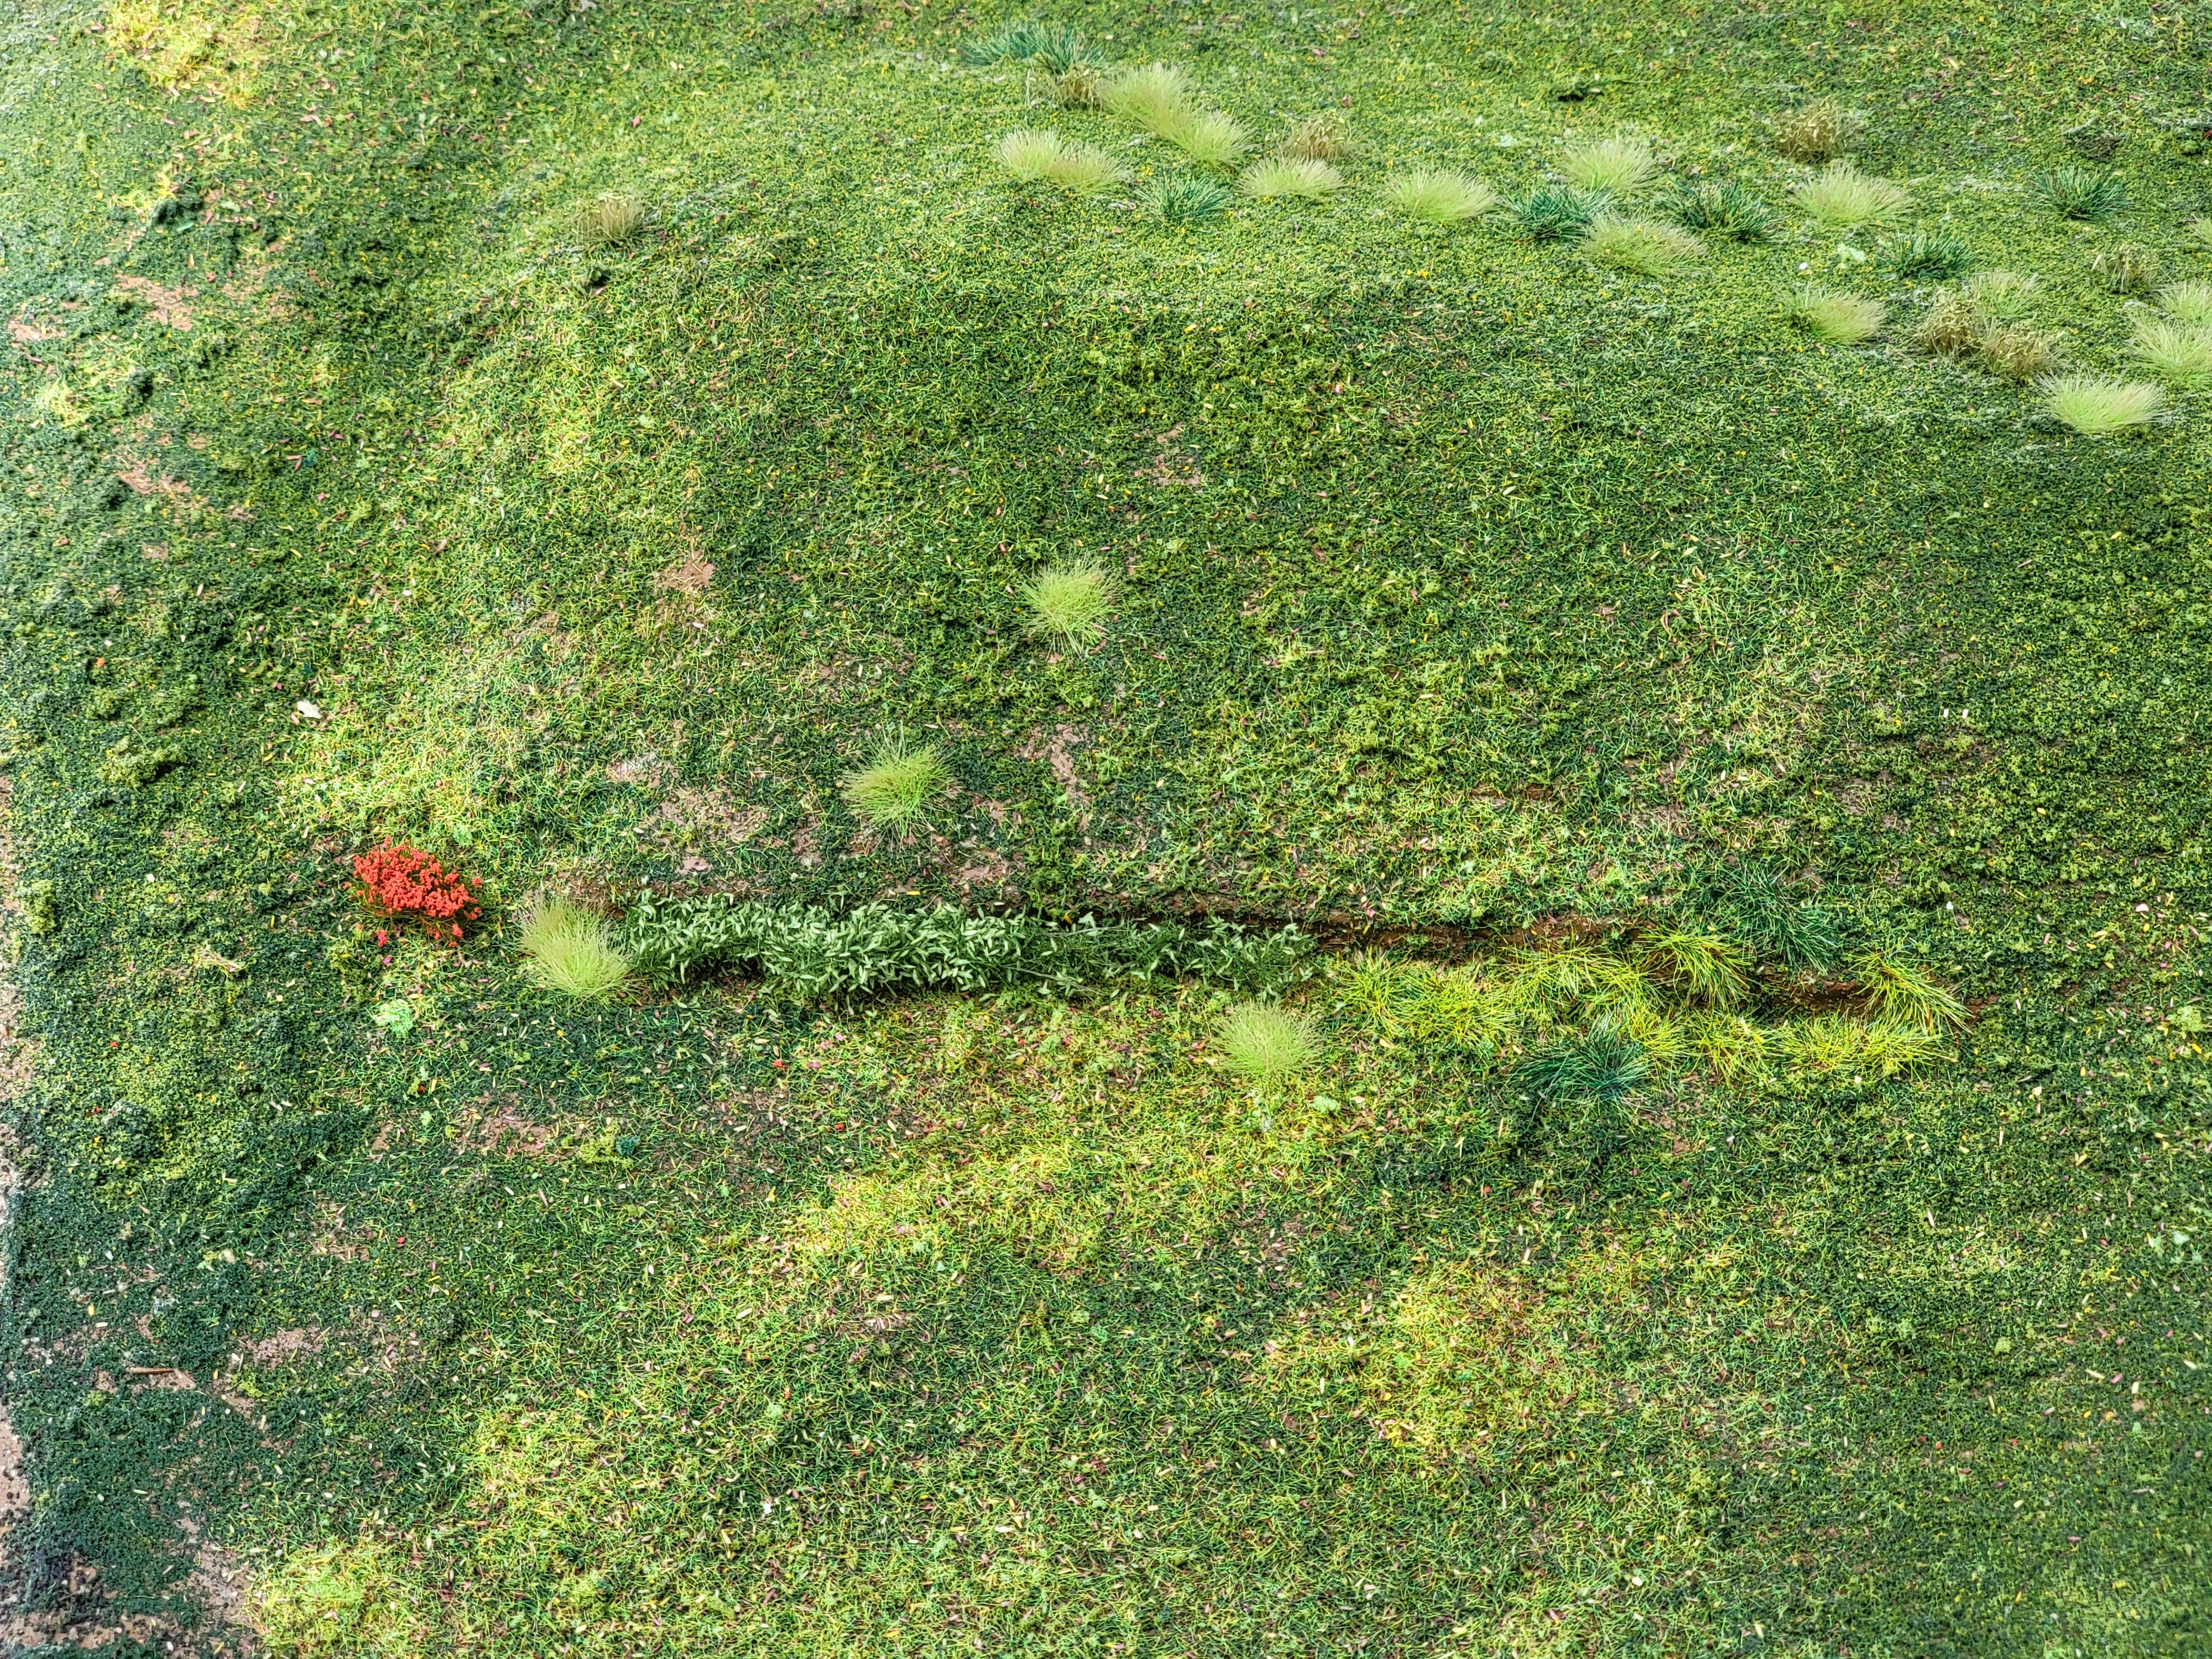
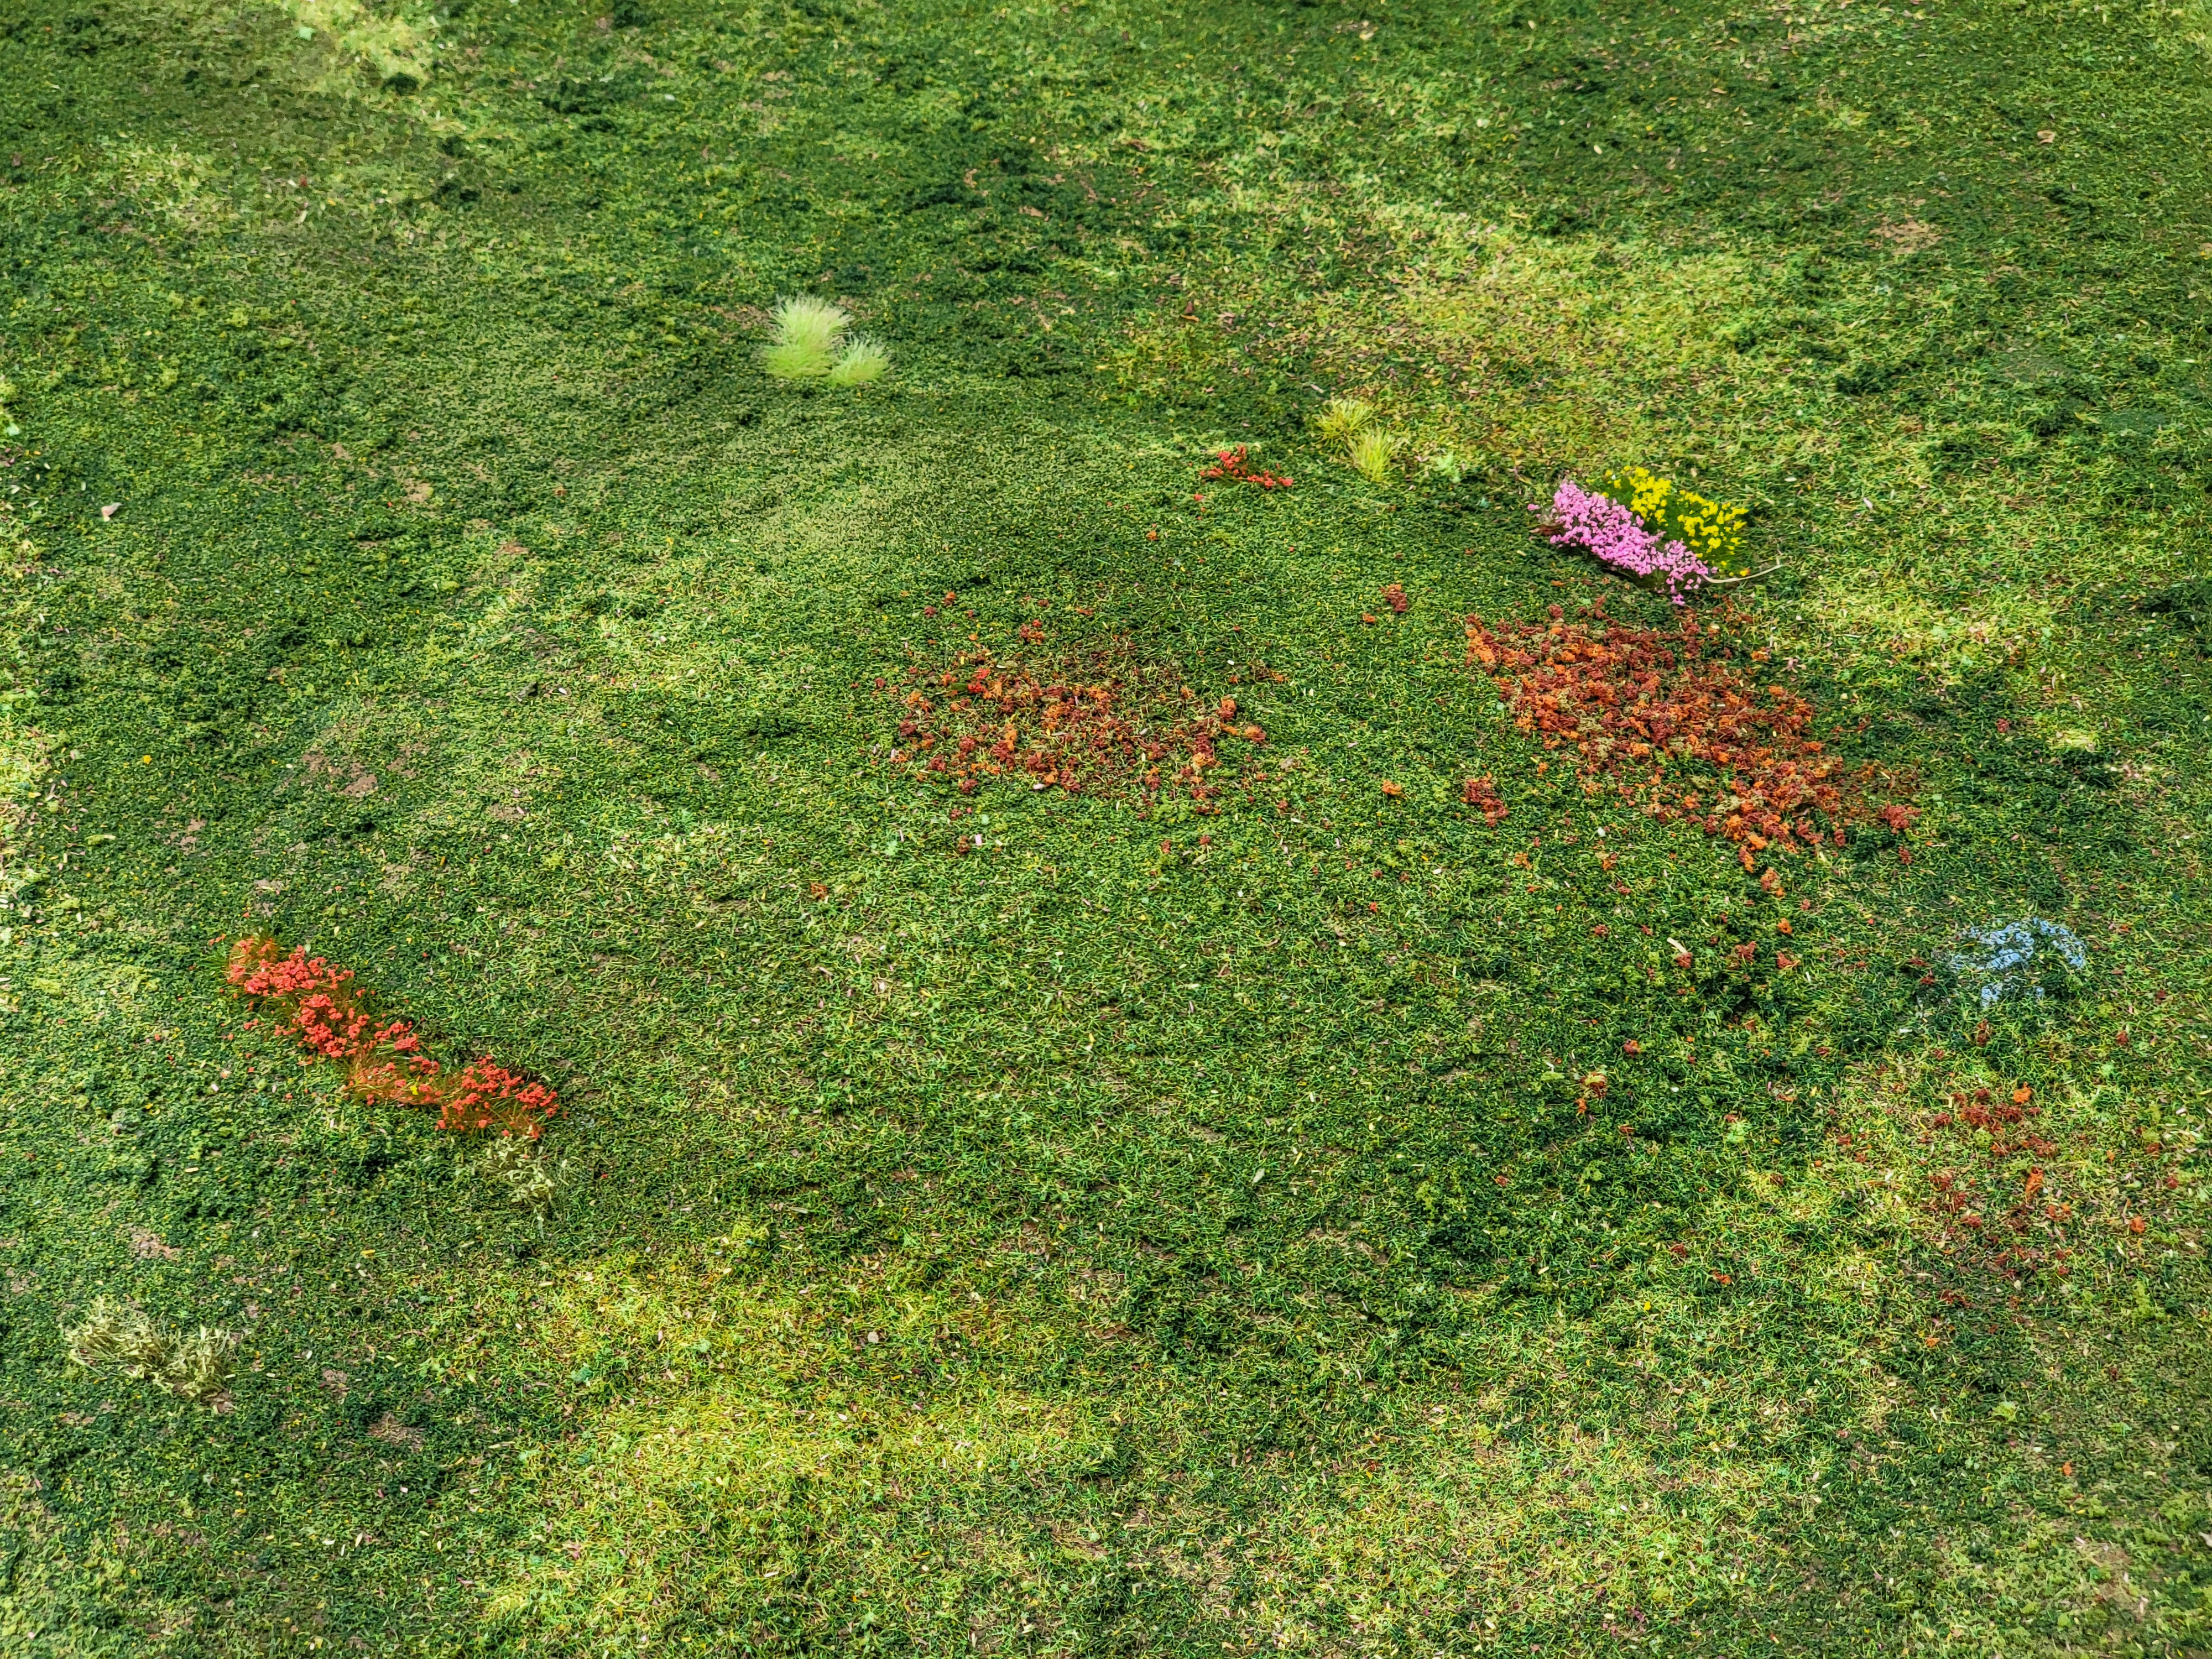
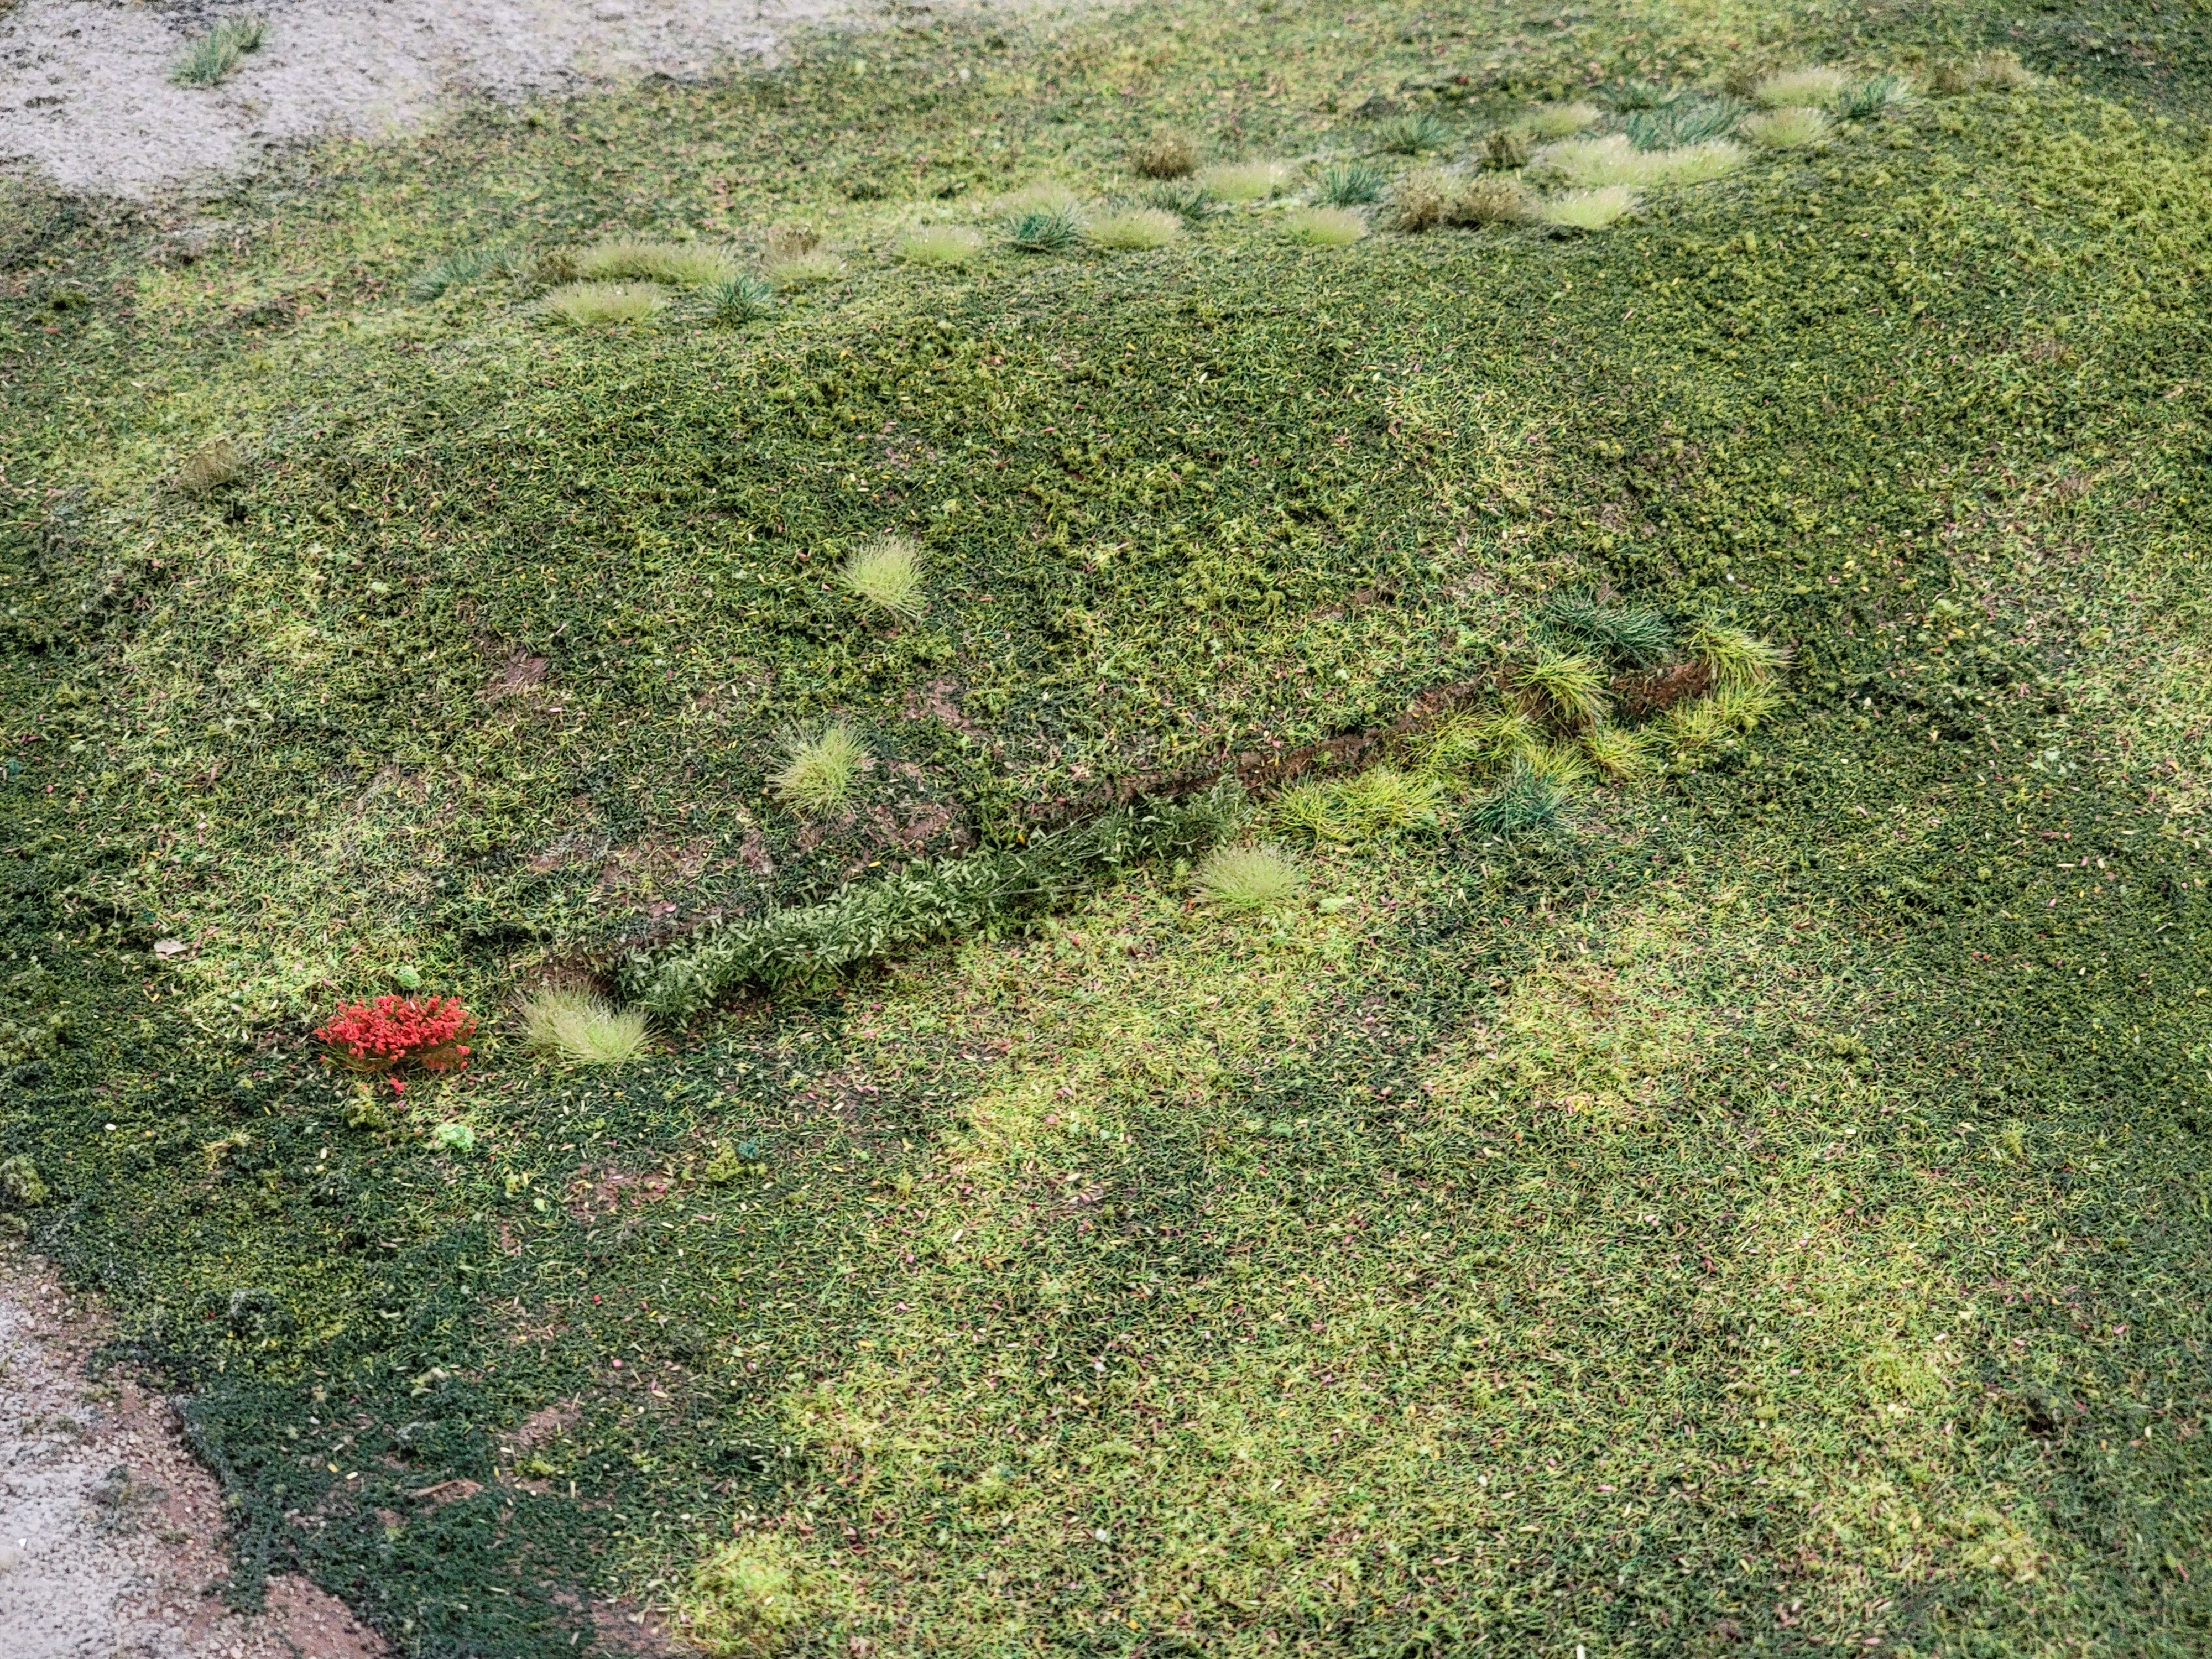
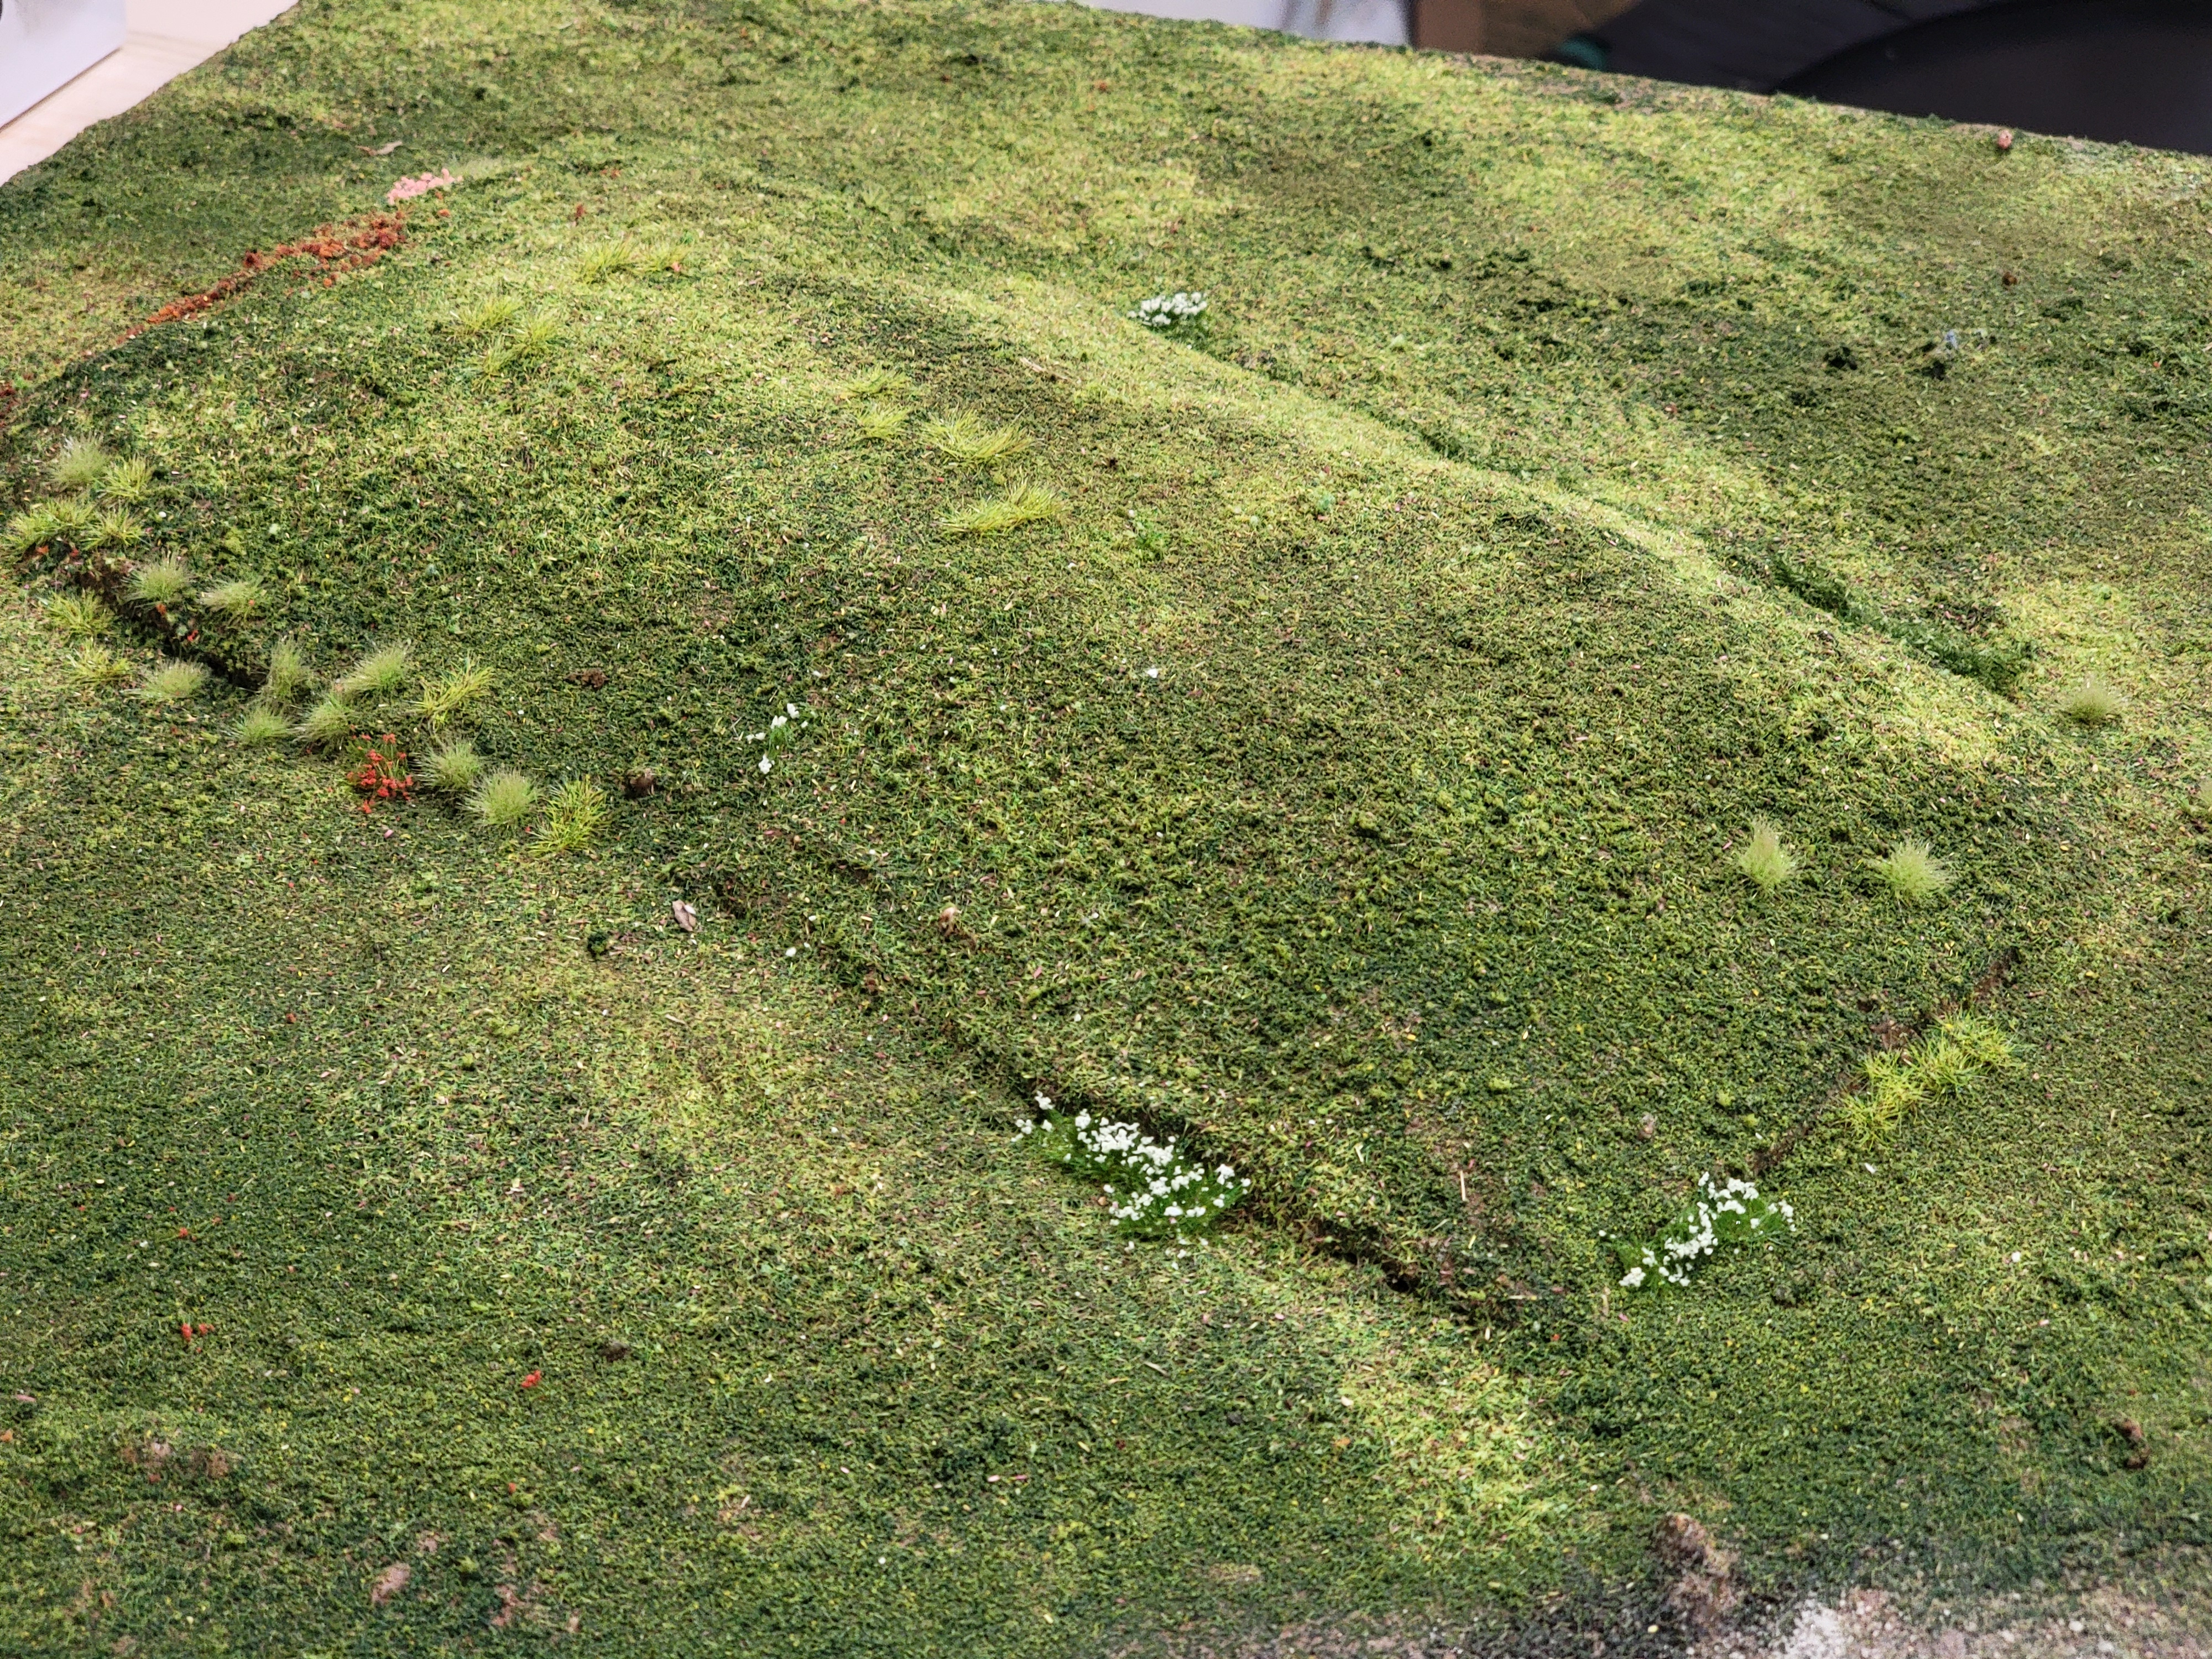
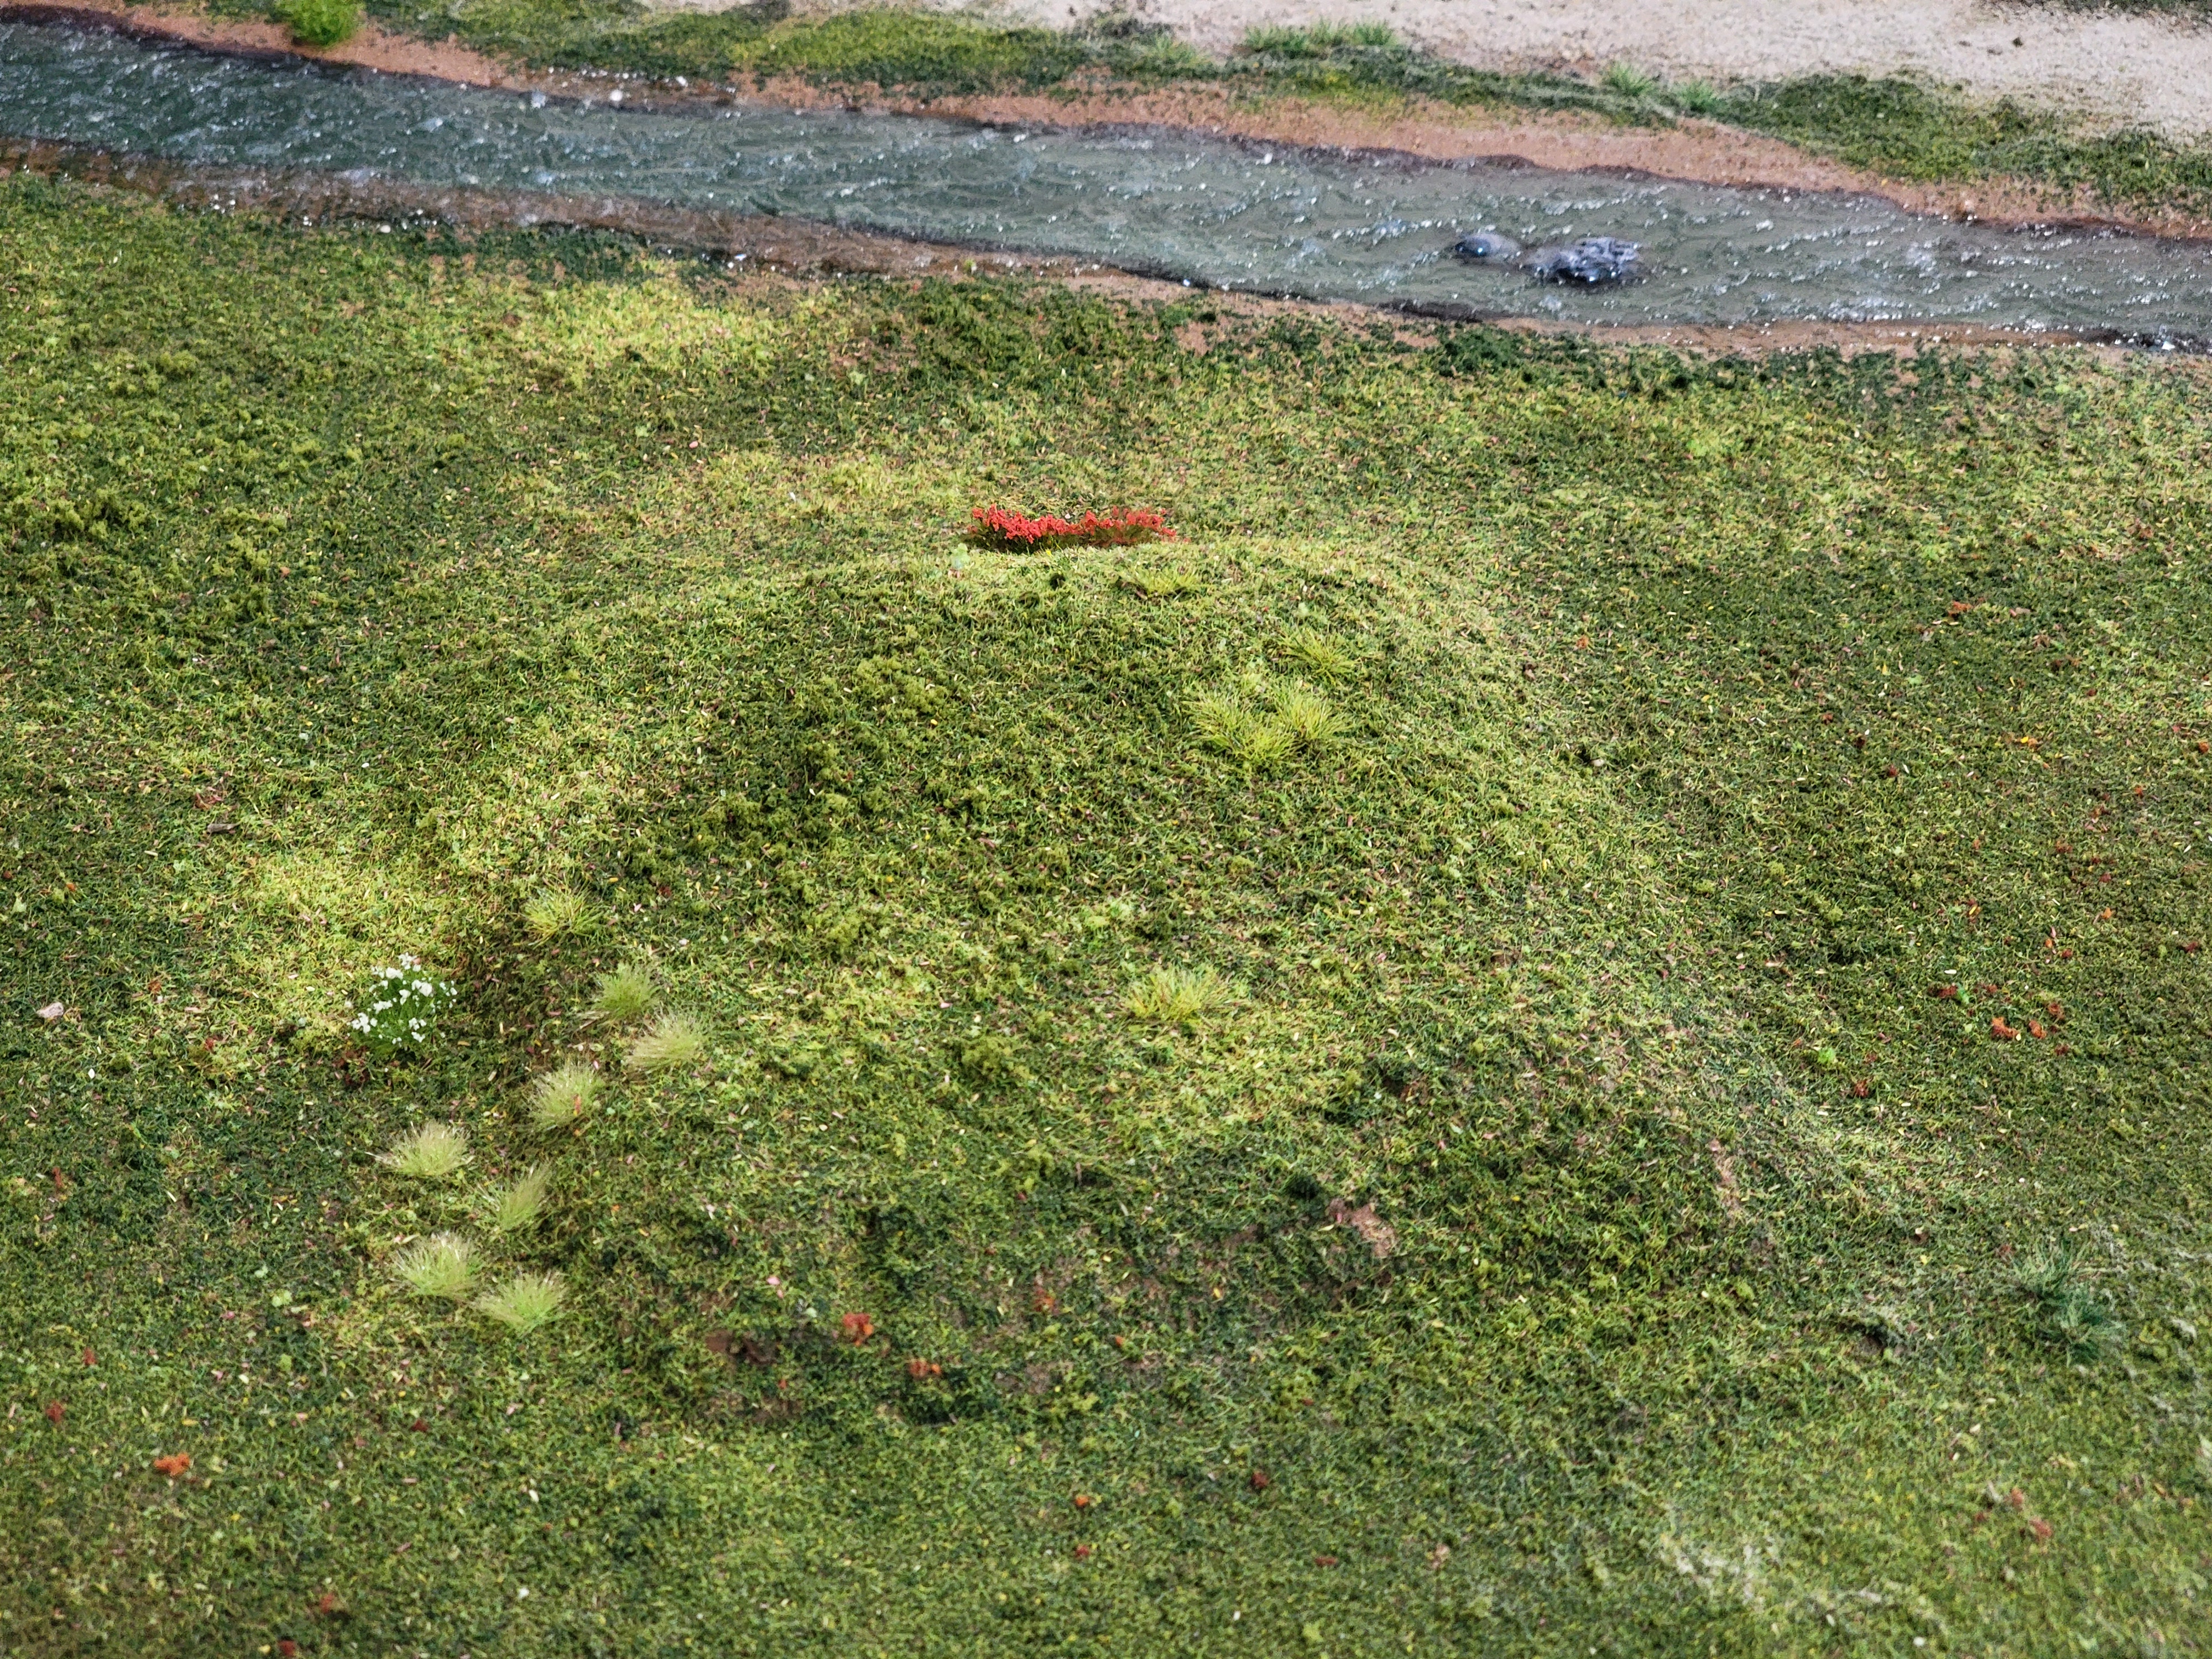
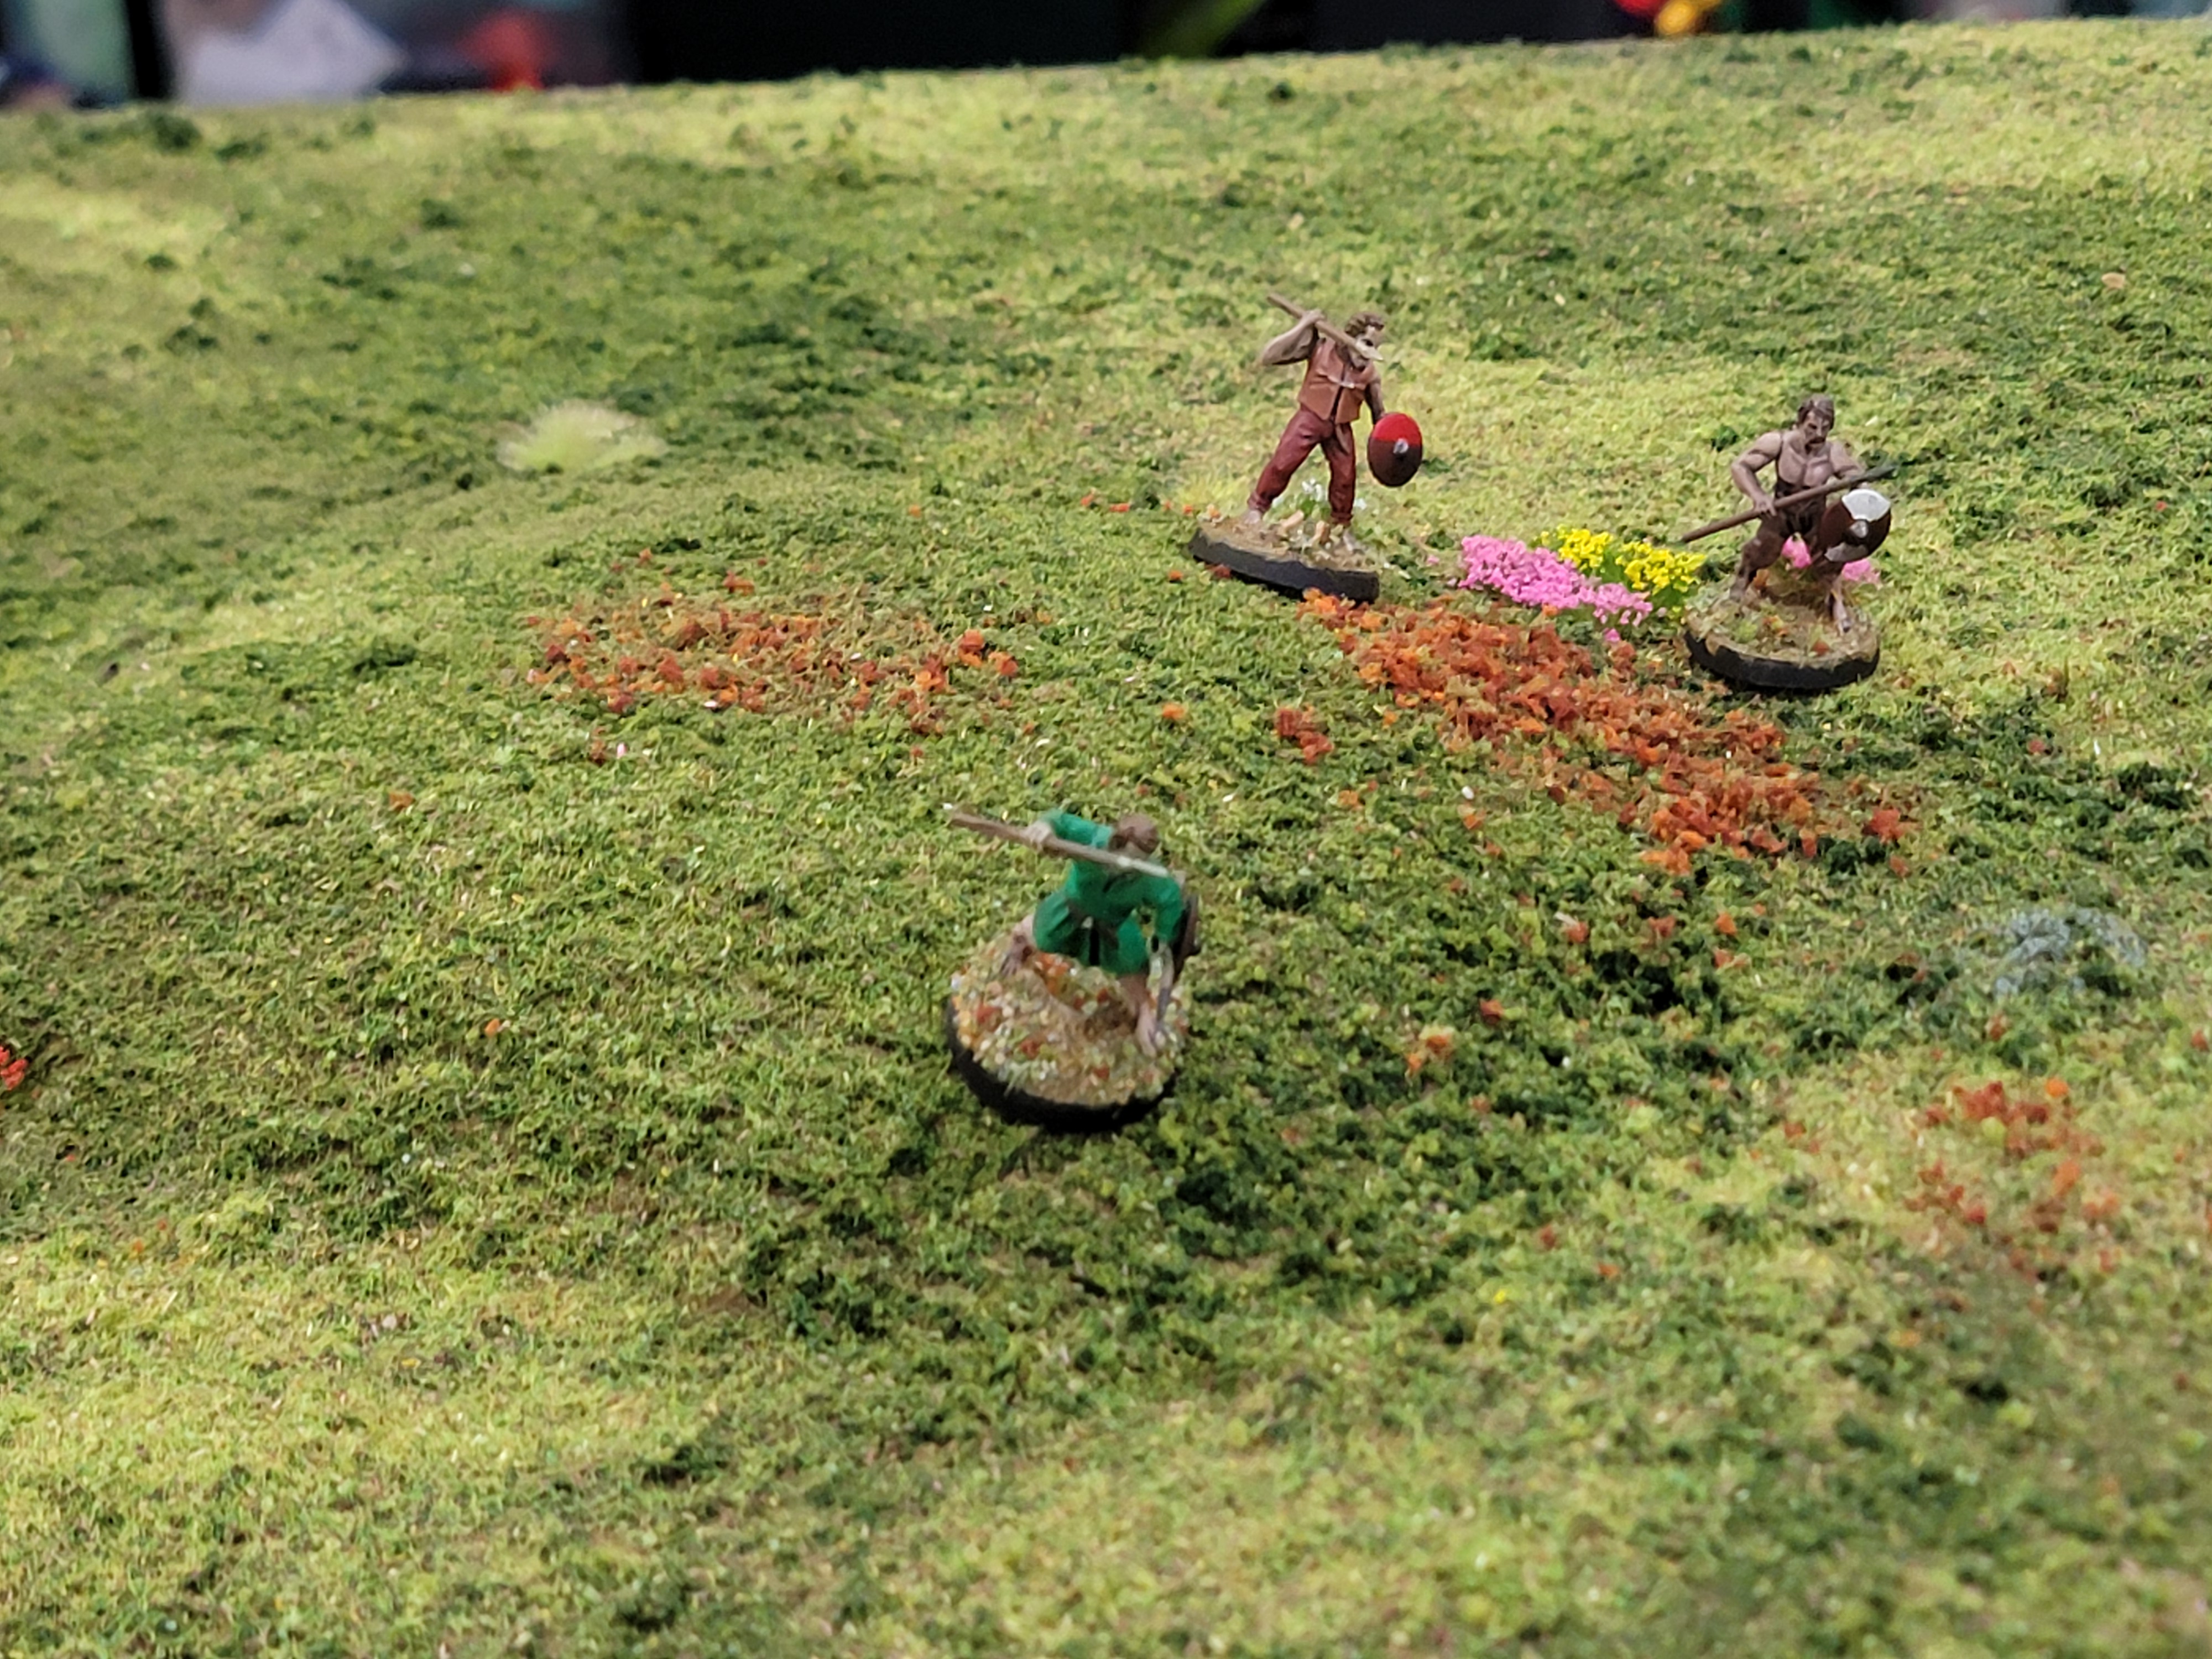
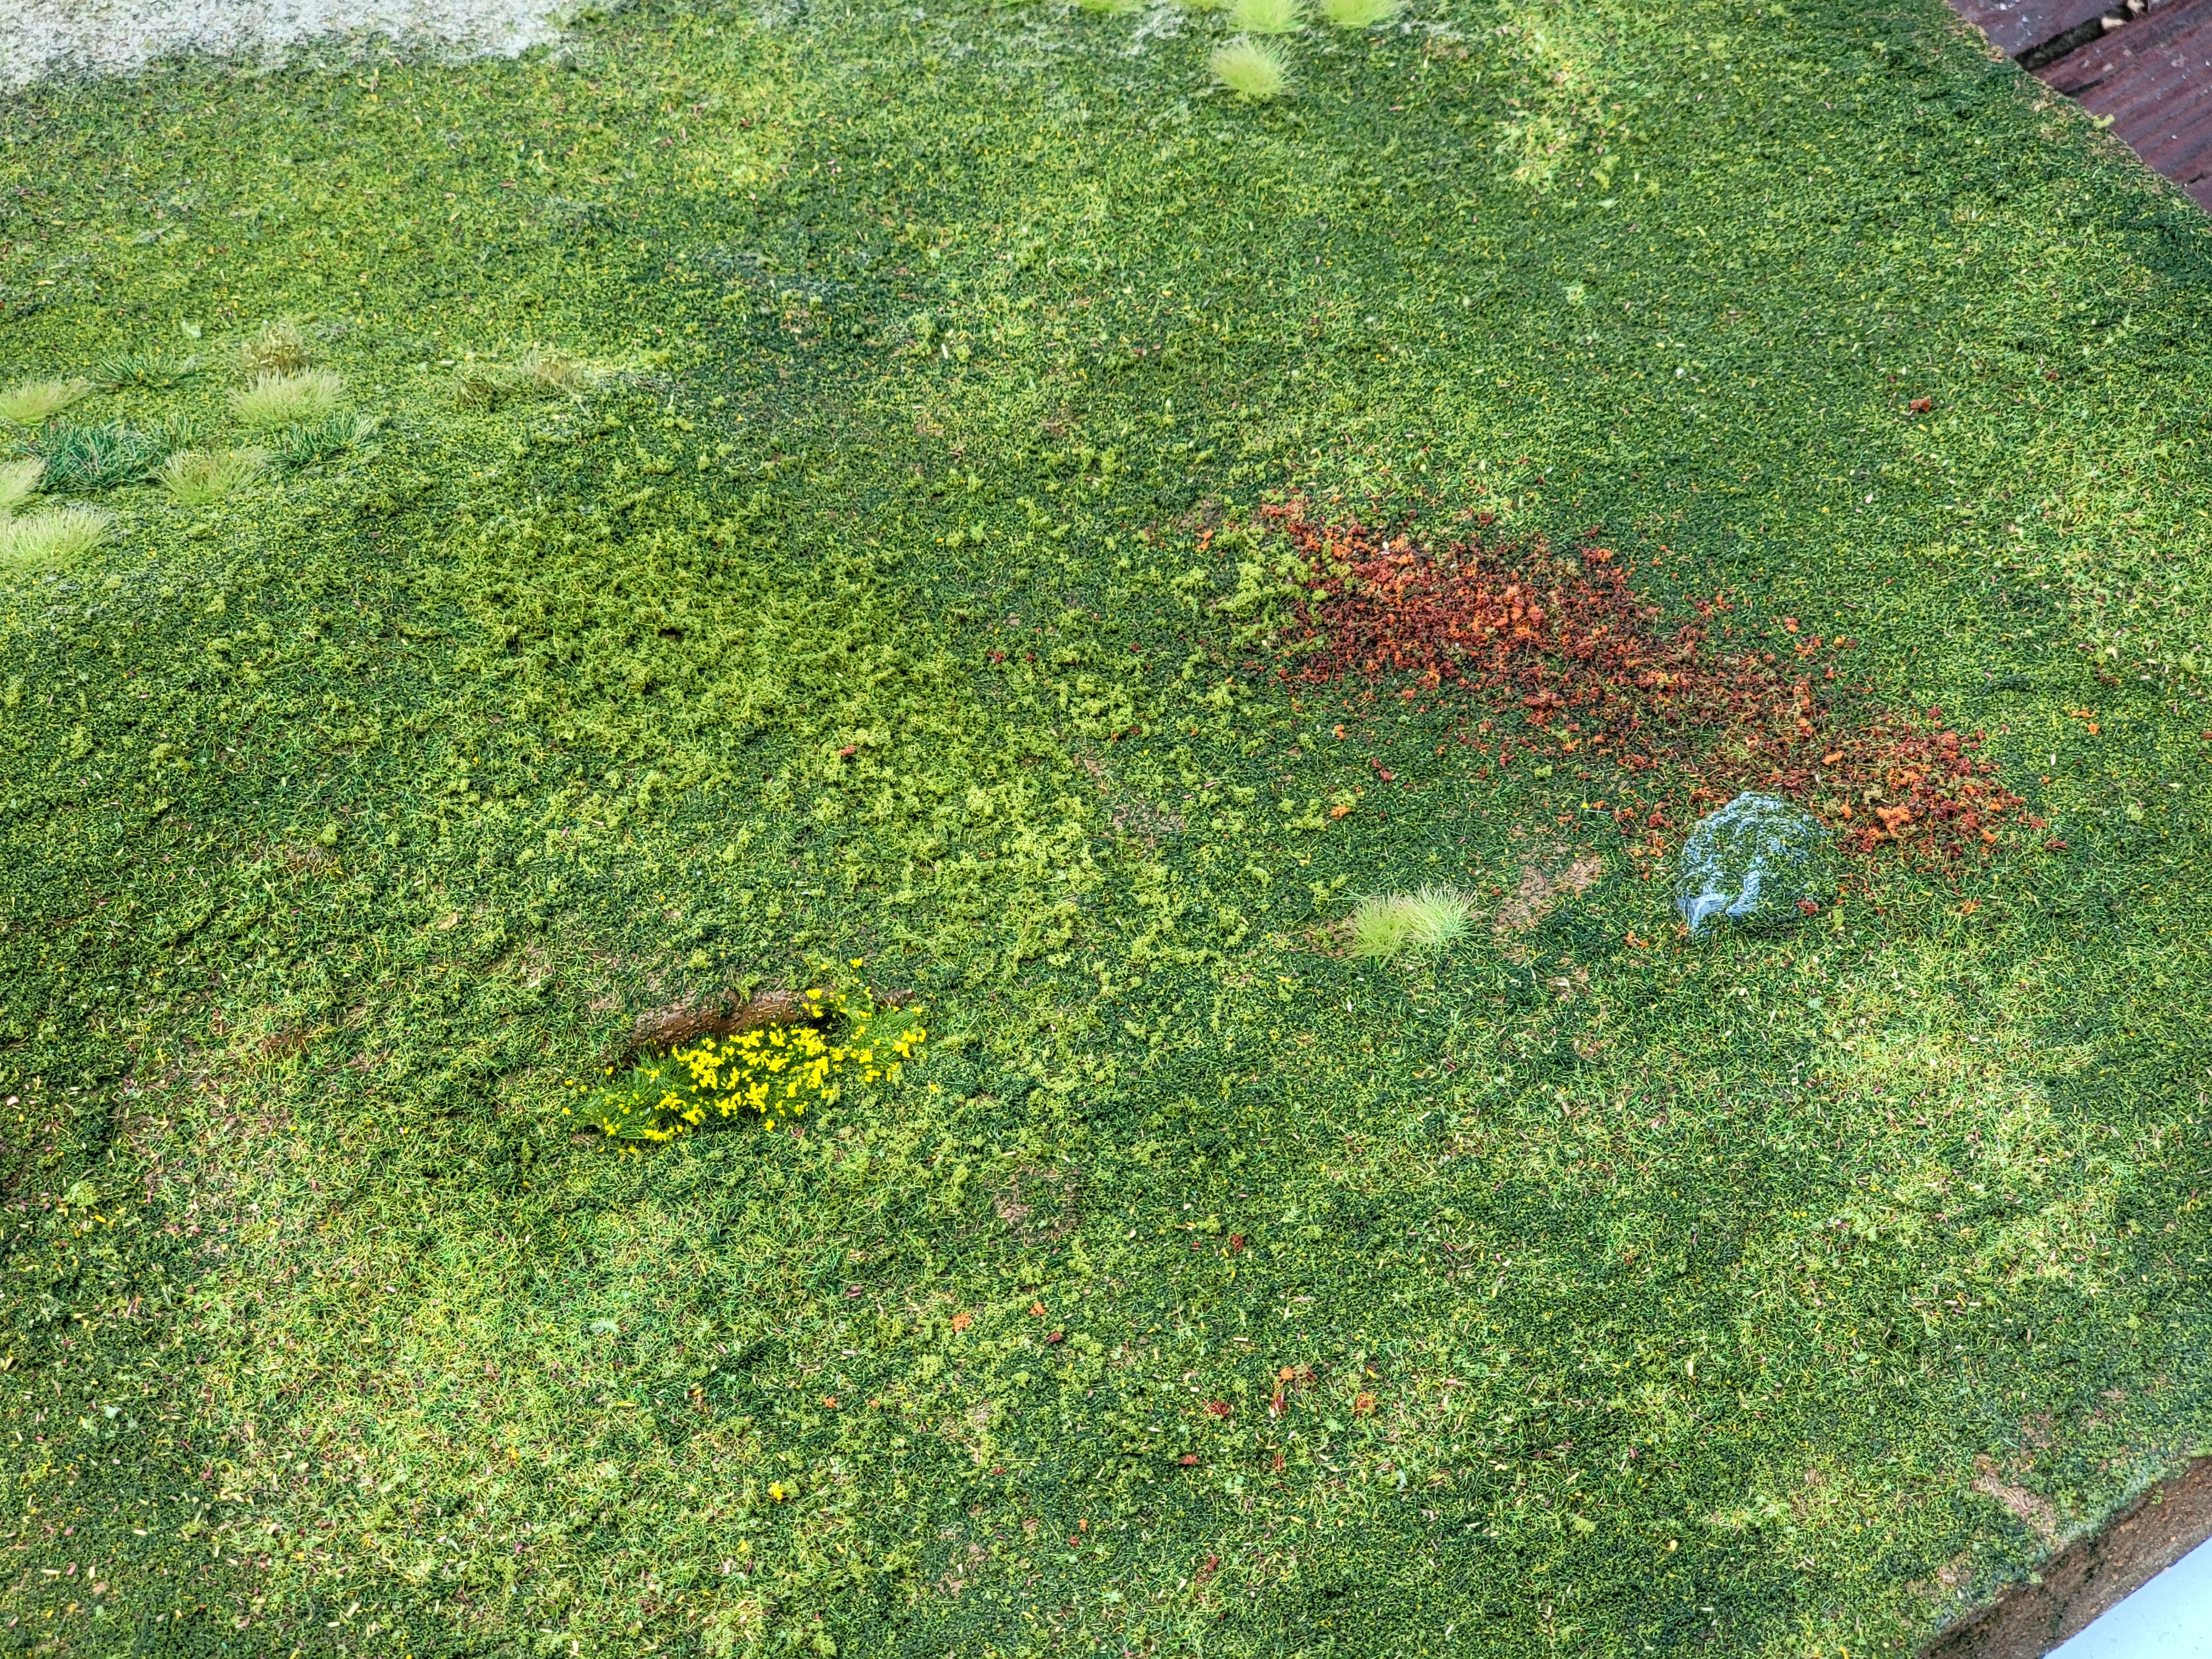
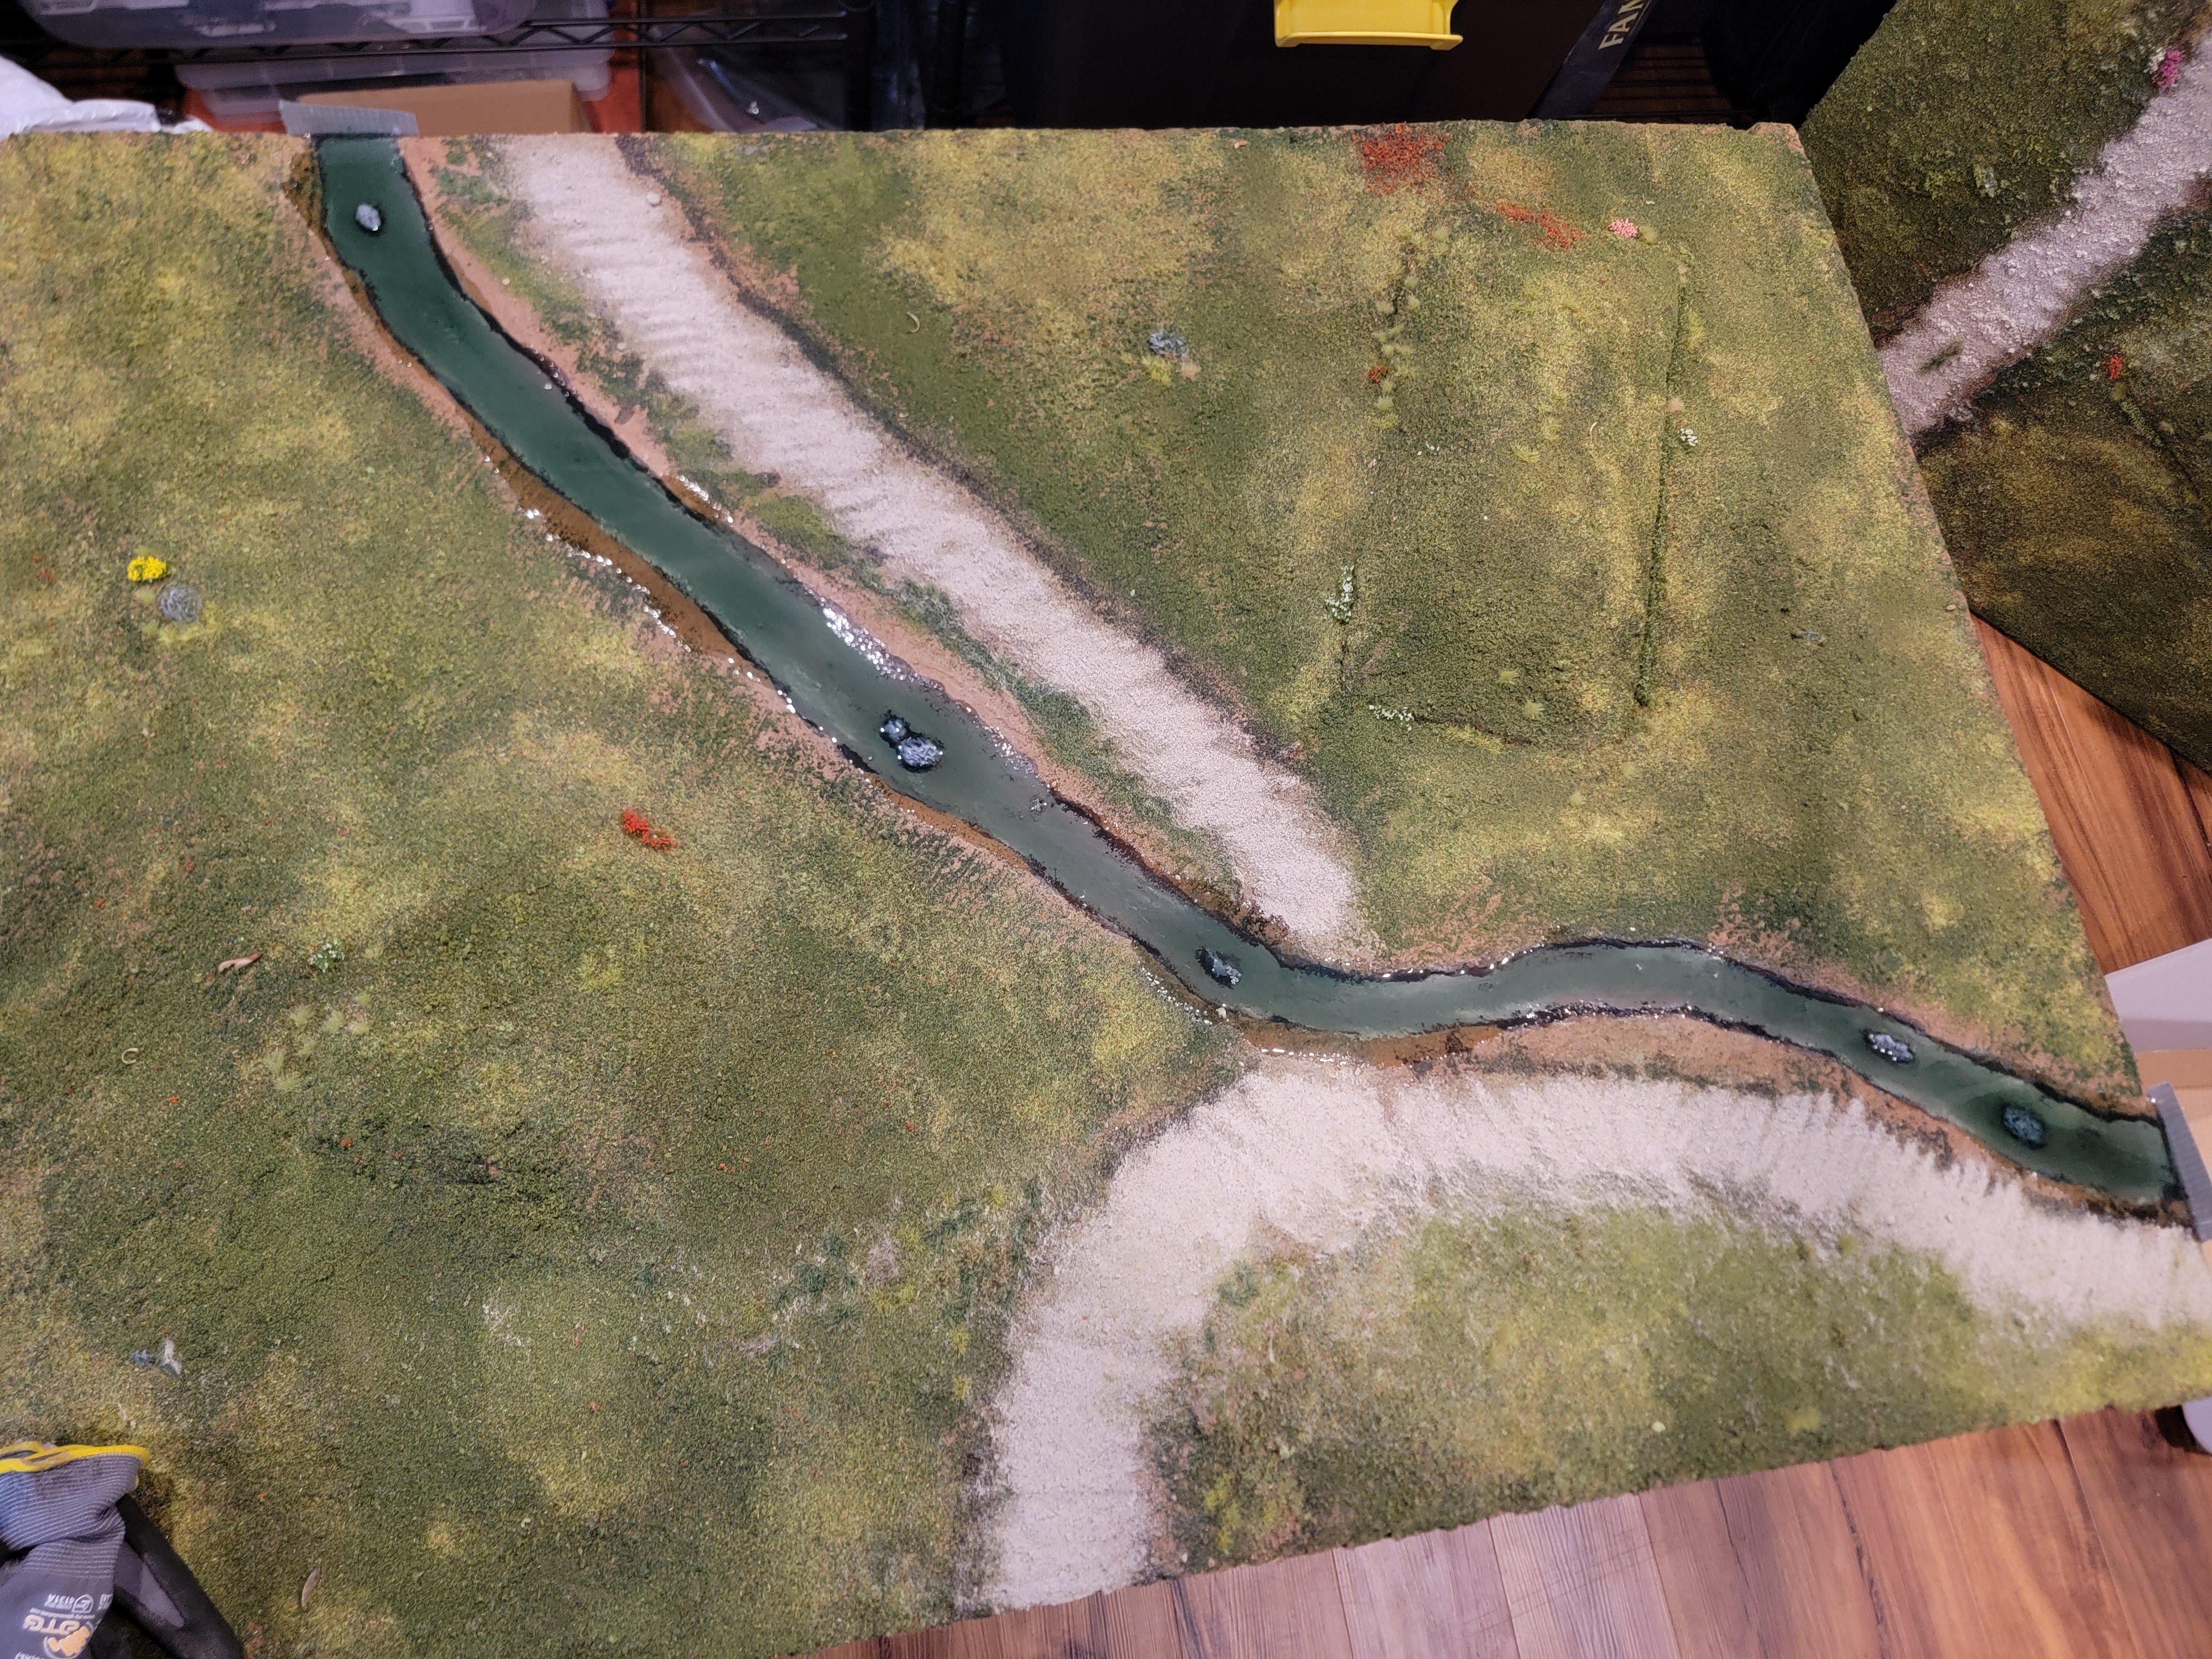
Ah well–it looks good in the end and I can take the lessons forward to the next time I build a giant board. Failures aside, the rest came out great. The ground cover was accomplished by repeatedly layering, soaking in glue, and layering even more flock. I hit the first layer with high pressure bursts of glue which caused the flock to bunch up nicely. That wasn’t intentional but it led to an uneven and bumpy surface cover that looks good. Add to that a few rocks I scattered and a bunch of tufts and variably colored flocks which came together to make a fairly idyllic layer of countryside.
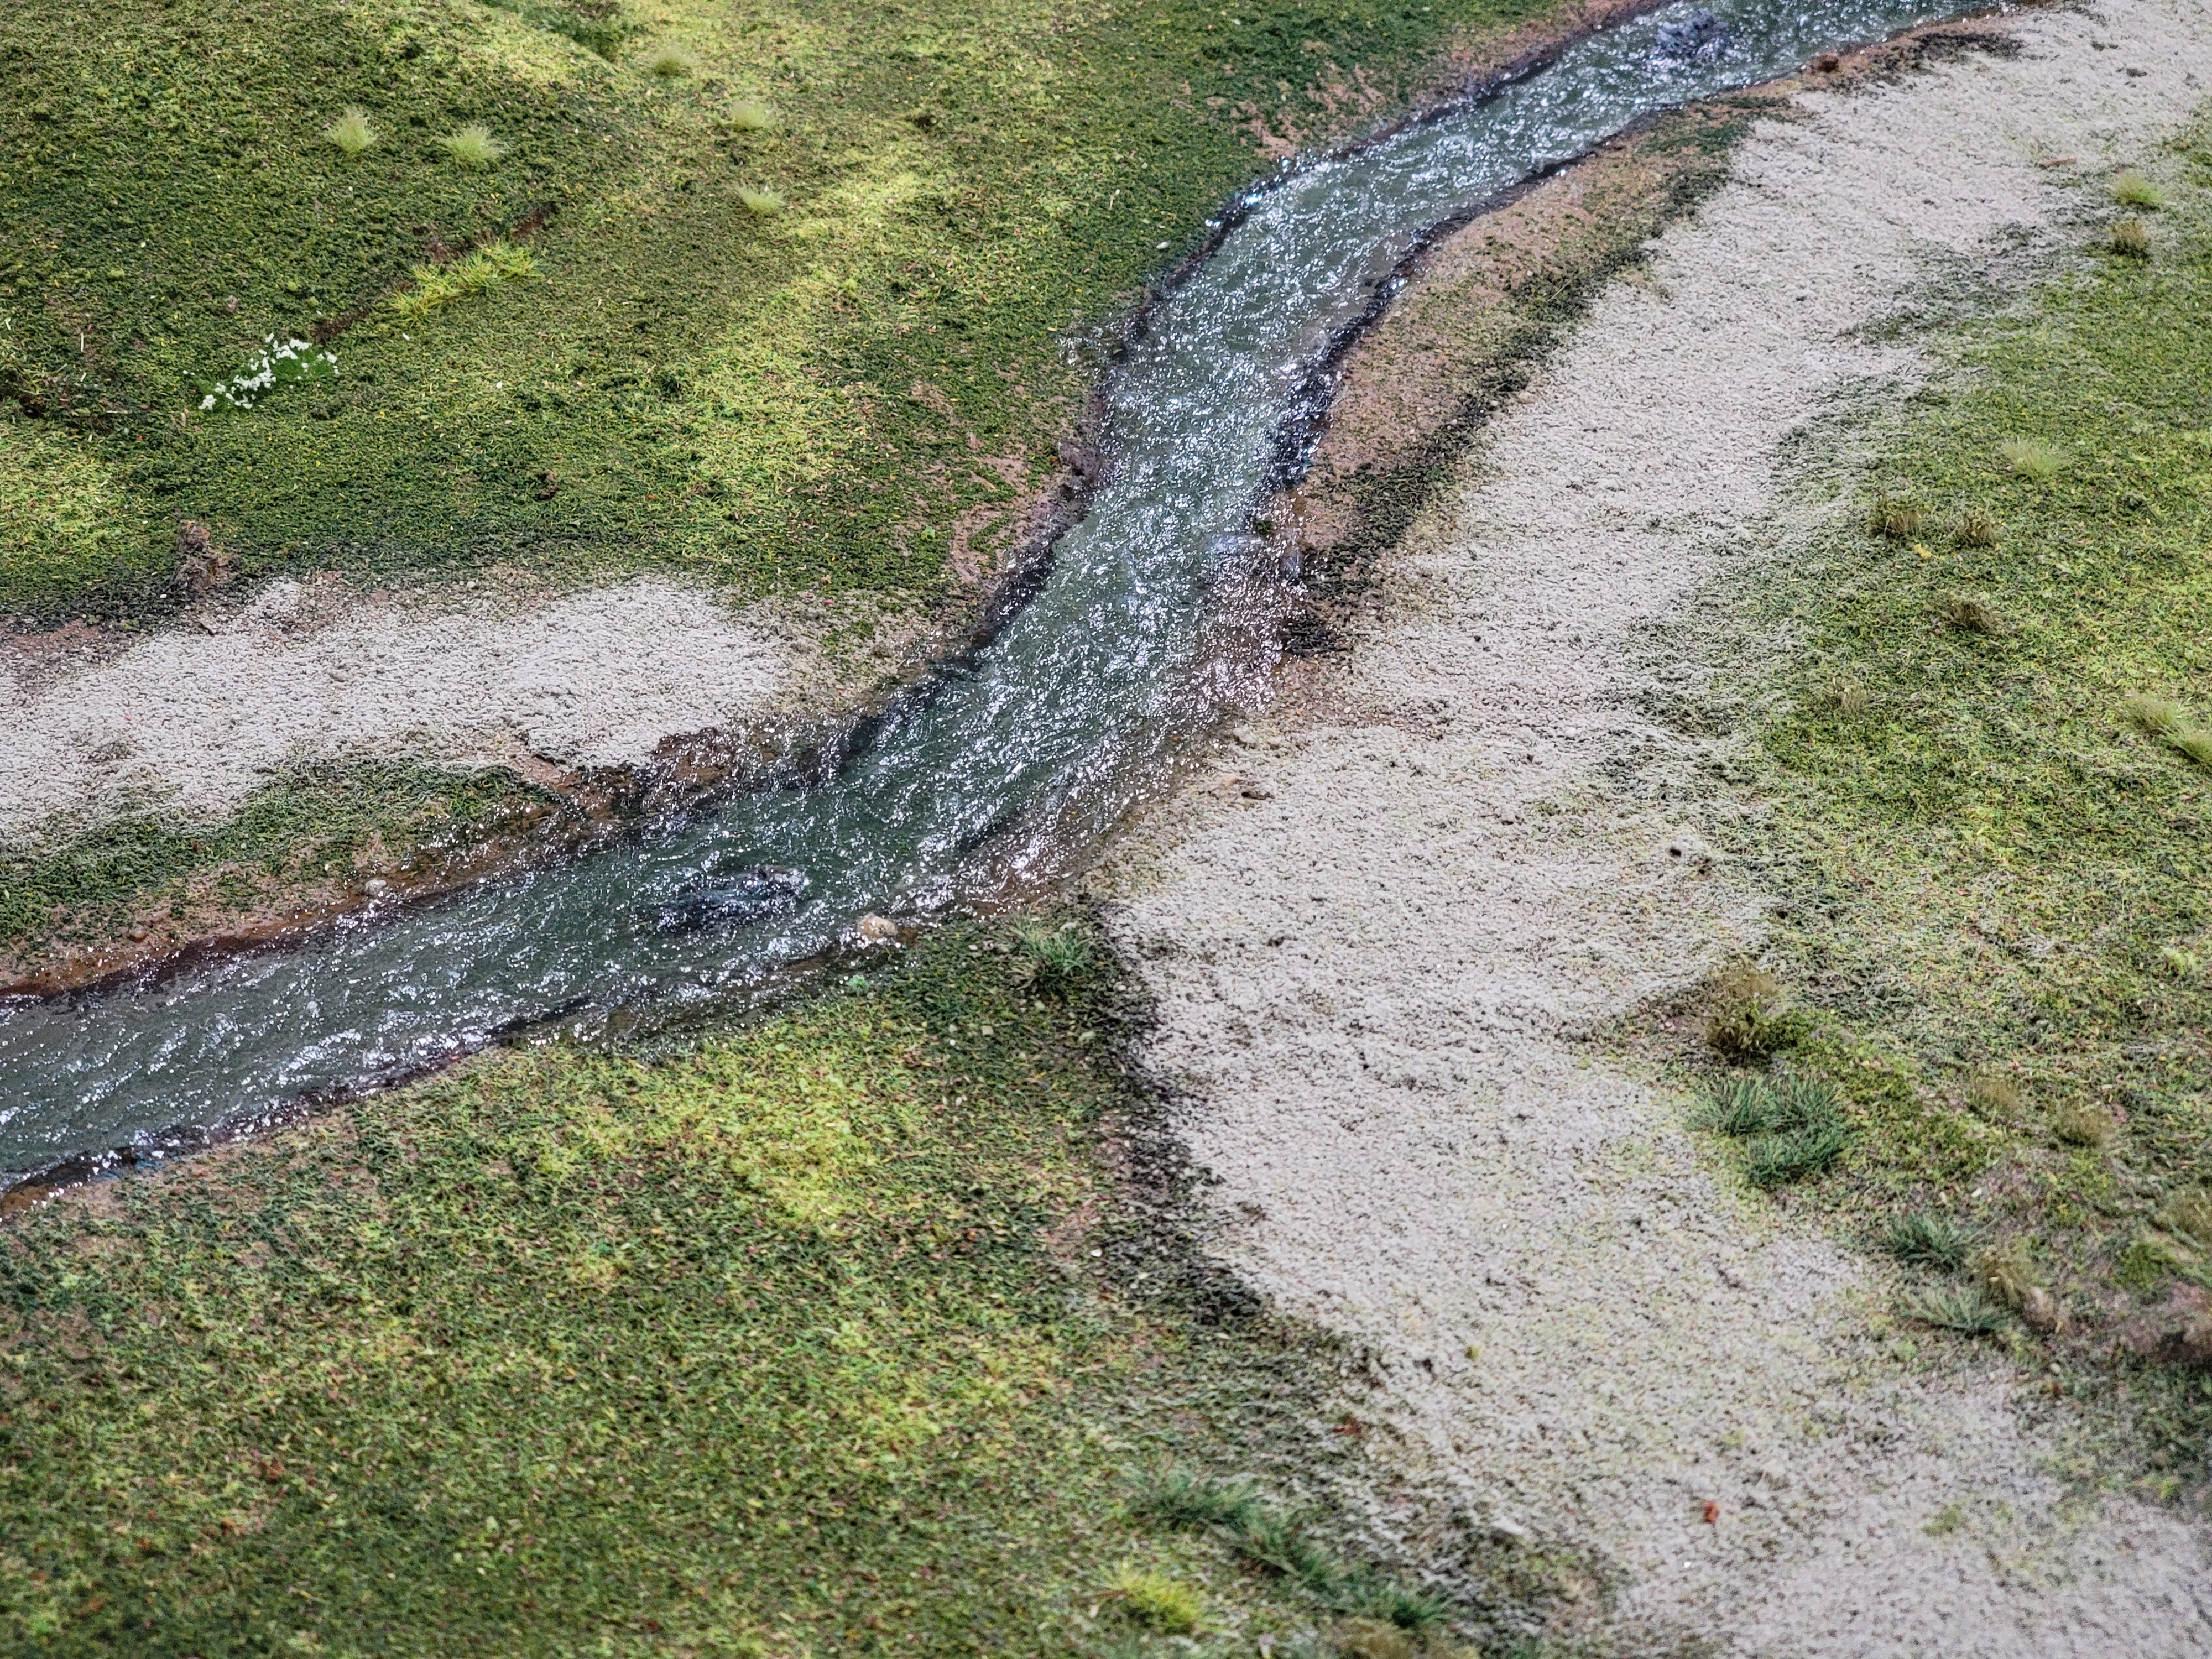

The roads: these were graciously easy. I poured sand, glued it down, and poured sand again. I’m happy with the result.
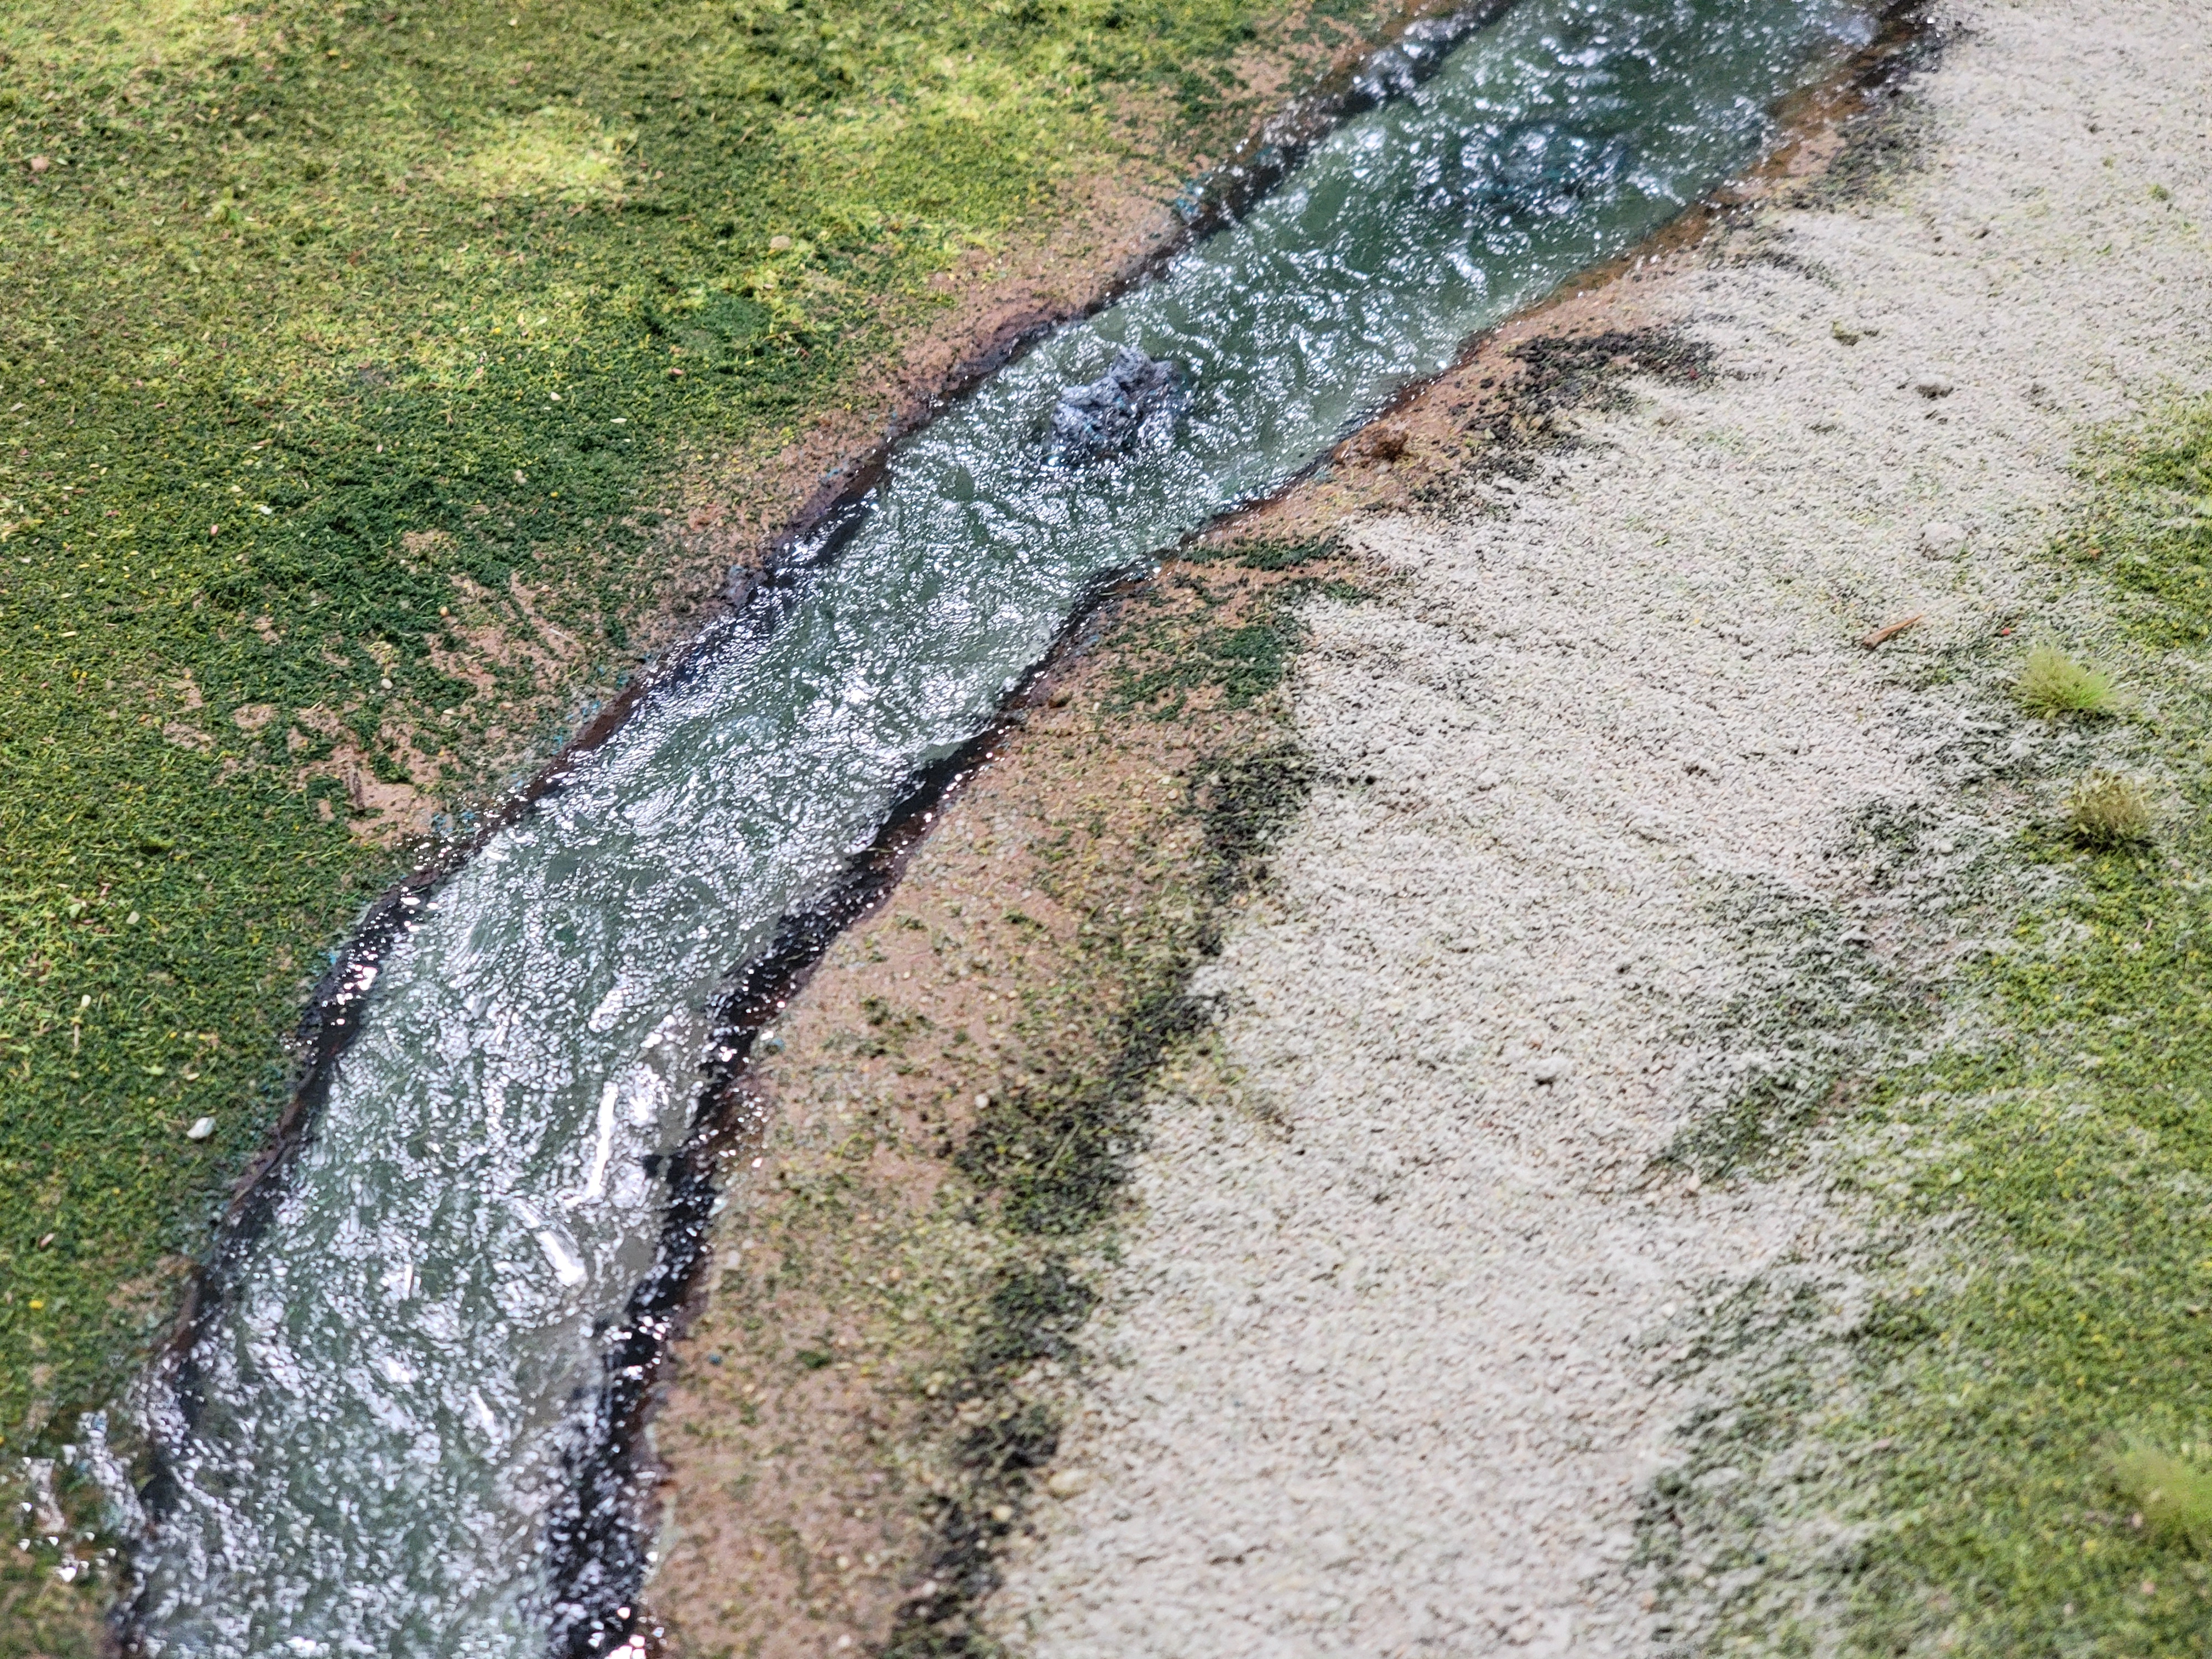
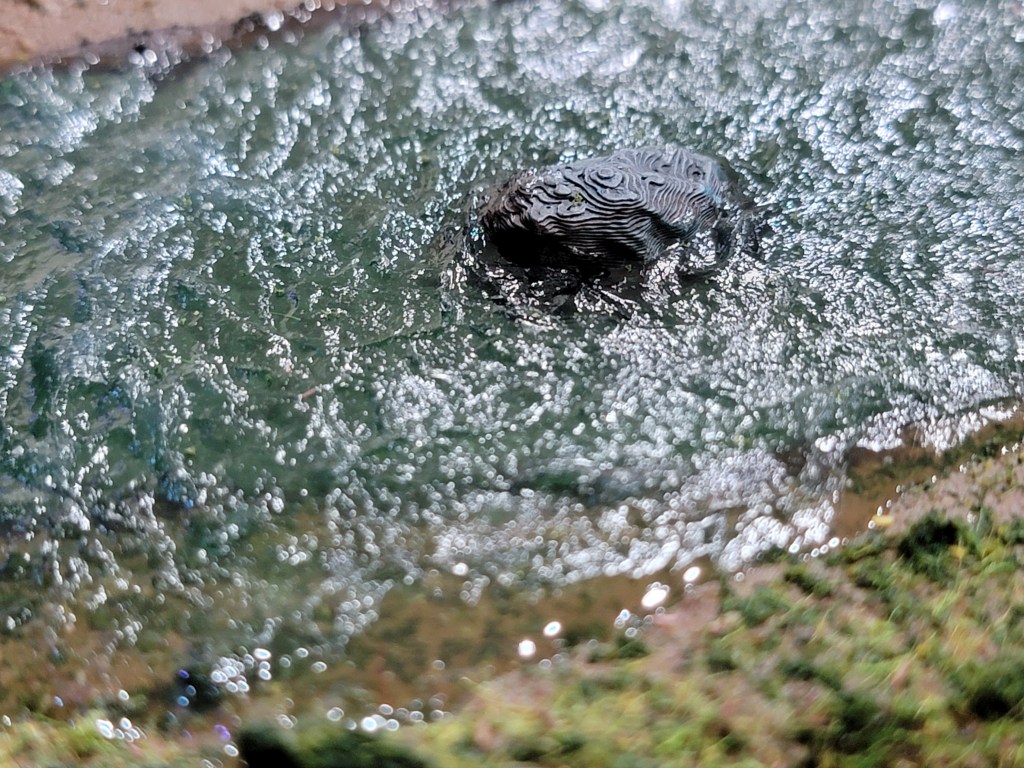
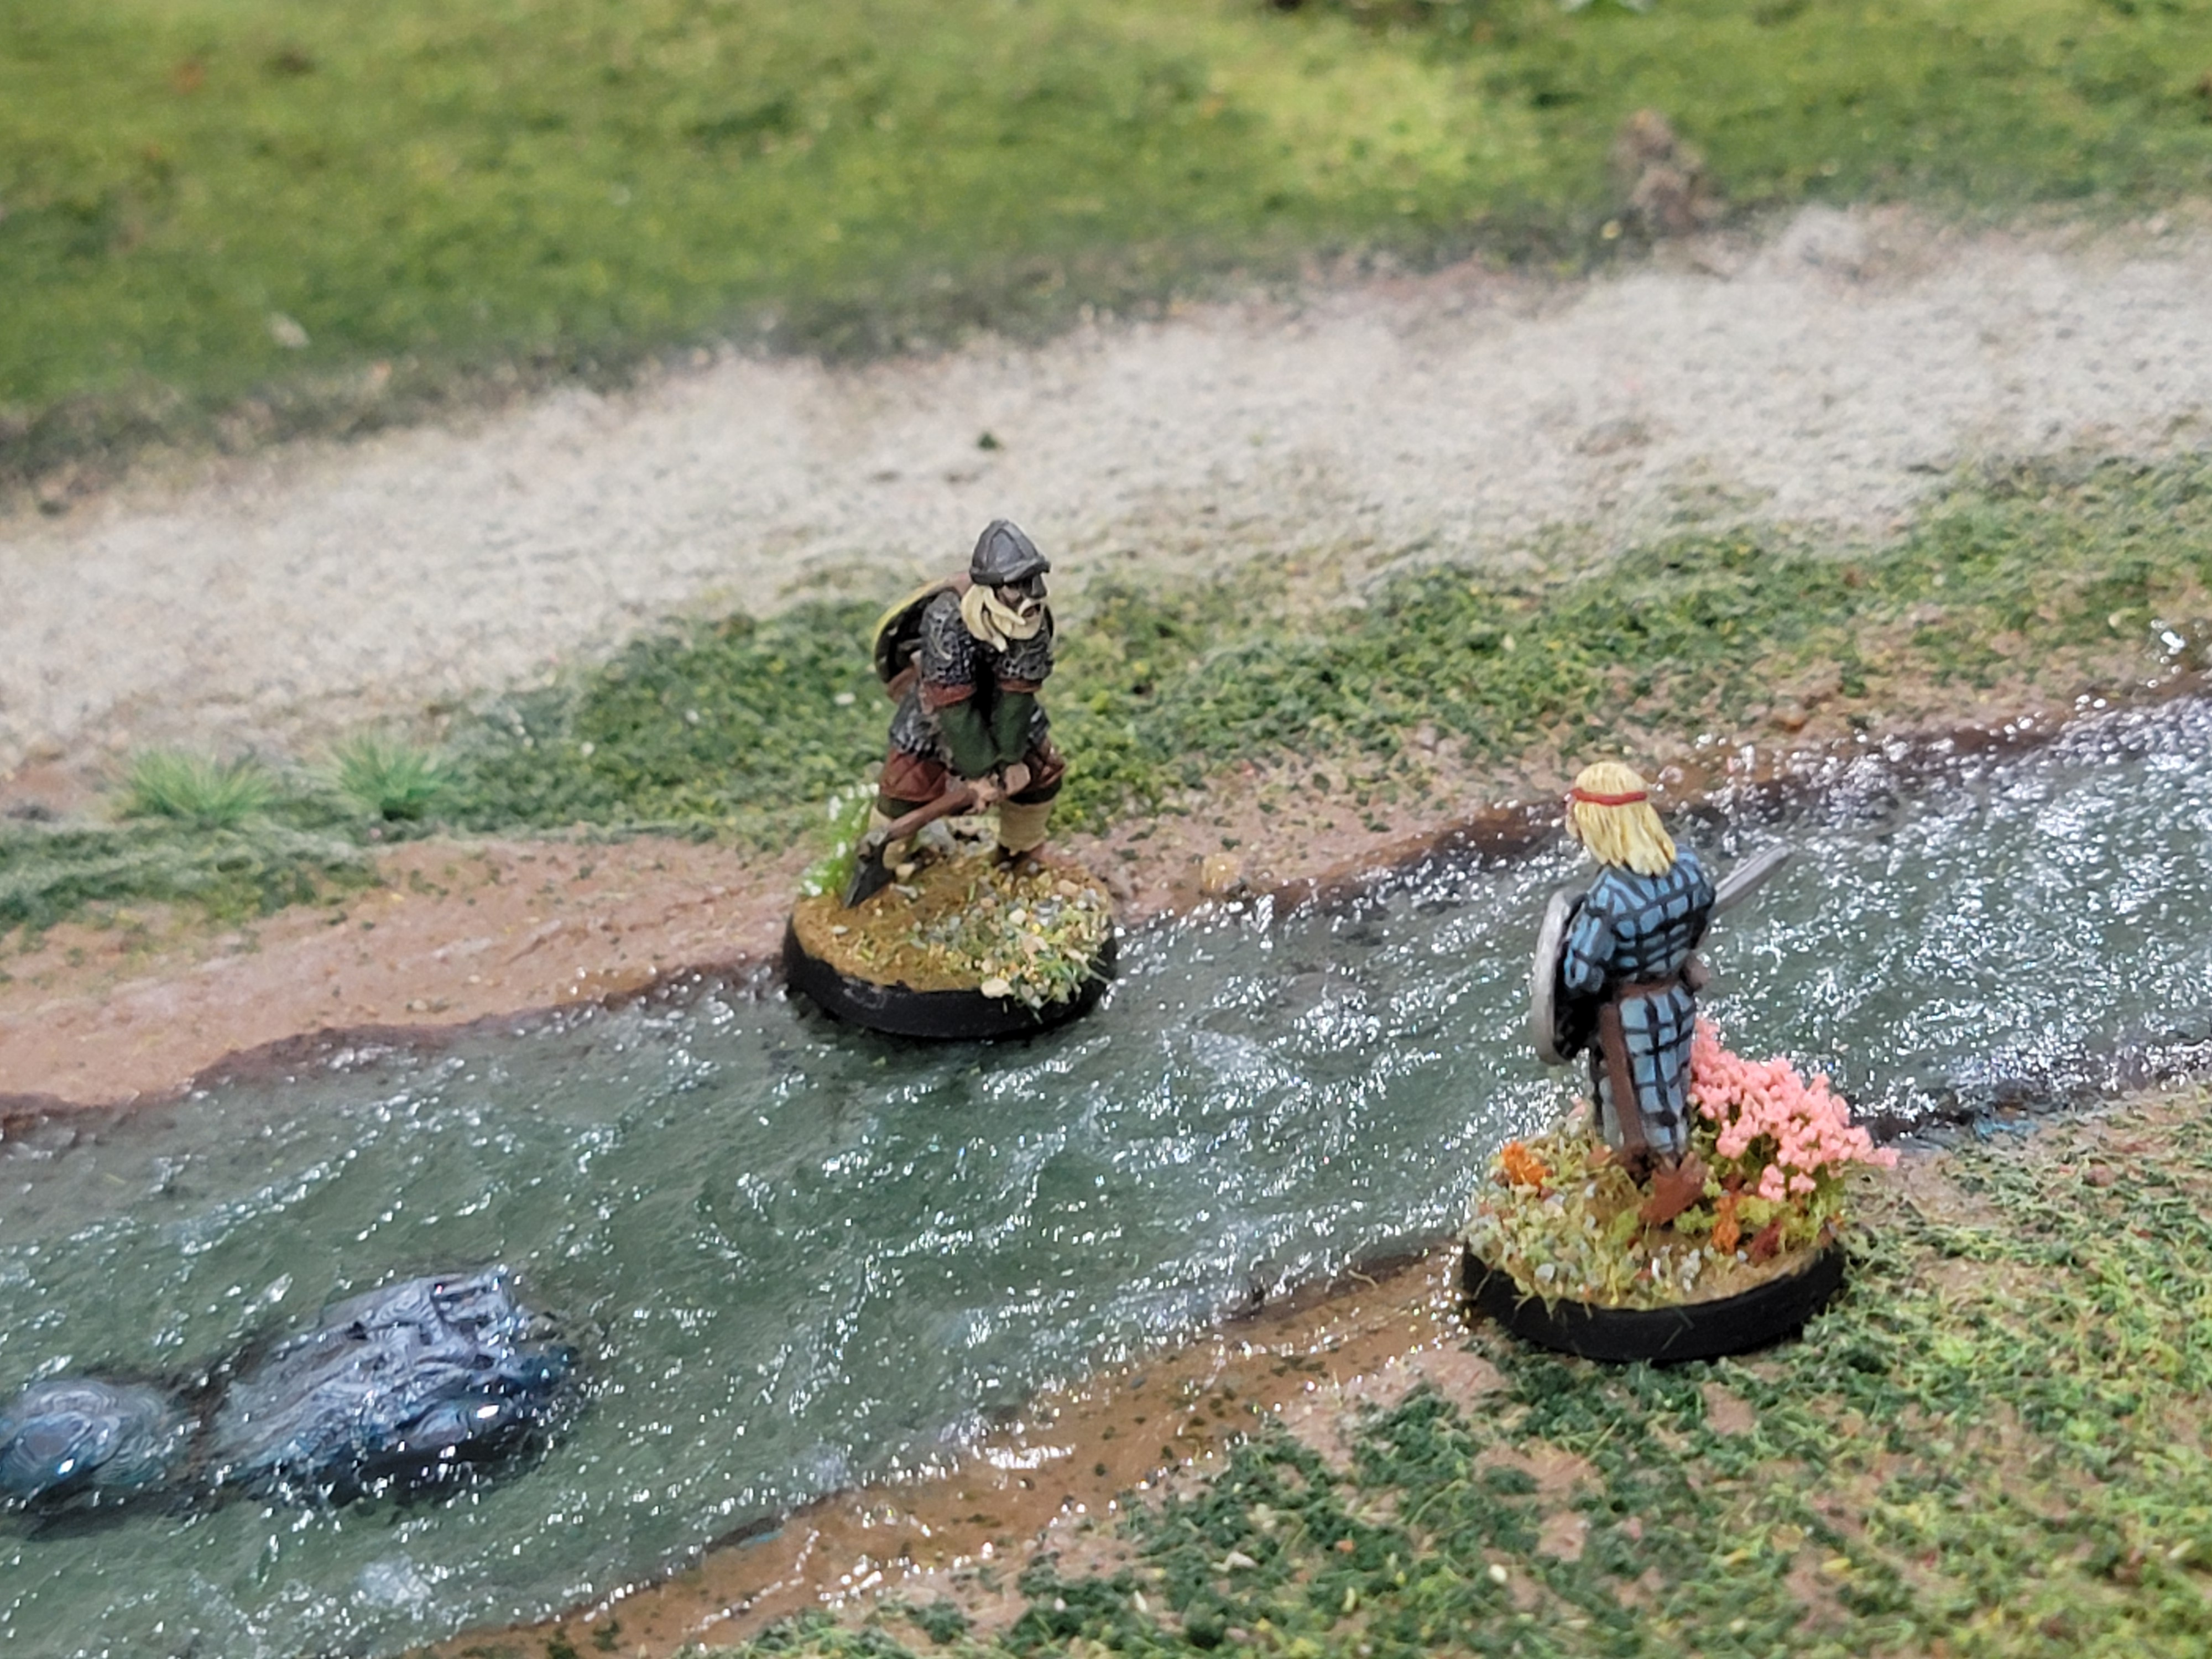
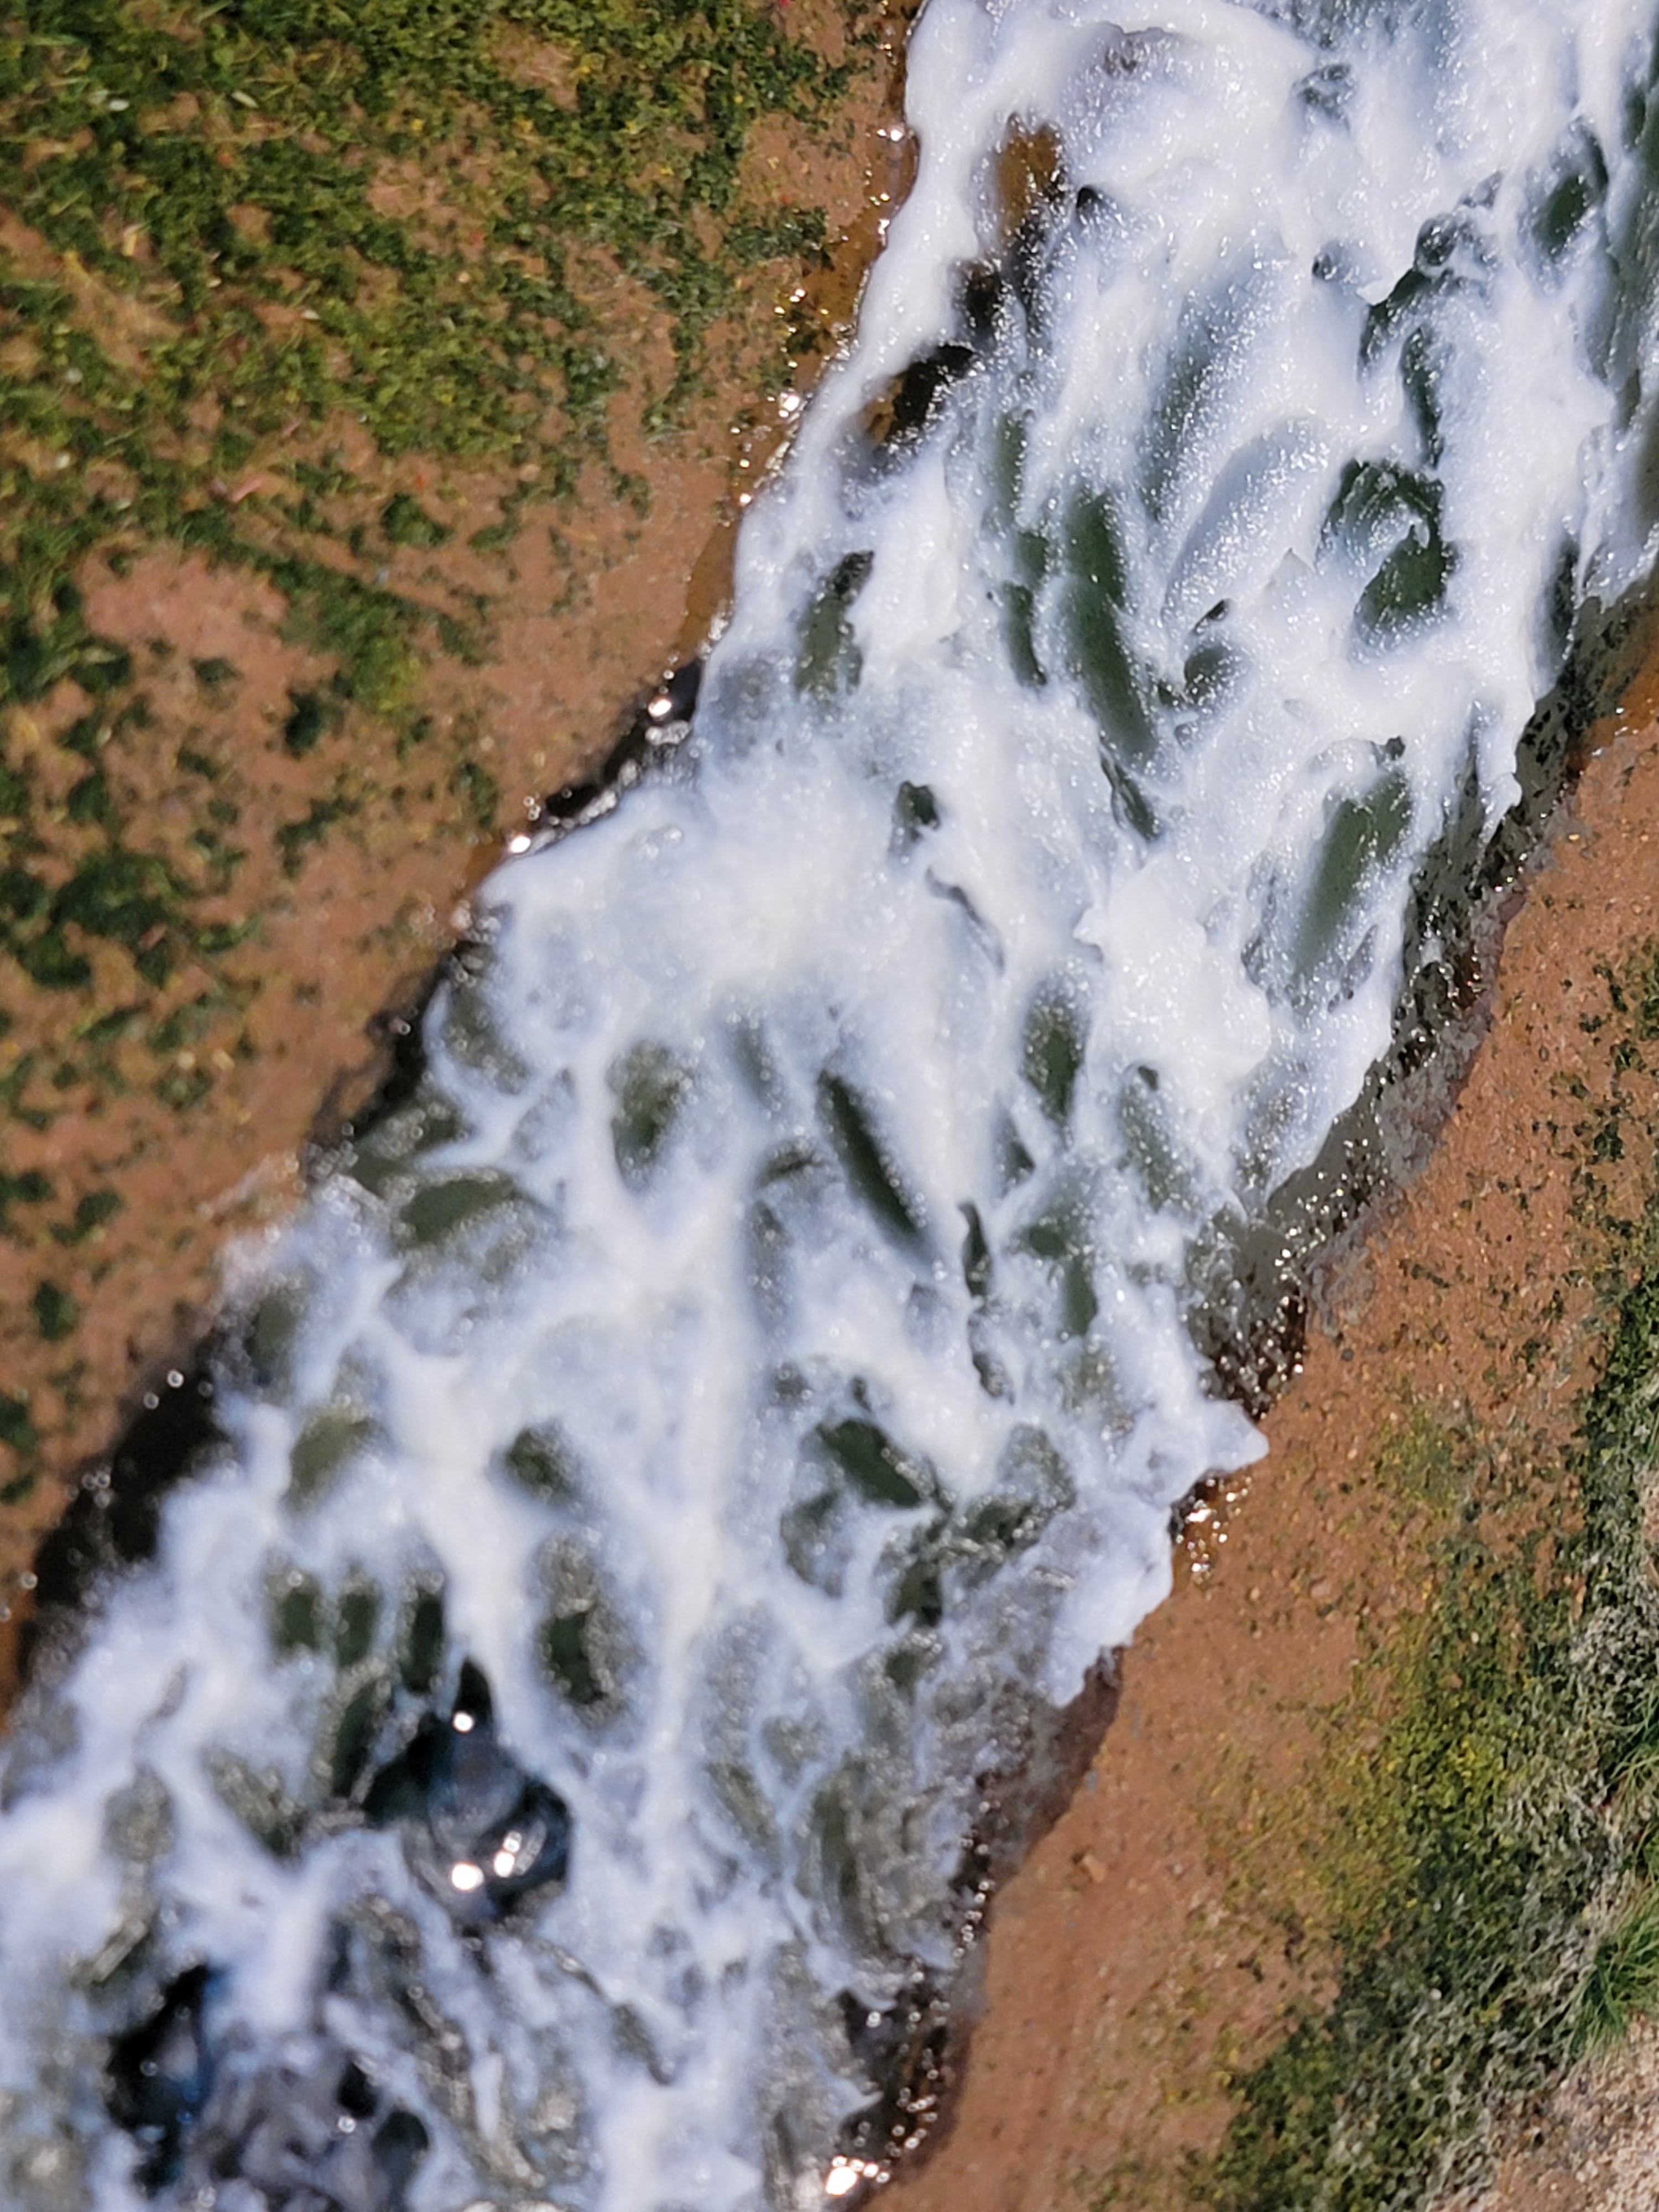
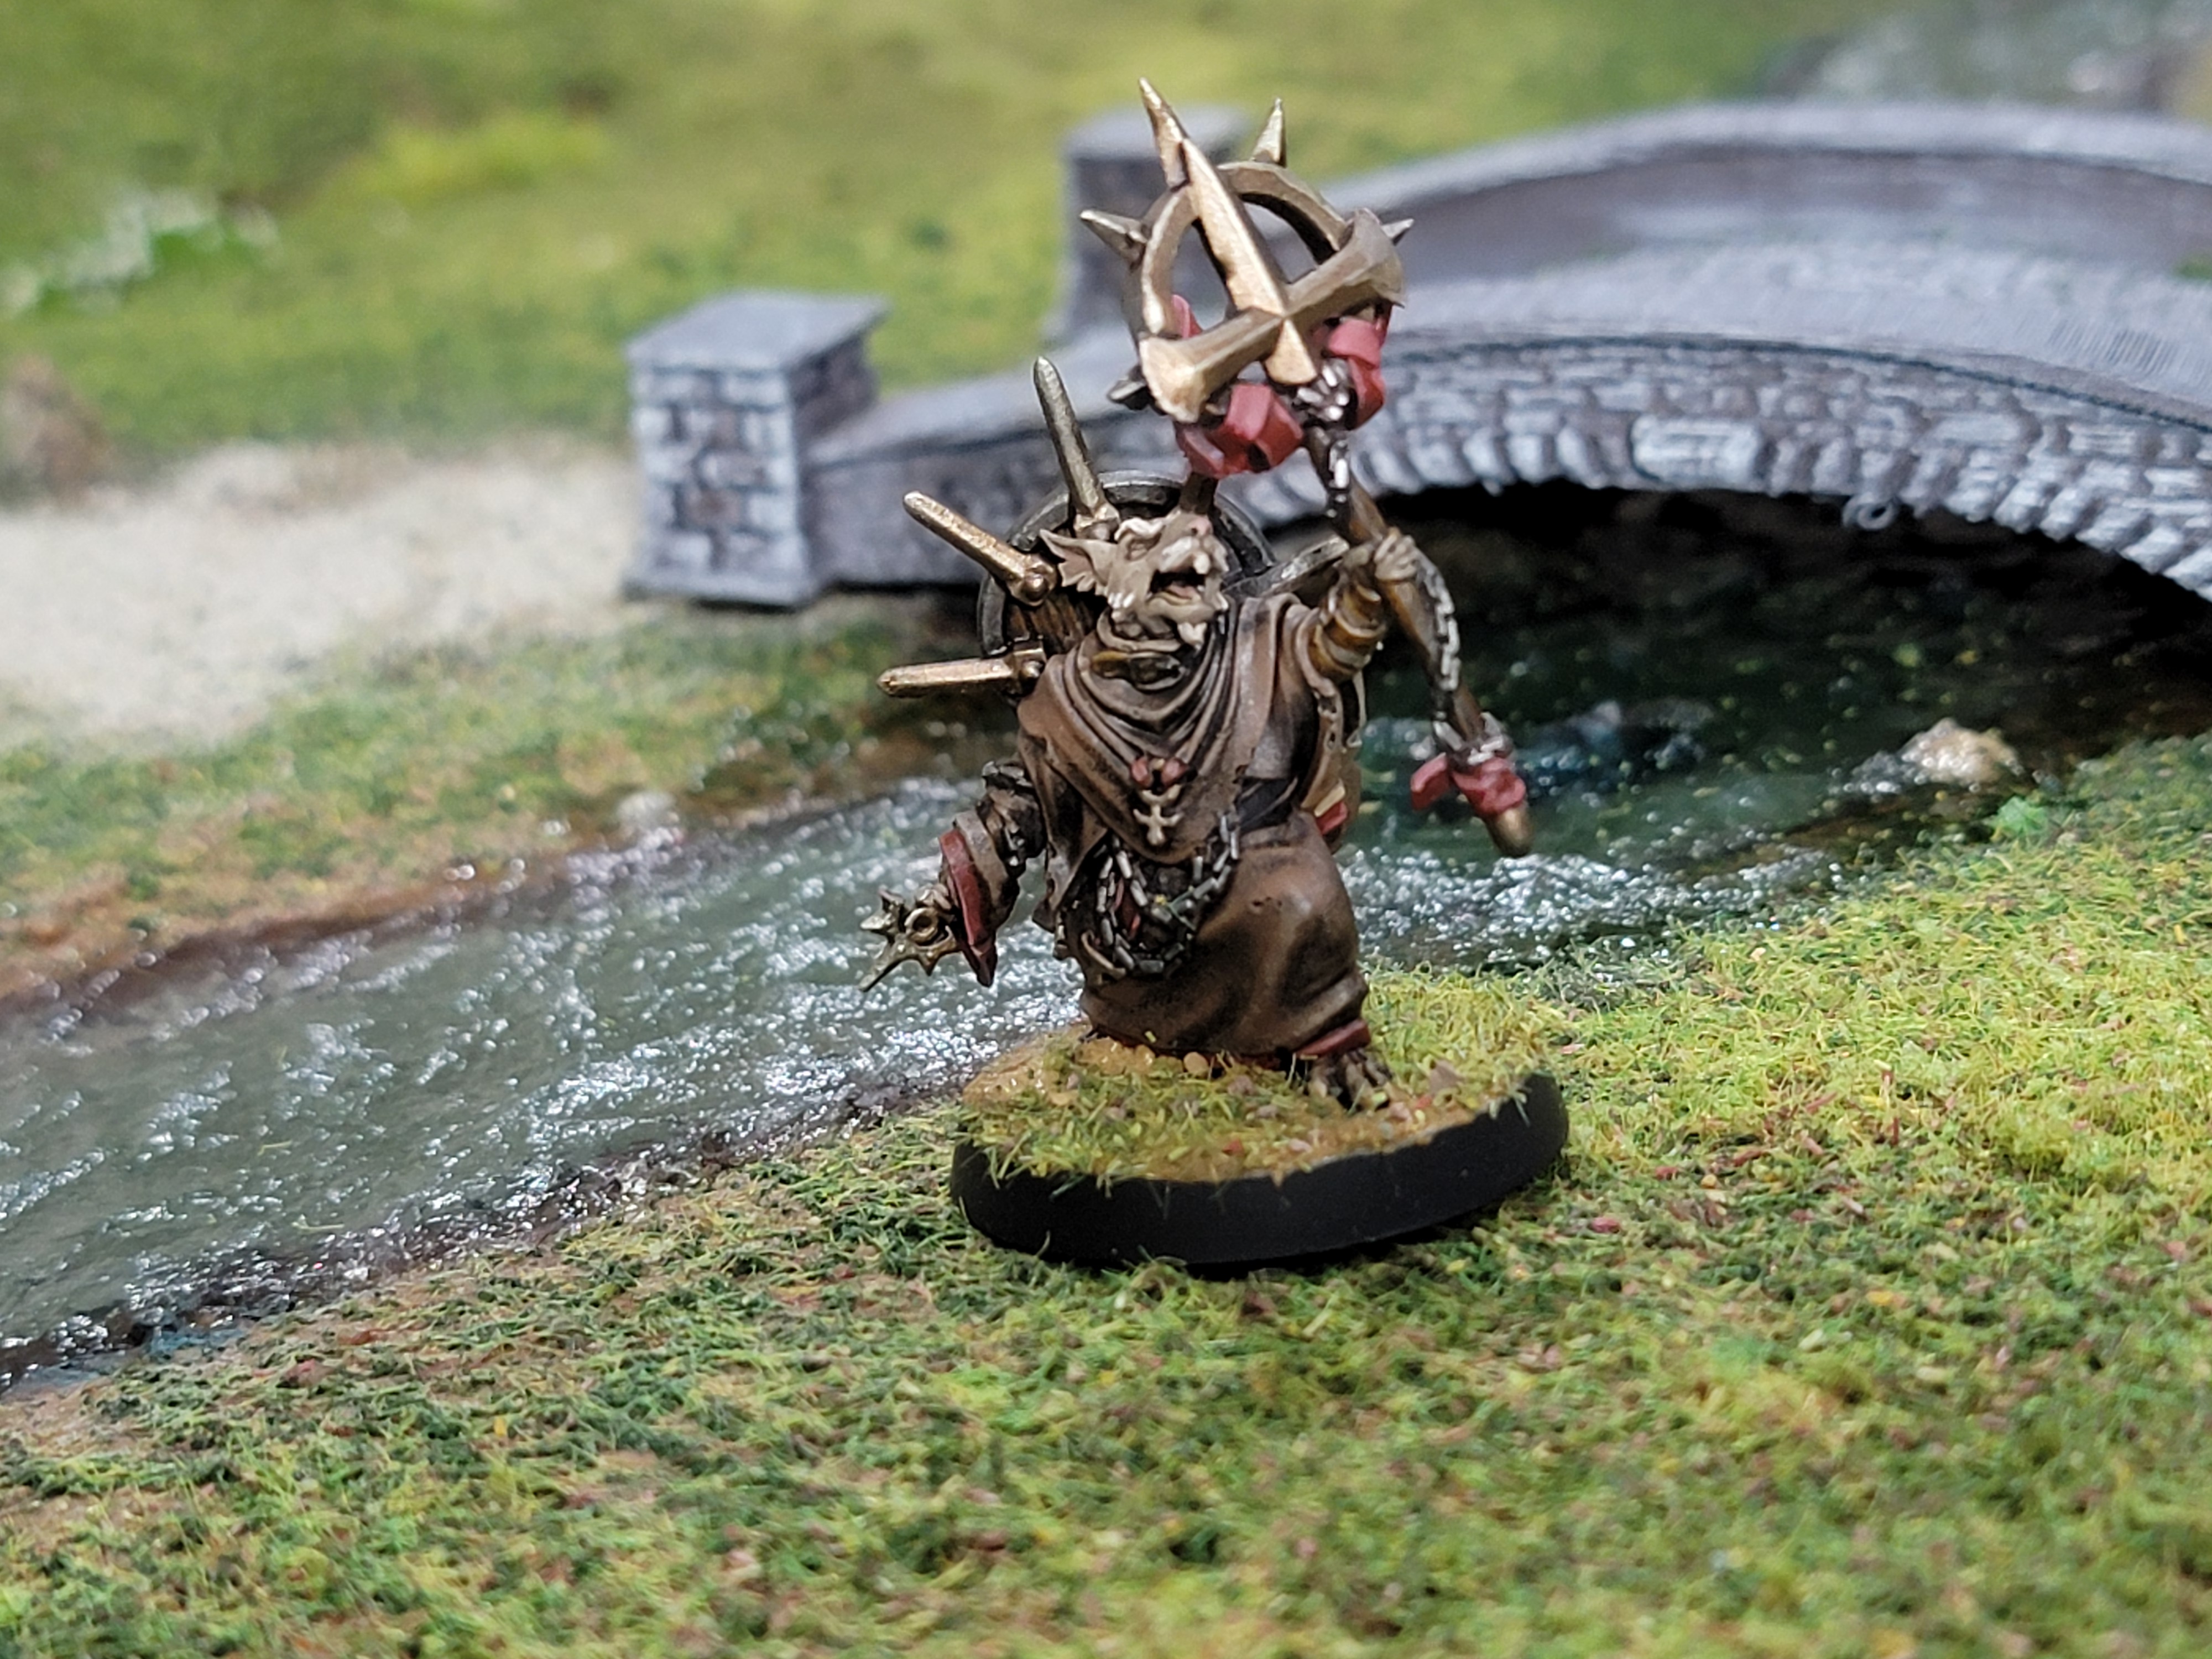
The river was a doozy. I spent a ton of time debating and repainting it before laying down the resin, settling on a dark green-brown color with a touch of blue (so perhaps teal). I poured the resin flat, then went back with a Vallejo surface effect to make it wavy and give the impression of moving water. I could have done this either way: the flat stream looked very serene and the moving water looks appropriately dramatic. I’m happy with the end result and wouldn’t change too much about how I executed it. There was no river or stream necessarily during the Battle of Clontarf aside from the one to the south between the Dubliners and Dublin. For the game we’ll count this as a stream with no real consequence, really just representing the local water flow toward a river.
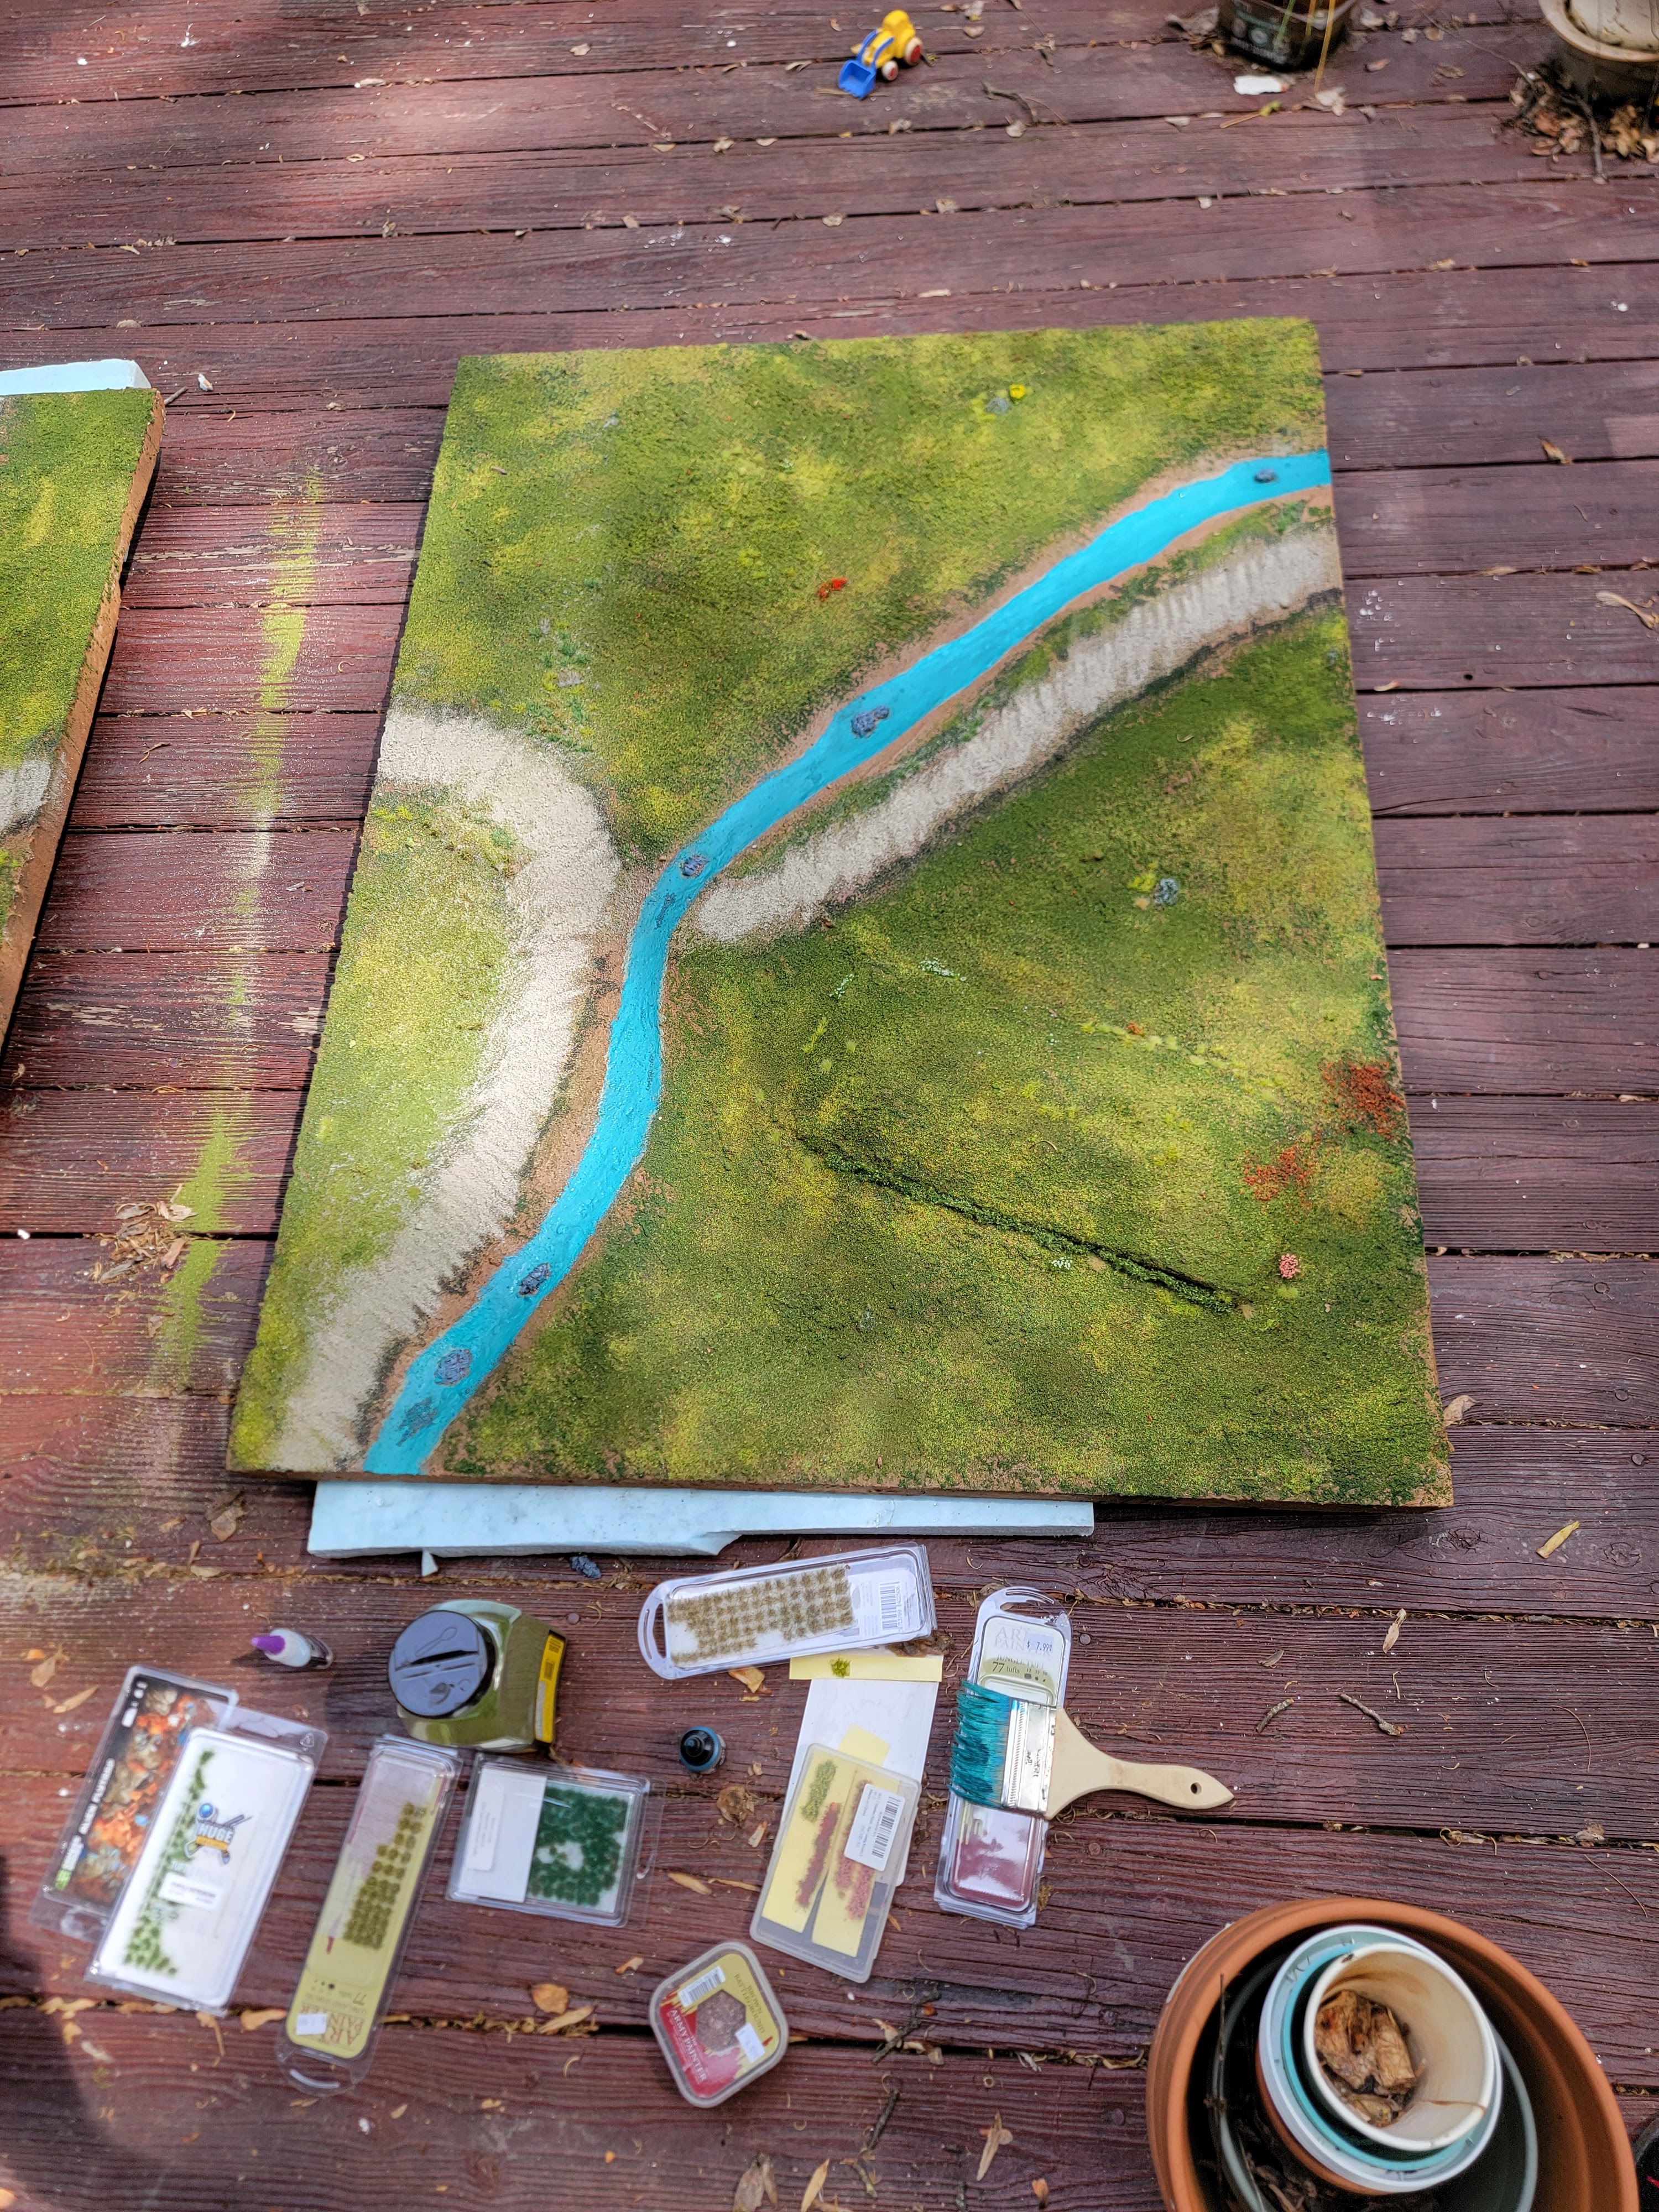

A few more details for the curious: I used Plaster of Paris to do the first layer to protect the foam before I hit it with various brown primers. Then I layered two layers of a mixture of sand, PVA, water, brown paint, and alcohol. This was followed by laying down the road and flocking. Had I used something more substantial than Plaster of Paris, I probably could have smoothed out my hills better, so I don’t recommend doing purely Plaster of Paris. It just served as a cost effective method of protecting the board. The subsequent layers of glue were necessary to reduce how brittle it is. The end result is a board that has now had miniatures and dice moving around it without any damage so far.
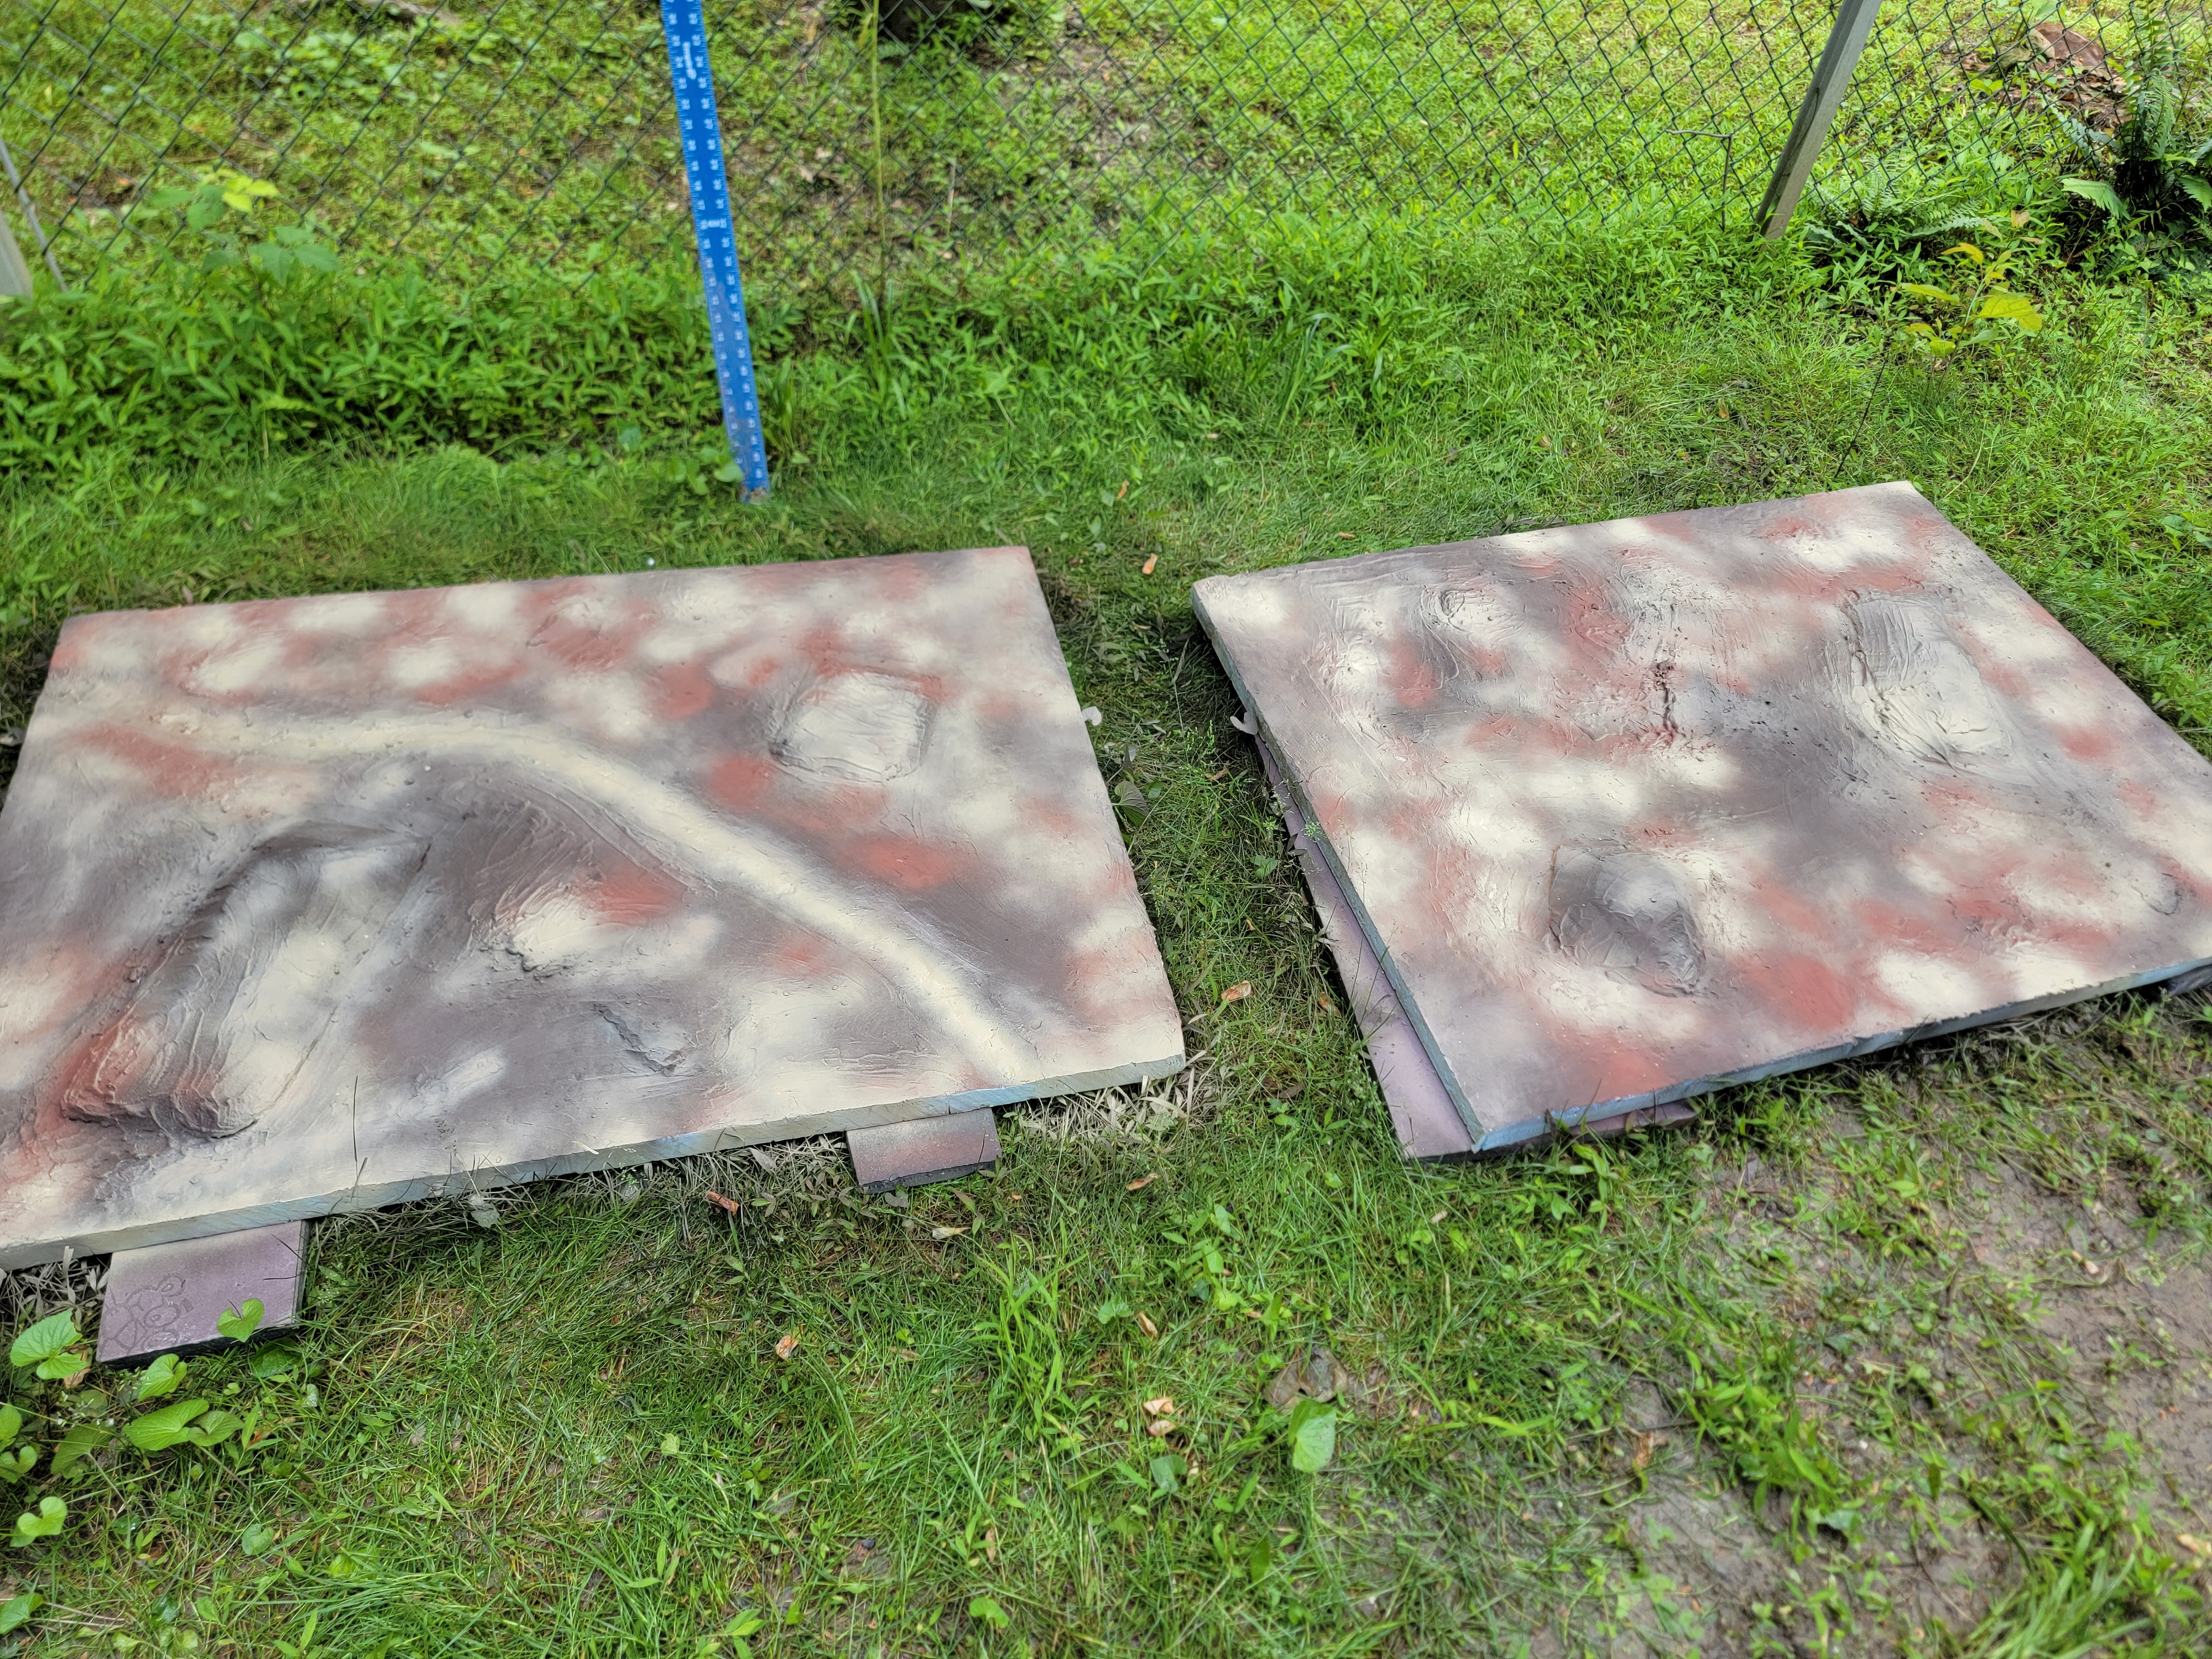
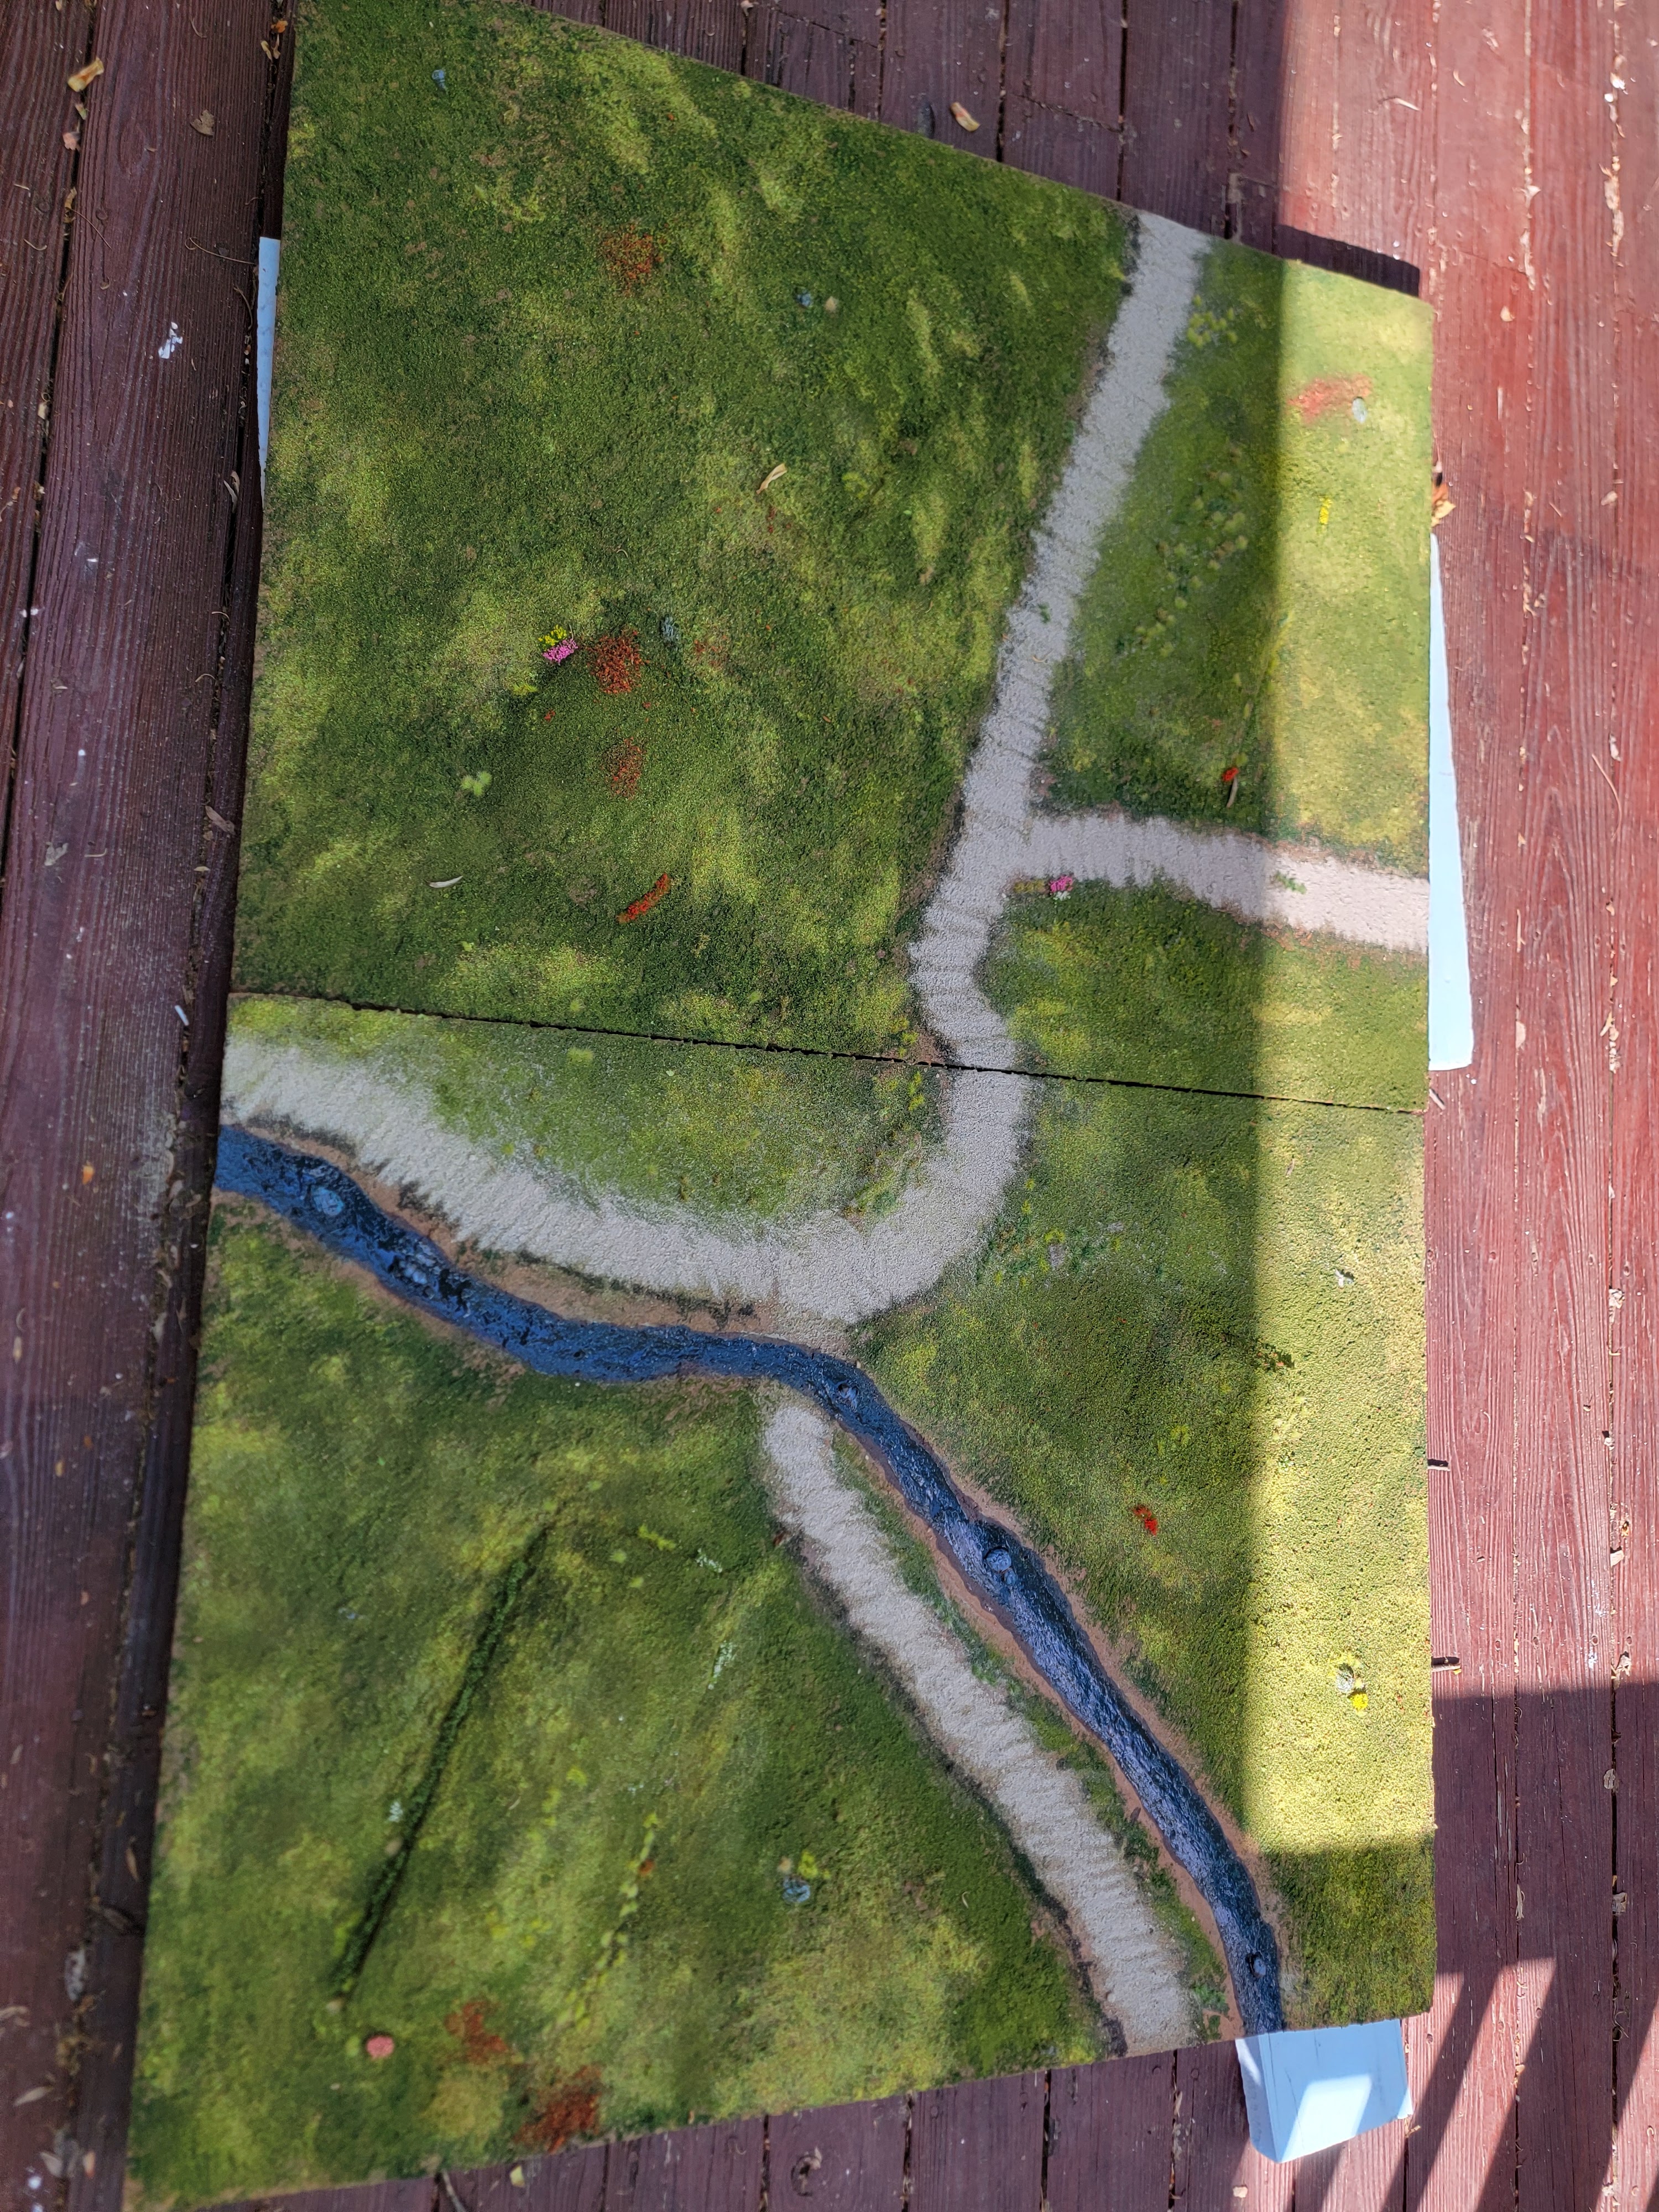
The board splits down the middle and I may make a foot wide river tile that slots in there. The roads also align from either side so as to maximize flexibility. I should be able to build a third board if I really want to. A good friend gave me several 8×4′ boards of 1.5″ insulation foam so I have more to work with.

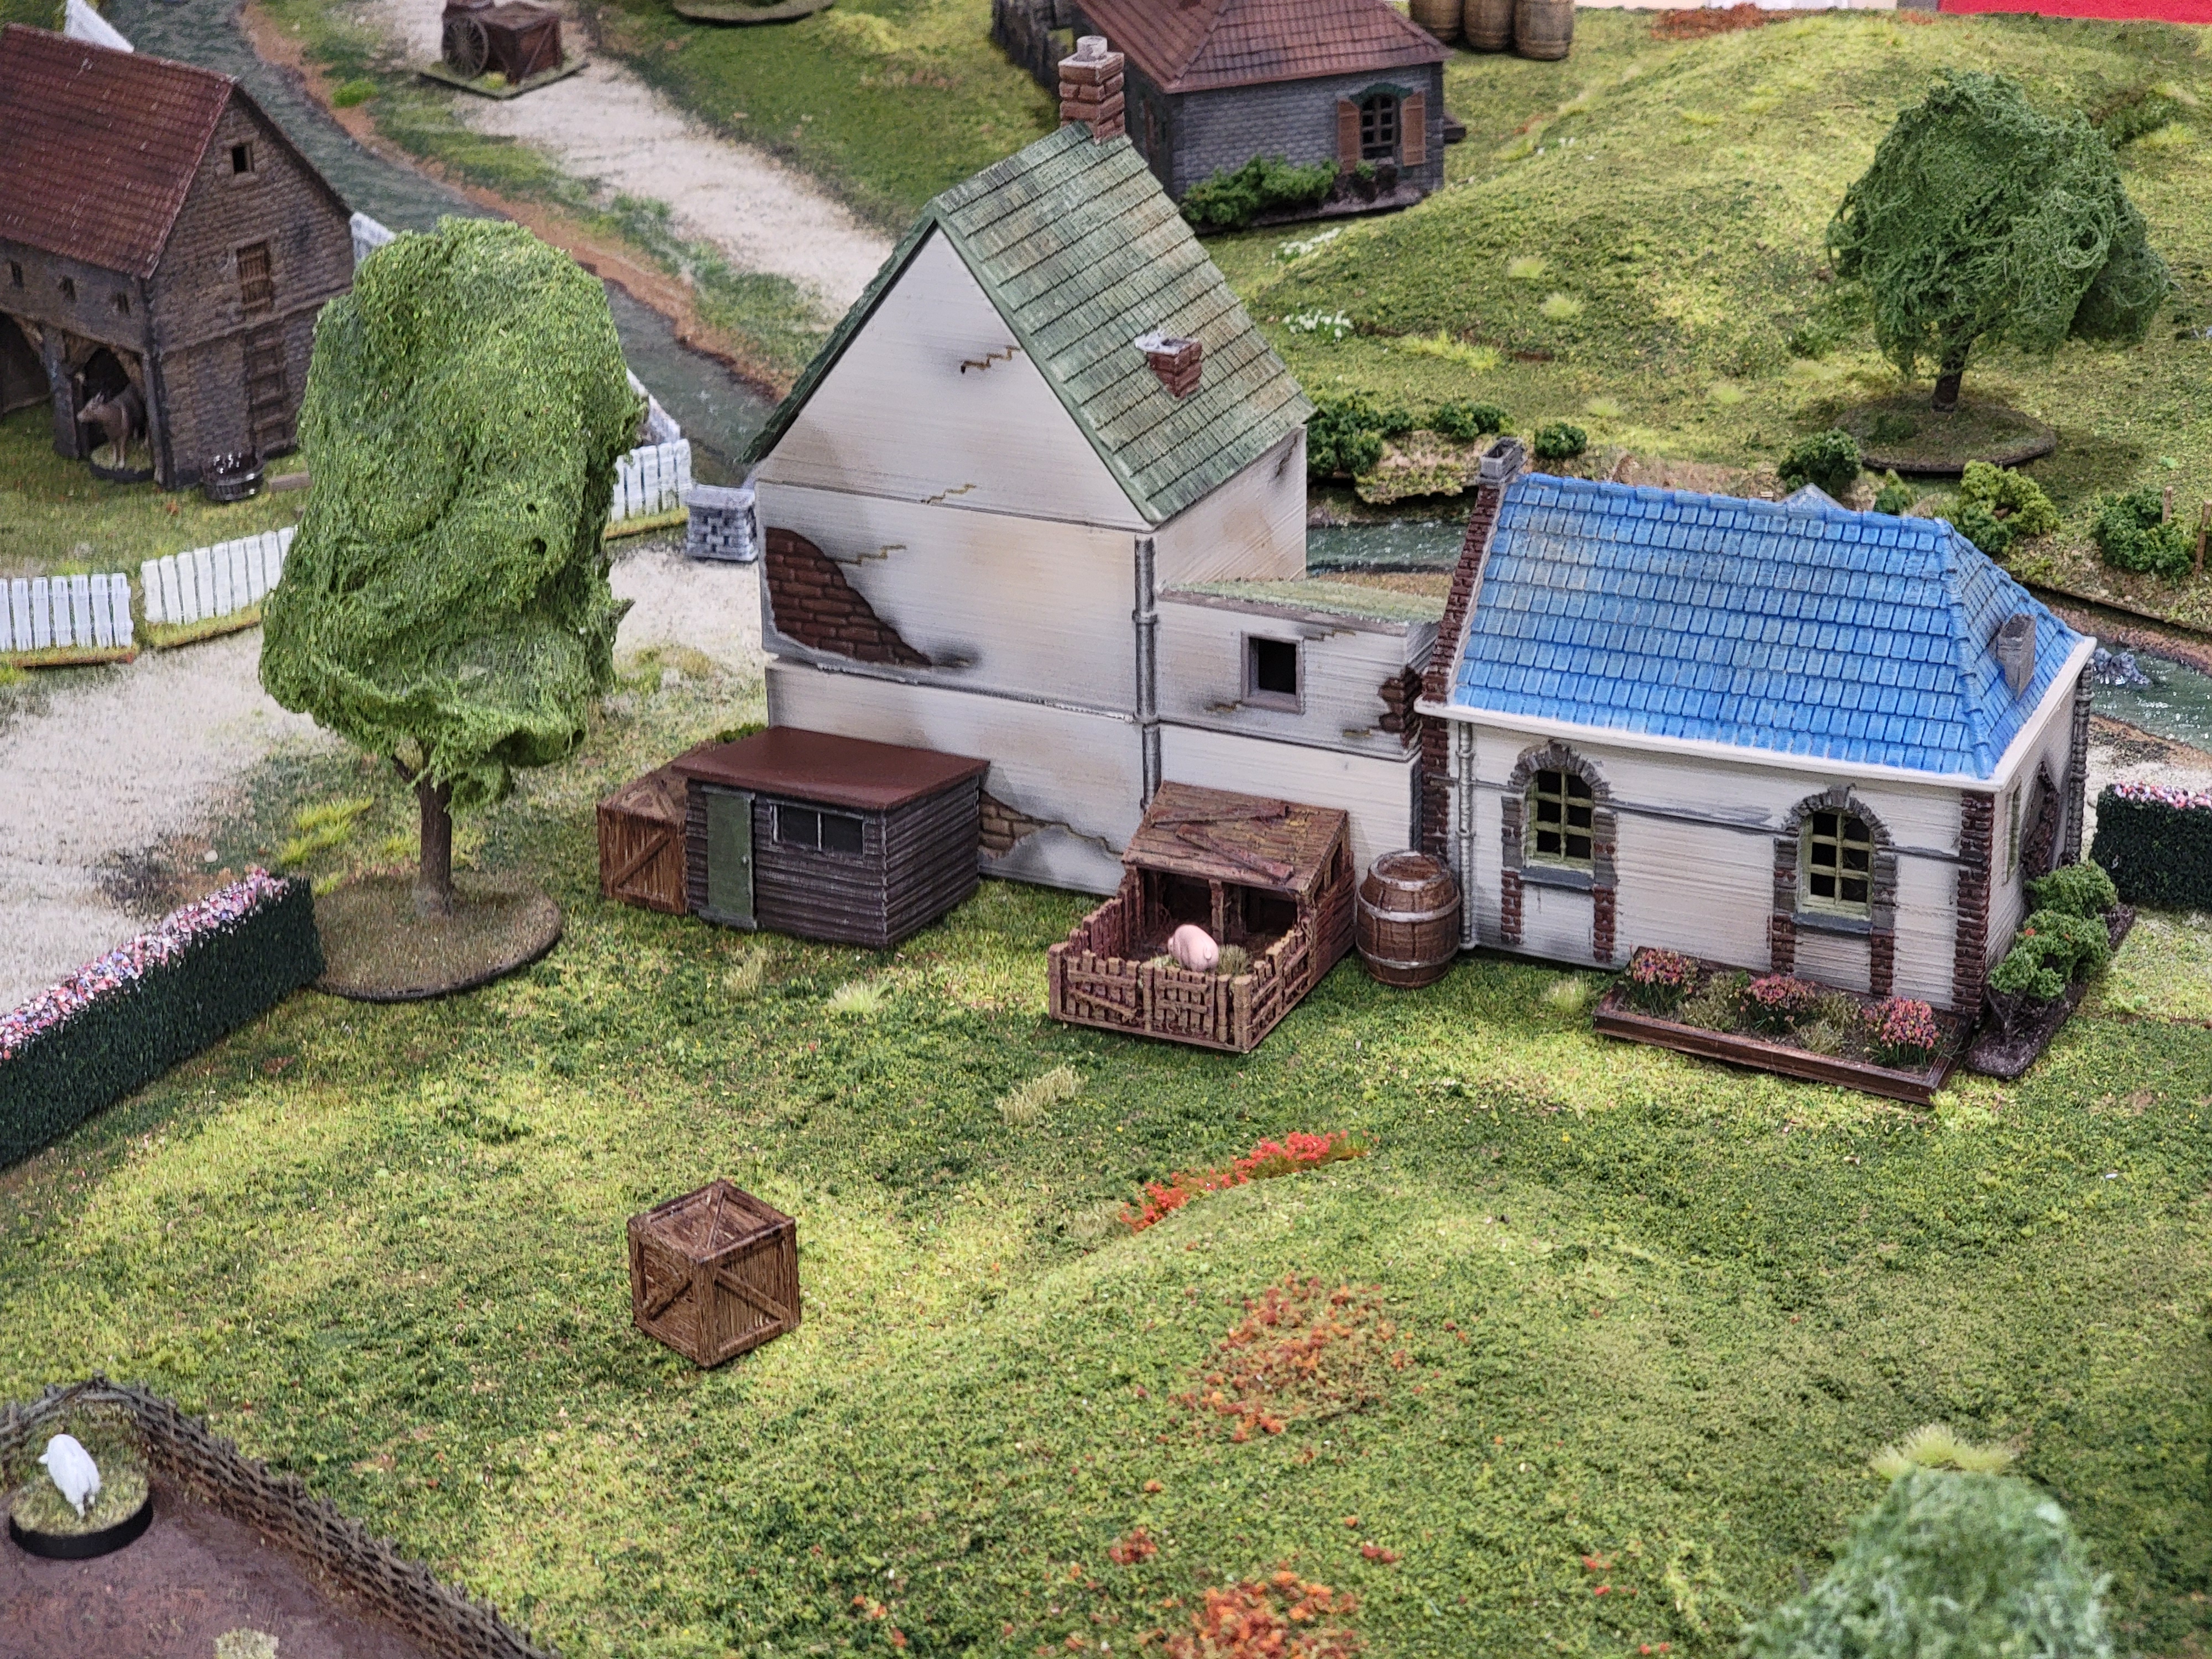
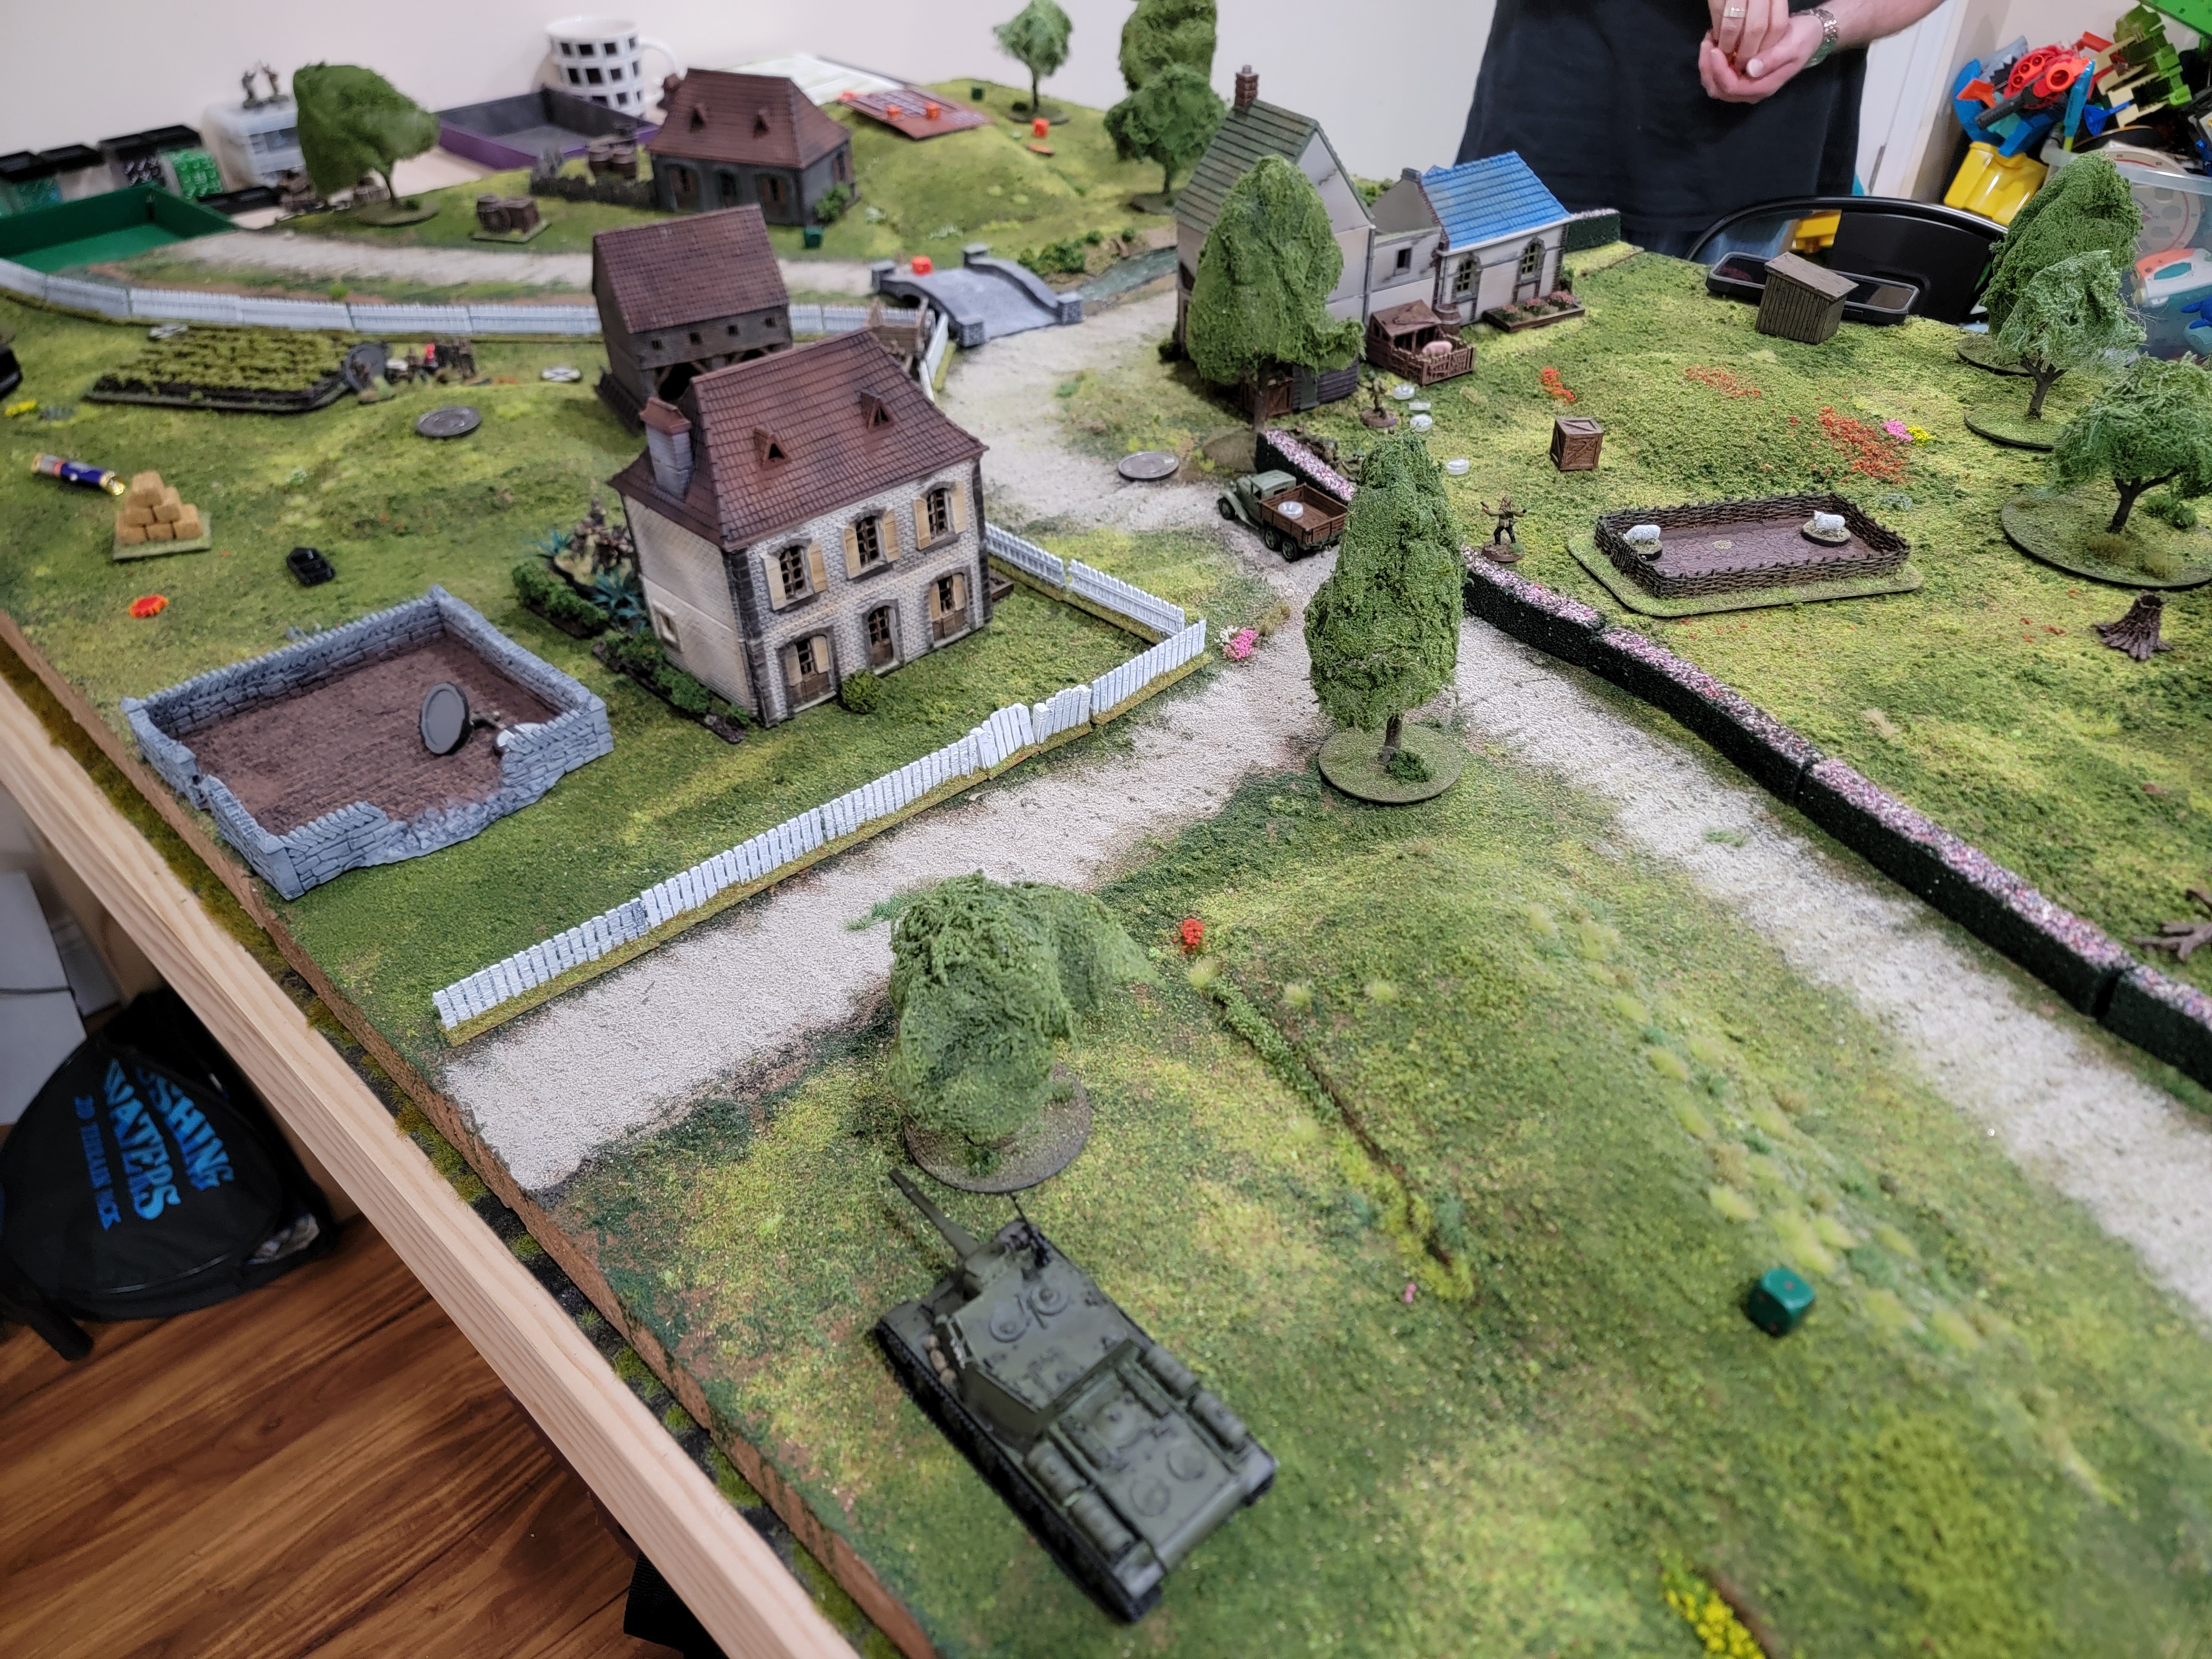
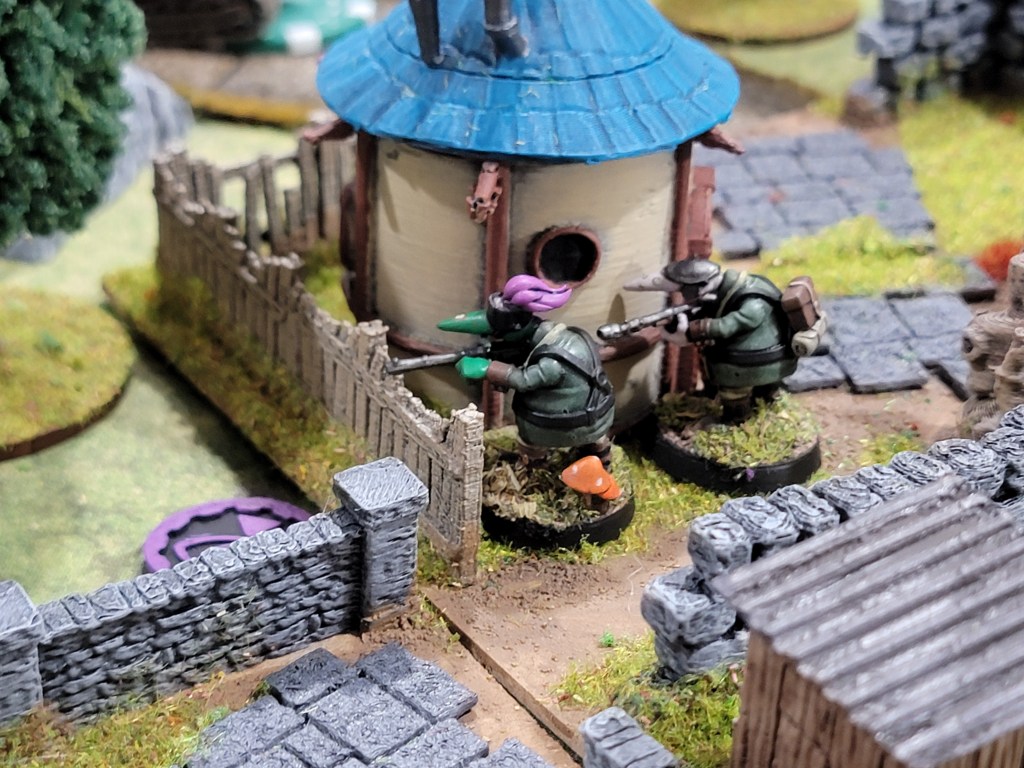
Finally, the other setups. I have set it up for a game of Age of Fantasy: Skirmish with my son later this week and I got my first game of Chain of Command 2 on this board (in short: fantastic–impressions coming). Setting up these buildings taught me one of the drawbacks of undulating terrain: it makes it hard to place buildings. In the future I’ll need to better consider where I want buildings to go so they don’t have corners hanging 5mm off the ground. On this board there’s only a handful of places you can really lay flat objects.

The lessons I take away are:
- Just do it. Stop delaying. You’ll screw up and learn and it’ll still look cool.
- Go hard, not cheap. This was not a cheap project–it pulled on tons of flock which cost a fair amount. Overall I’d estimate this board to be $70 in raw materials not including what the foam would cost.
- Sand your hills until you’re tired of it, then walk away for a few hours, then come back and do it again. Emphasize smoothness in how they meet the ground. Or don’t do them at all and just do the small undulations–that’s easier and looks great.
- Make sure you have several days of sun or a garage to work in. I got a rare stretch of 4 clear days in Northern Virginia and took full advantage to leave the board outside through the copious drying steps.
The board is playable, pretty, and should provide for a good showing at my club’s convention June 21st. Mission accomplished, even if I could do it better next time. I’m happy I did it and reasonably proud. I’m even jazzed up enough to expand it (the large river, maybe another board). I don’t recommend this project for everyone: it took a lot of work, cost more than a neoprene mat, and demands now that I store it somewhere. If you have the time, storage, and currency, though, I think you should try building a board at least once. Or, you know, I’m just justifying my behavior.

Nah, it’s pretty. Worth it.

Leave a comment