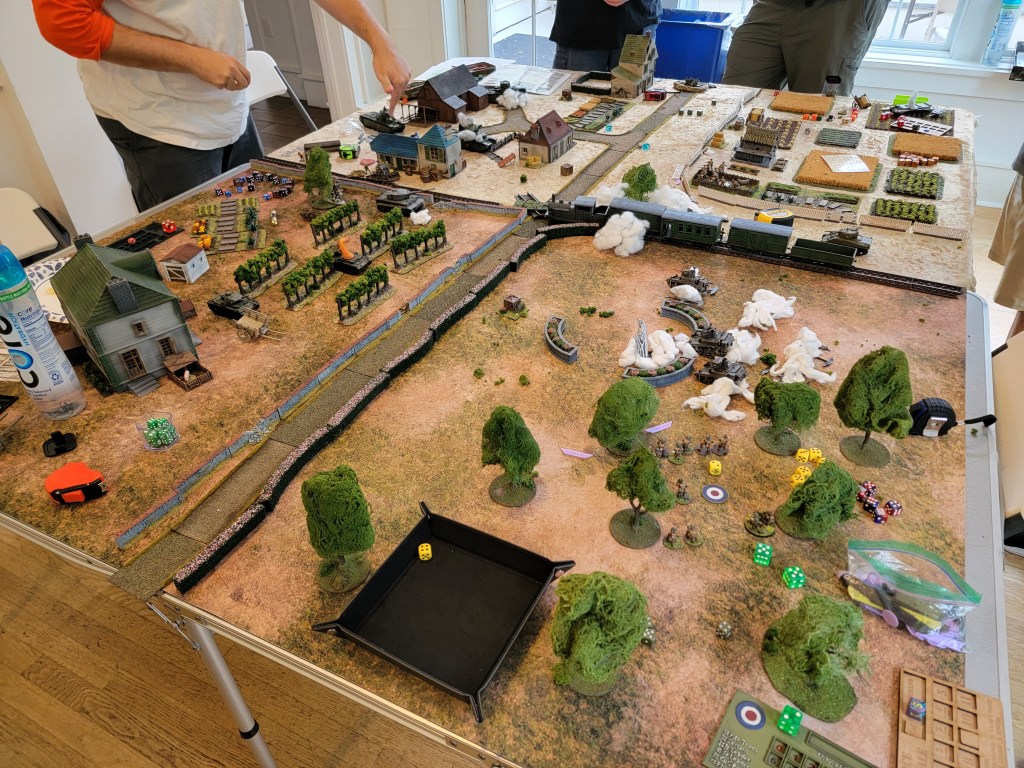
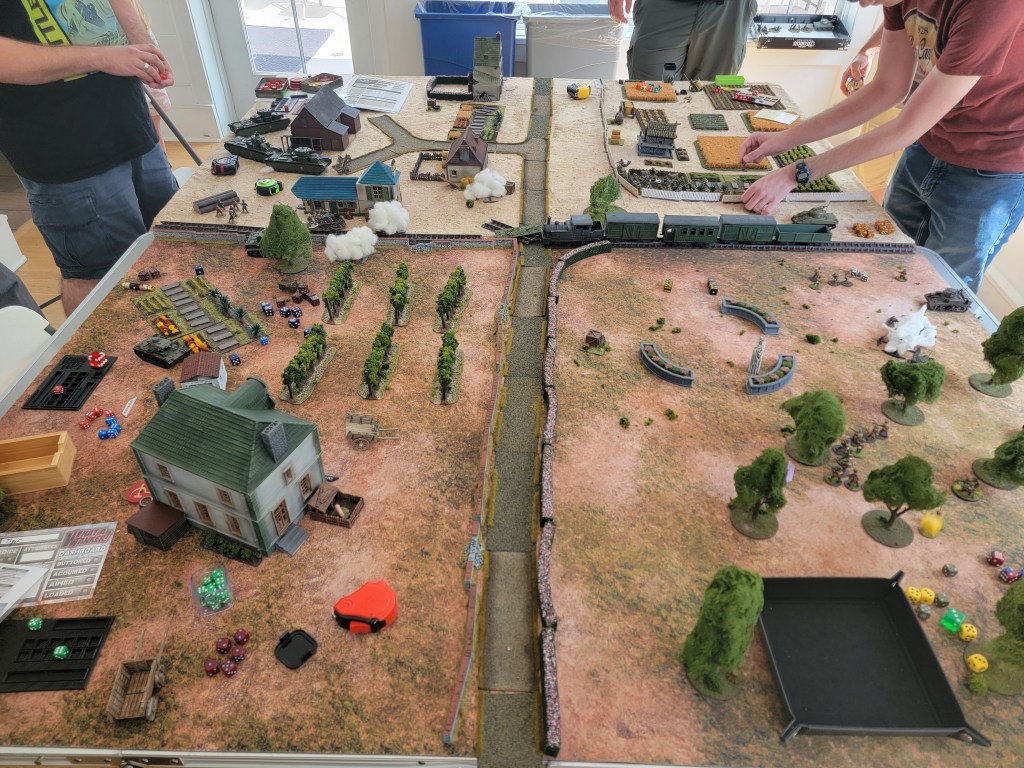
This past weekend I had the privilege of leading a seven player (Eight forces, one player played two forces) Big Chain of Command game at Tentcon, the annual Victory Gamers convention. I acted as GM/Facilitator, with each side having two infantry platoons and two tank platoons. The scenario was custom made, forcing the players to focus on two major elements:
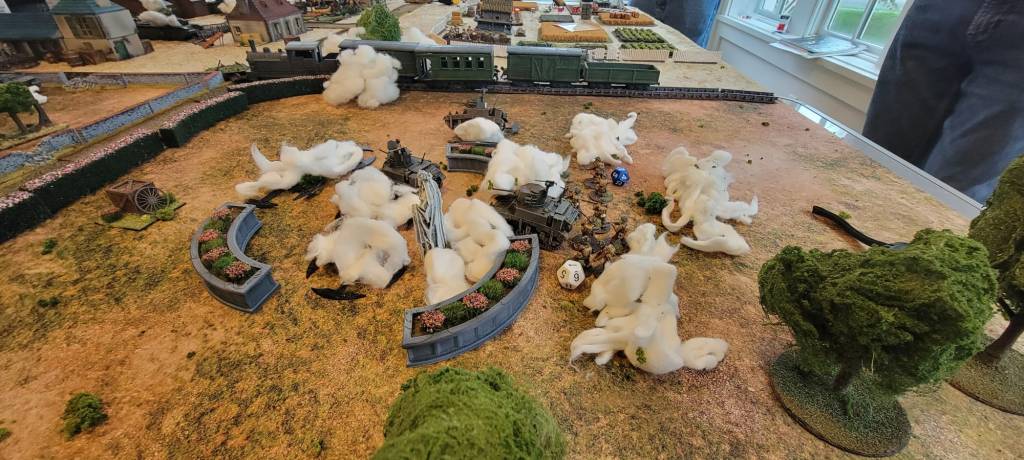
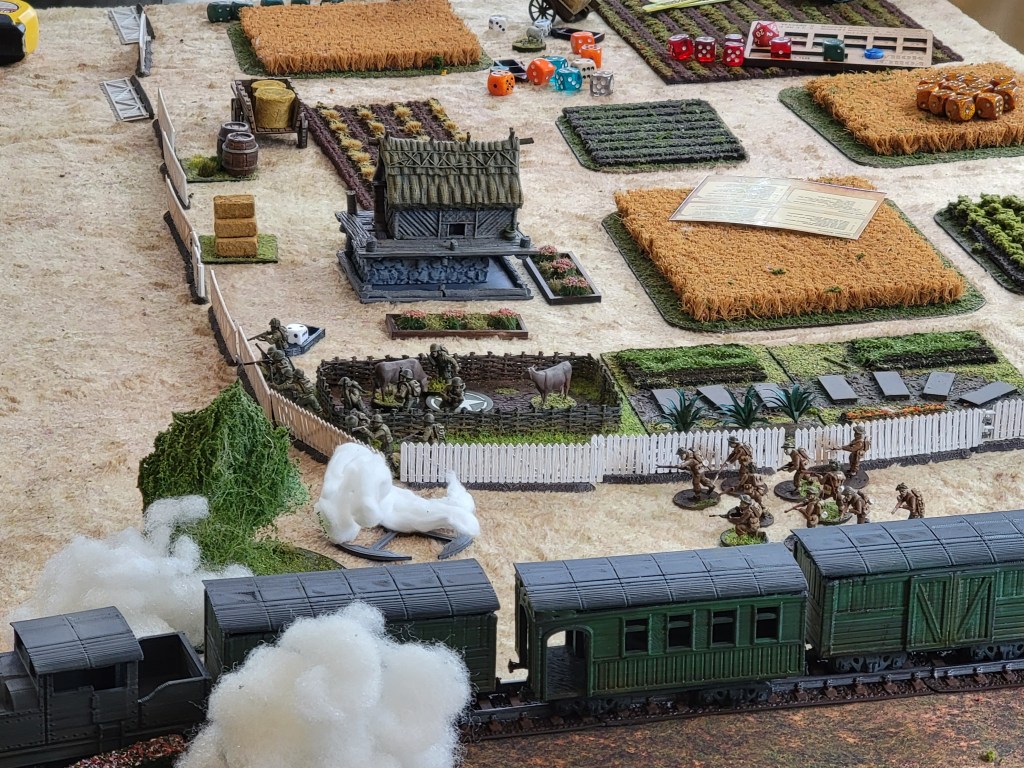
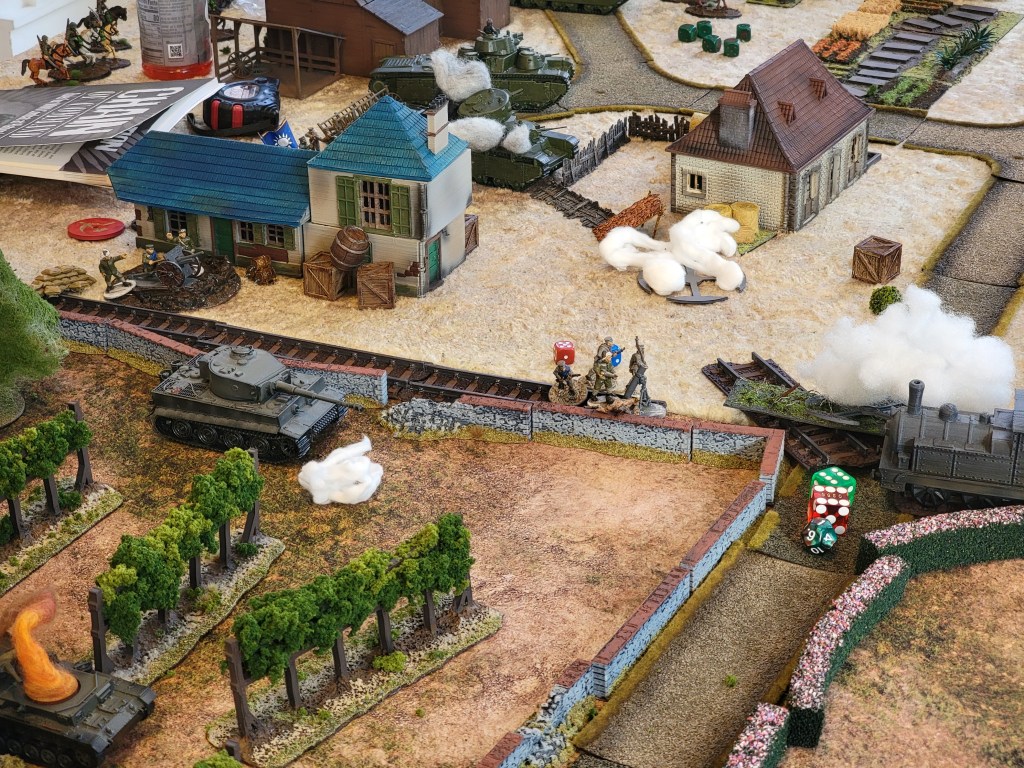
1) A train station that needed to be bombed
2) A train stopped by broken tracks that had a spy onboard
The “Axis” players (an alliance of Soviets, Germans, and Chinese KMT) were tasked with defending the station and repairing the track or finding the spy onboard the train. The Allies (three Brits and an American) were tasked with rescuing the spy before the train tracks were repaired and further bombing the train station with explosives they needed to plant.
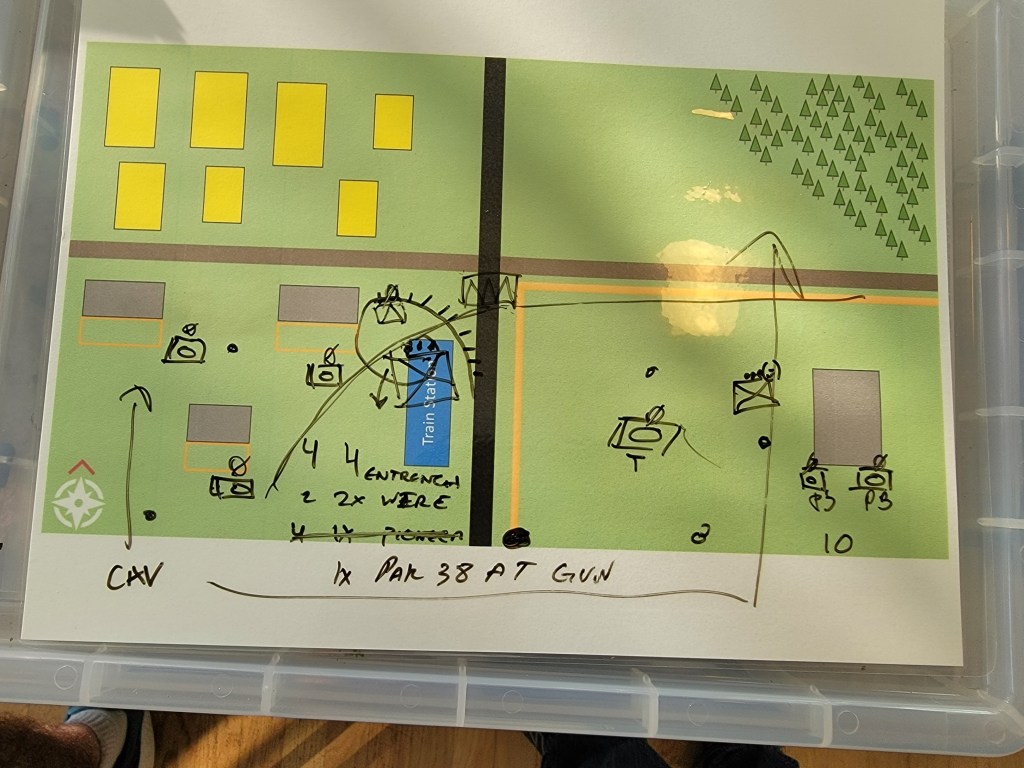
Prior to the game, I gave both sides a laminated map of the area and asked them to take 15 minutes to build their Course of Action (COA). More on this in the sections on “Lessons Learned.”
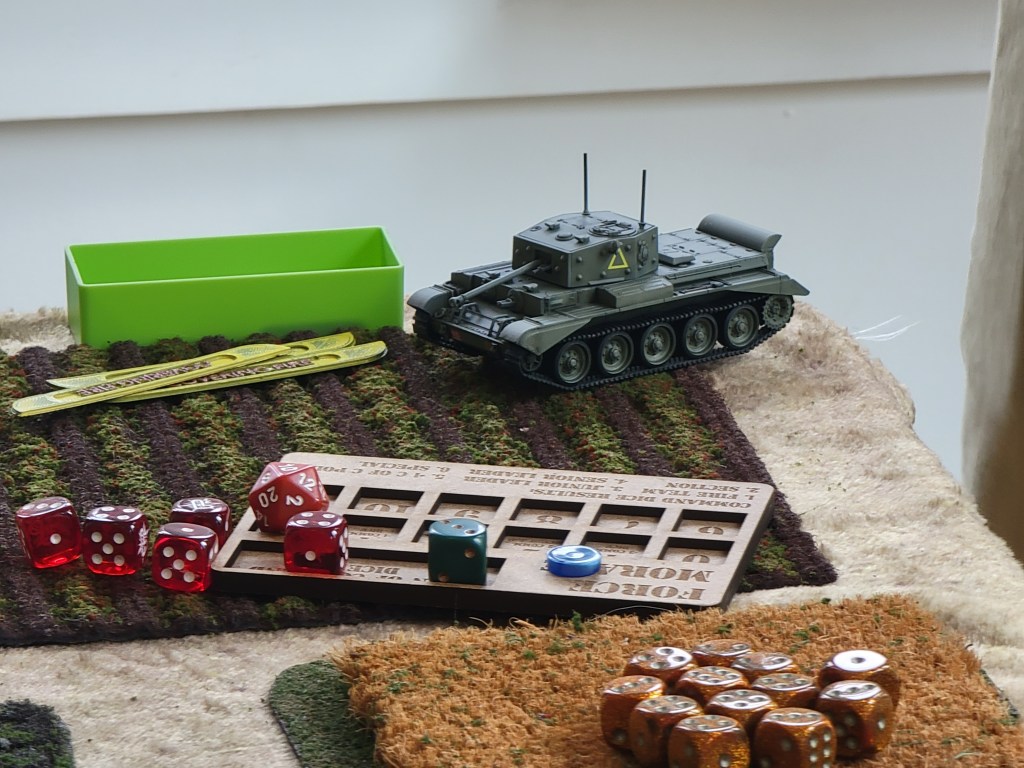
The game flowed well once everyone adjusted to the pacing of Big Chain of Command. It works remarkably well for such a simple system. Your entire side activates simultaneously and just plays out the turn, rolling their own command dice and maneuvering their own forces.
The forces for each side were as follows:
Allies
2x British Infantry Platoons
1x Platoon of three M-3 Stuarts
1x Platoon composed of 2x Shermans and 1x Cromwell
“Axis”
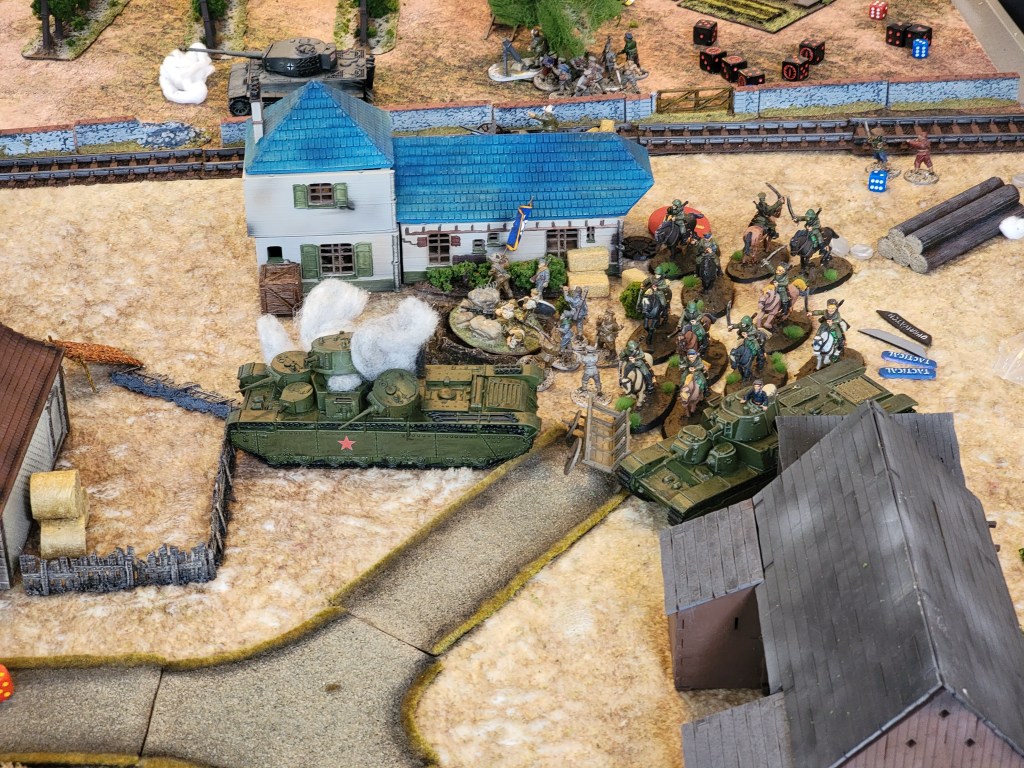
1x Soviet Cavalry Platoon
1x German Rifle Platoon (Chinese KMT/we didn’t use my custom made force since we were playing Europe)
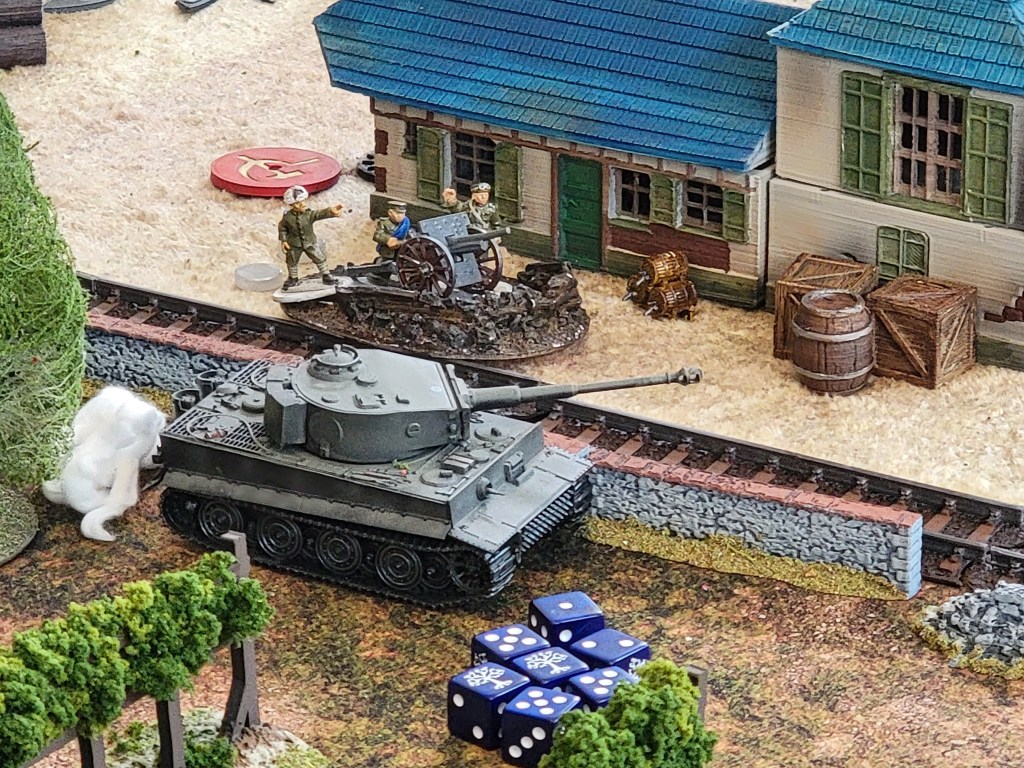
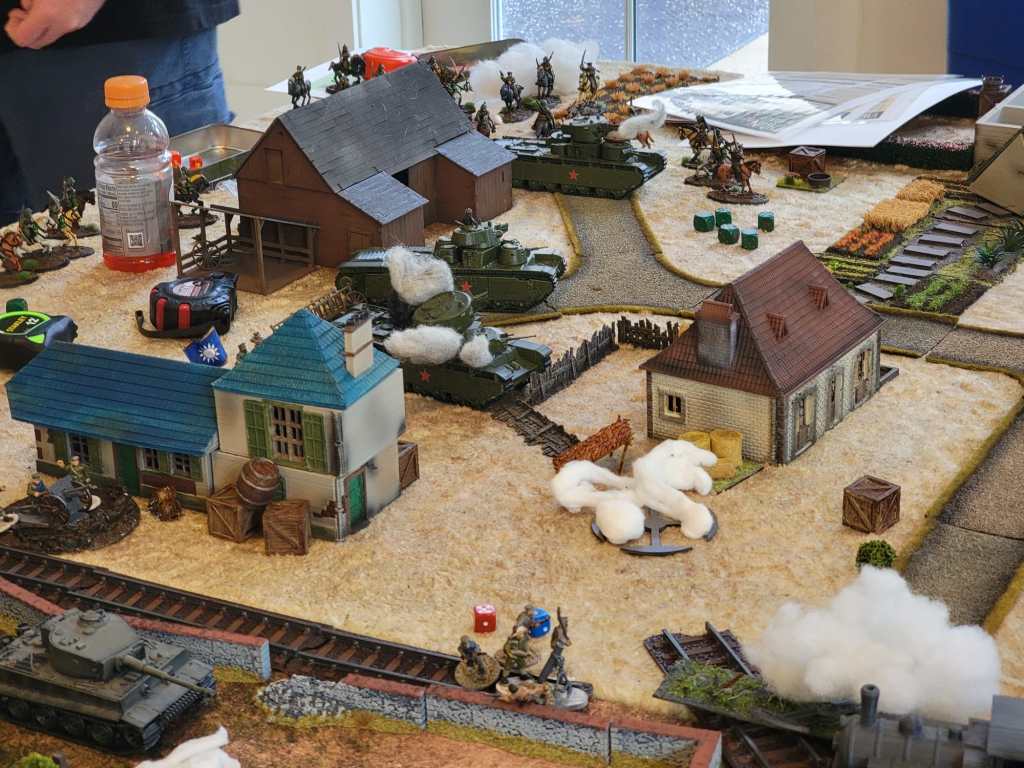
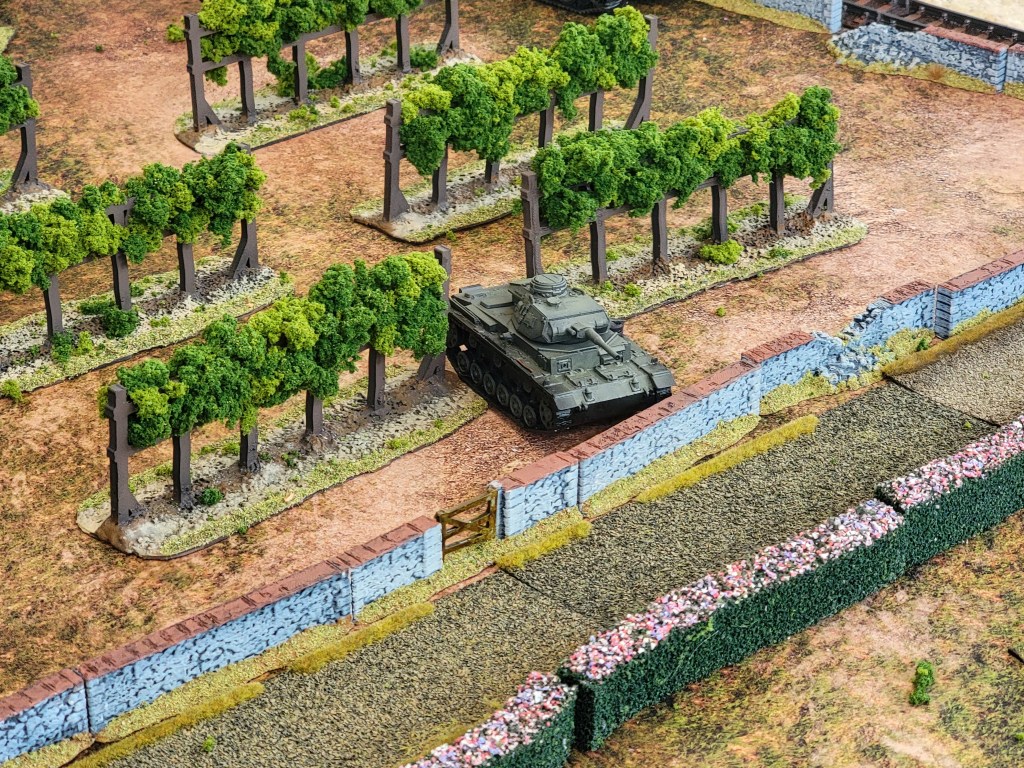
1x Platoon composed of 2x Panzer III J and 1x Tiger I
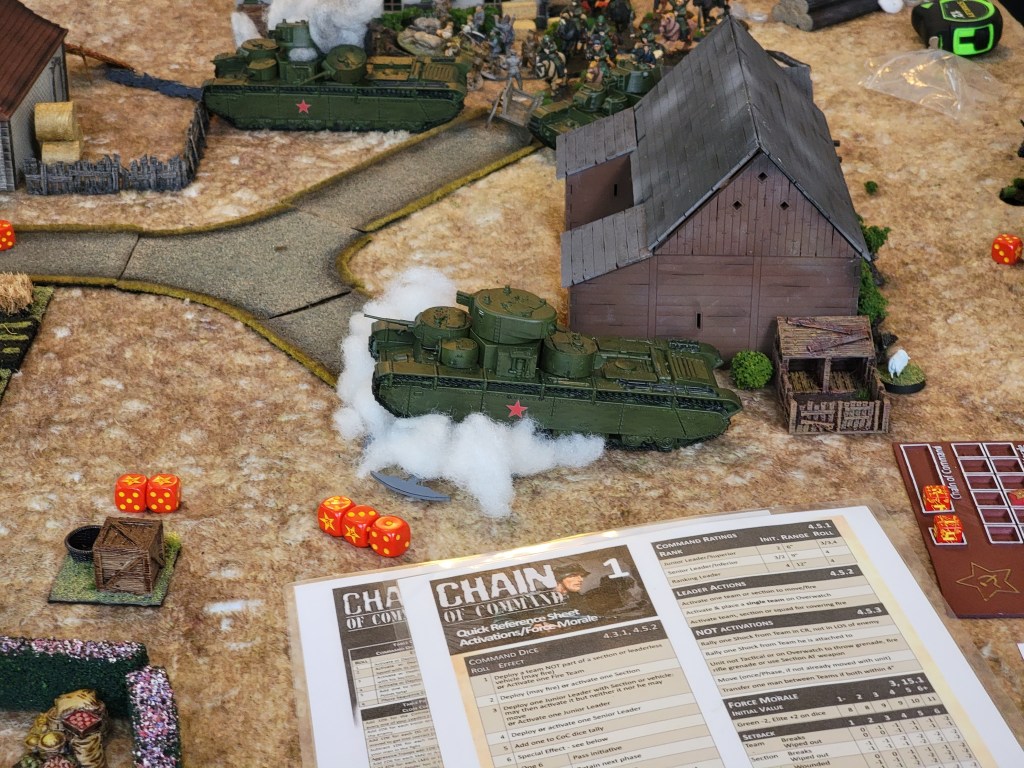
1x Platoon composed of 3x T-35’s
Again, the game flowed well, but we did hit a snag: the Axis seriously out-planned the Allies. The Allies composed a solid plan at the outset, but failed to cohere as they executed it. The Axis made a plan that literally included NATO symbology on their planning map and executed it precisely. This was further compounded by my scenario being a little too difficult to execute. Axis ultimately won by defeating the Allied morale and forcing a surrender. Spoiler up front, sorry.

That’s not to say the Allies performed poorly. They did find their spy, but by the time they pulled it off they were not going to blow up the train station and the Axis were likely going to overrun them completely.
A few highlights from the game:
- The allies used a TON of smoke, really blocking out line of sight to their advantage.
- The smoke, unfortunately, dissipated repeatedly due to turn ends, so they had to keep replacing the smoke to buy themselves enough time to investigate the train.
- The Allied Stuart platoon did an excellent job of using smoke to cover an advance on their flank and waste the potential of the German tank platoon for much of the game. Unfortunately, they couldn’t quite take the Tiger I which did ultimately start to win the fight. They DID, however, clear an exit path for the Spy that would have proven useful had other parts of the battle gone better.
- The Russian cavalry had a very successful charge thanks to the Tiger and T-35s making room for it. They took an Allied JOP and then proceeded to close in on the Spy.
- A single Allied Sherman, however, pushed back the cavalry assault and cleared a potential exit for the Spy, had the allies not already been near surrender.
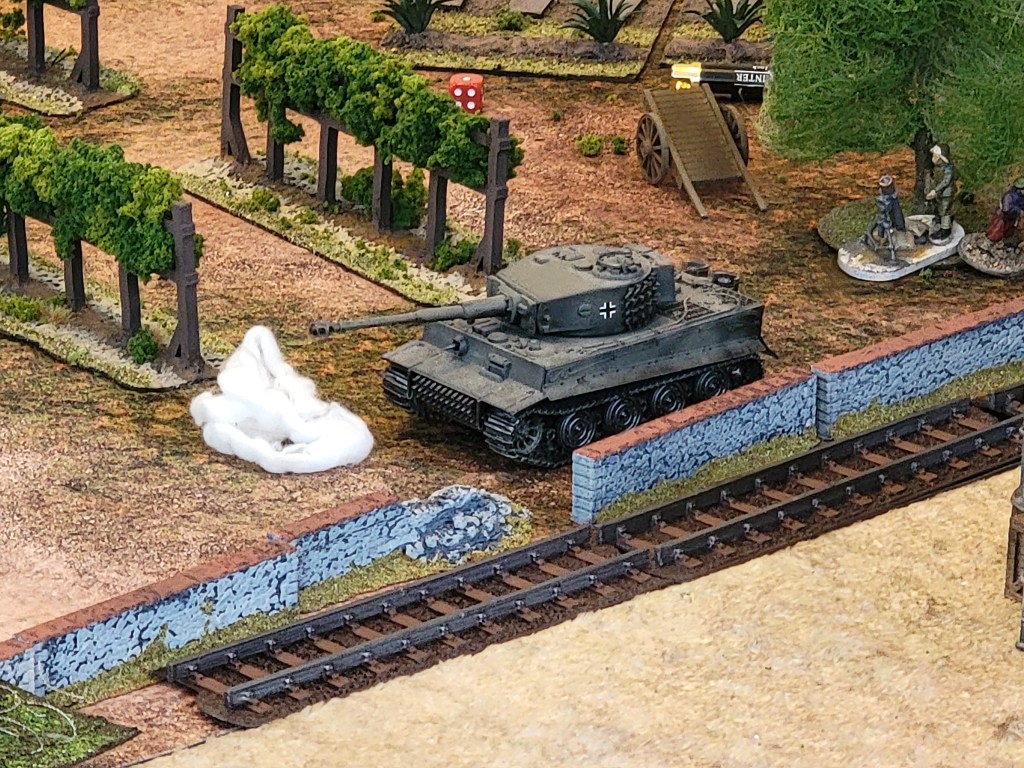
- The Tiger I took a forward position and maintained it successfully for the entire match.
- Tanks genuinely decided the battle, but not due to what they destroyed.
All players reported a fun time, and I believe with a little bit of tweaking, the allied plan would have worked out better. Once again, more on that later.
Scenario Design – Lessons Learned
For the scenario, I asked each side to accomplish two objectives. This was too much. I should have asked each side to complete one OR the other, giving them options for how to win the day. My hesitation was the fear that one objective would be completed too soon. That’s never a good thing, but it’s preferable to the game going too long. My usage of two objectives made morale victory more viable than the actual victory conditions—once again, had I used a select-an-objective approach this would have worked better, even with the risk of ending prematurely.
The Spy was a good concept. It forced both sides to get in, grab something, and get out. This poses a difficult, multi-layered question. I want more of my objectives to work like this. For my next scenario, I plan to do three potential objectives, allowing the two sides to figure out which they wish to complete. This should create enough push-pull between the two sides while also allowing them to really crunch on something as they plan their game.
Player Decision Making—Lessons Learned
I’ll try to keep this high level as I don’t wish to get into the nitty-gritty of the game here. Both teams were given 15 minutes to plan. The Axis built a superb plan, doing threat and strength analysis to produce a plan that that successfully posed a difficult question to their opponents while also setting up their own win condition.
The Allies setup a plan that would allow them to achieve a win condition, but analyzed the opposing forces incorrectly, and further used tanks incorrectly.
To illustrate, let’s look at the Tiger I the Axis had. They placed it in the center of the board in a prime position to scope out both sides of the battlefield, so it could traverse its turret to address any major issue. They put it out there to pose a problem: tackle the Tiger or tackle the T-35 Platoon. The T-35 Platoon was intimidating but wasn’t near as important as the Allies thought. They spent a lot of their energy trying to take care of these three tanks while the Tiger spent its energy punishing them for it. The Allies, effectively, chose wrong.
But how did they choose wrong? It’s not necessarily that they should have destroyed the Tiger I. It’s that they should have used their own tanks more effectively.
In WW2, tanks did destroy tanks—absolutely—but they also supported infantry. This was their primary purpose: help infantry to achieve the mission. The Allied Shermans spent a lot of time trying to pop enemy tanks when they should have spent their time, ironically, dropping more smoke and bullying infantry elements, or even body blocking for their own infantry trying to find the Spy. A Tiger can’t shoot what it can’t see.
The T-35s spent their time setting up for a cavalry assault and bullying infantry, not killing tanks. They didn’t win the game: they setup the victory.
Infantry win battles, tanks support infantry. Chain of Command reflects this truth and as a result can be counter-intuitive. We think “Big cannon on treads go boom!” rather than “Big scary thing secure mobility for squishy humans.”
I do want to give credit to the Allies: they successfully laid smoke, covering fire, and overwatch to close in on the train, which was glorious to watch. This created a frustrating problem for the Axis to solve. They just didn’t manage to quite keep it up to the same effect and got chewed up in the process. Forward deployment of their Shermans would have solved this problem.
There’s more I could pull apart on both sides. The Axis didn’t seem to have a real follow through to achieve the Spy mission, and had the Allies gotten a little lucky and popped a few tanks, that would have left a hole in the Axis plan (one which they admittedly were ready to plug with cavalry, but to lesser effect). The Axis relied on making the enemy break on their defense, which is a great plan, but a few errant rolls would have given the allies more of a shot. Further, had the smoke not been cleared by a turn end, the Allies would have likely achieved the Spy mission and could have tried to win on secondaries from there.
I won’t lie—the Axis still had plans for things going wrong. They had redundancy and resilience built in from the start. I give them credit on an excellent plan.
The Allies had a great plan, but a misuse of tanks and a further lack of cohesive vision through the game held them back. They started very strong but found themselves outplayed. If they can learn their lessons, I don’t doubt they can swing back hard in the next game.
The Next Game
I’ve discussed with my counterpart in the Historical segment of our club—the very one who built the Axis plan. We’ve decided the next game would be best dedicated to a bit of an educational bent. Each of us will take a side, Axis or Allied, and help build that side’s plan. Instead of 15 minutes to plan, we’ll give an hour. We’ll educate our respective sides and then let them loose, effectively making us Headquarters.
I’m thinking of limiting our interaction so we can only give advice when a turn ends. Narratively, that’s the platoons taking a moment of rest to communicate back to base and find further guidance. This allows us to educate the players and help them see how to better implement real world tactics, while also playing a game with a cool twist and not leaving them feeling like we’re simply running the show. It should be a fun way to ensure future games are more competitive.
Conclusion
I had an absolute blast running this game. It was thrilling to watch everyone come together, find their grooves, and execute their plans. Sincerely, being able to run eight players at one table was challenging but deeply satisfying.
Chain of Command remains the cream of the crop in wargaming. Nothing I’ve played matches it. It demands you learn a lot about real world tactics but rewards you with a gaming experience unlike any other.
Really, does “but” even belong in that sentence?
Chain of Command: it asks you to learn real world tactics AND rewards you with a gaming experience unlike any other. Both of those are true benefits.


Leave a comment