Howdy, all.
First, some context: Tentcon is a yearly convention held by Victory Gamers of Northern Virginia. There’s beer, games, and a ton of fun (even a concert this year!). Due to COVID, we restricted it to one v one games and followed basic precautions to keep everyone safe.
Yesterday was day one, and I played against a fellow club member in our Lord of the Rings subgroup. He’s known for being trollish (in a fun way), so he brought Moria Goblins. Very fitting for him.
To bring things together, I brought Khazad-dum lead by Durin himself, and we played on my Khazad-dum/Moria board!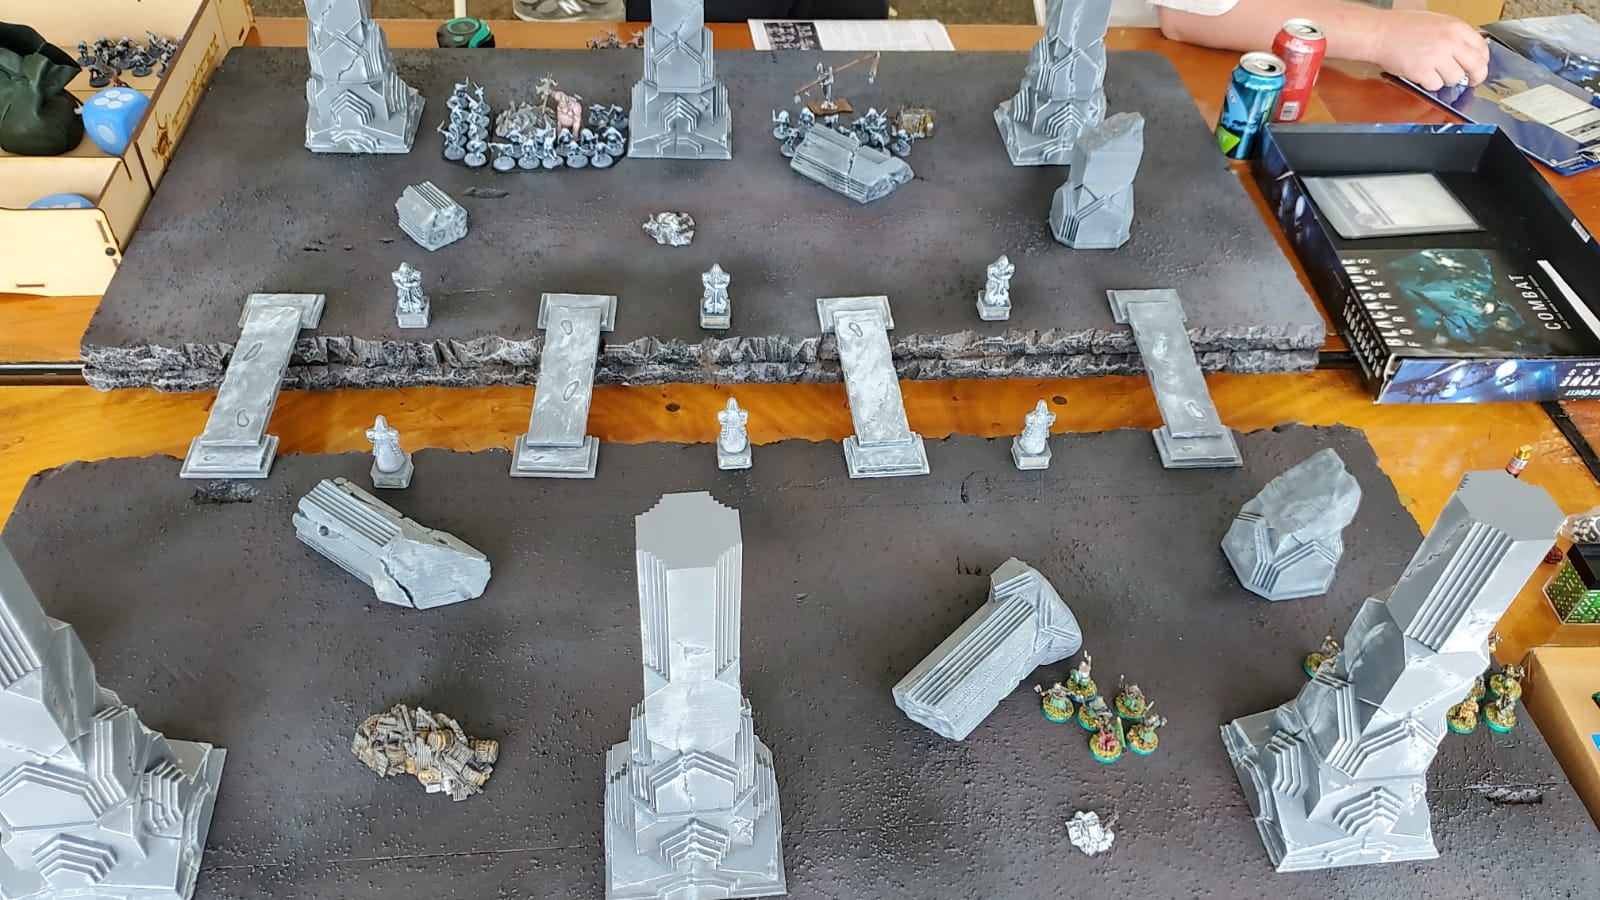
This was a good one! The mission was a custom design, but familiar for Middle Earth players. Here are the VP goals:
2 VP per bridge held at end of game (Potential 8)
1 VP for wounding enemy leader, 2 VP for slaying (Potential 2)
1 VP for breaking, 2 VP for not being broken (Potential 2)
My opponent had a 76 model list lead by the Goblin King. I had a 21 model list lead by Durin. His list was built around respawning Goblins every turn and mine was built around being tough-as-nails dwarves itching for a fight.
Early turns saw us taking positions on the bridges, with him claiming a spot on every bridge. I decided to consolidate my forces to my right flank, contesting two bridges. I was hoping I’d find a way to harm his leader, break his force, and keep two bridges. 
Durin is on the far right surrounded by Hearthguard. The center bridge is held by my captain with some Iron Guard and Hearthguard.
The right flank devolved as he spawned Goblins on the board edge closest to Durin, who spent most of the battle killing Gobos en masse.
The middle was more interesting. My opponent was humored by his ability to throw Goblins at me with his Goblin King, so he spent most of the battle doing so (Probably the wrong decision). He tossed them across the chasm at me while my boys tried to handle his forces closing in. 
I successfully held the center bridge with two Iron Guard for most of the battle, until the Goblin King finally decided to move. My opponent spawned a unit of Goblin Mercenaries directly on the bridge on center-left, which he used to occupy the rest of my captain’s forces.
The flow of battle from here was simple enough: I killed Goblins, he spawned more (up to ten in a turn!) and I killed more. I thought I was defeated from the start given the numbers, but surprisingly, I managed to recover just enough to almost eek out a victory (spoiler). Here’s some highlights: 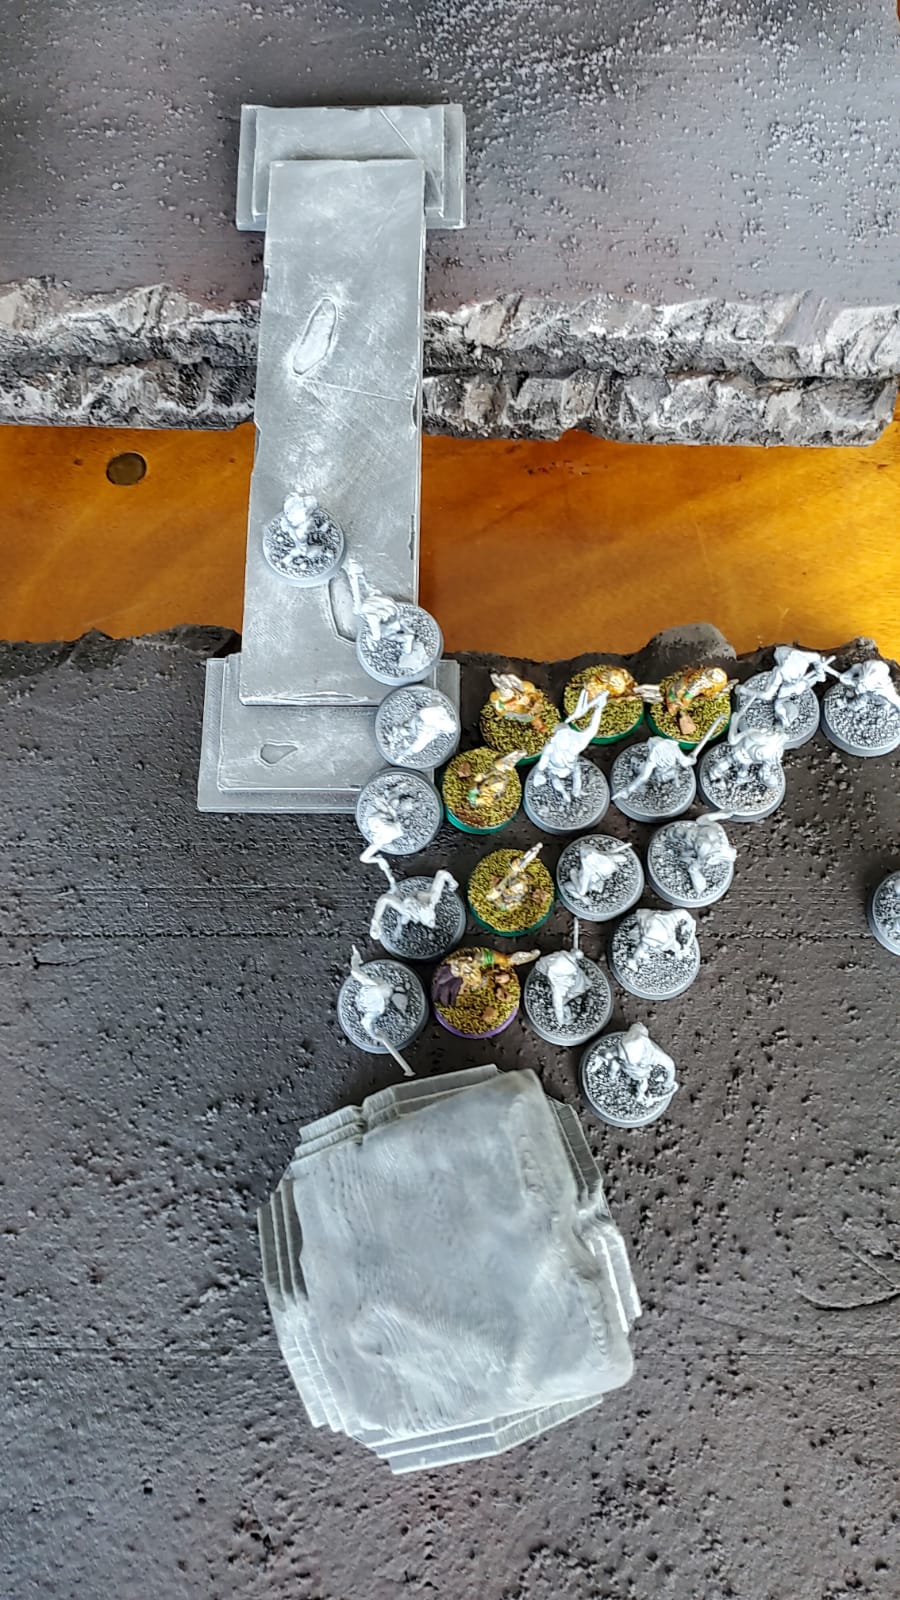
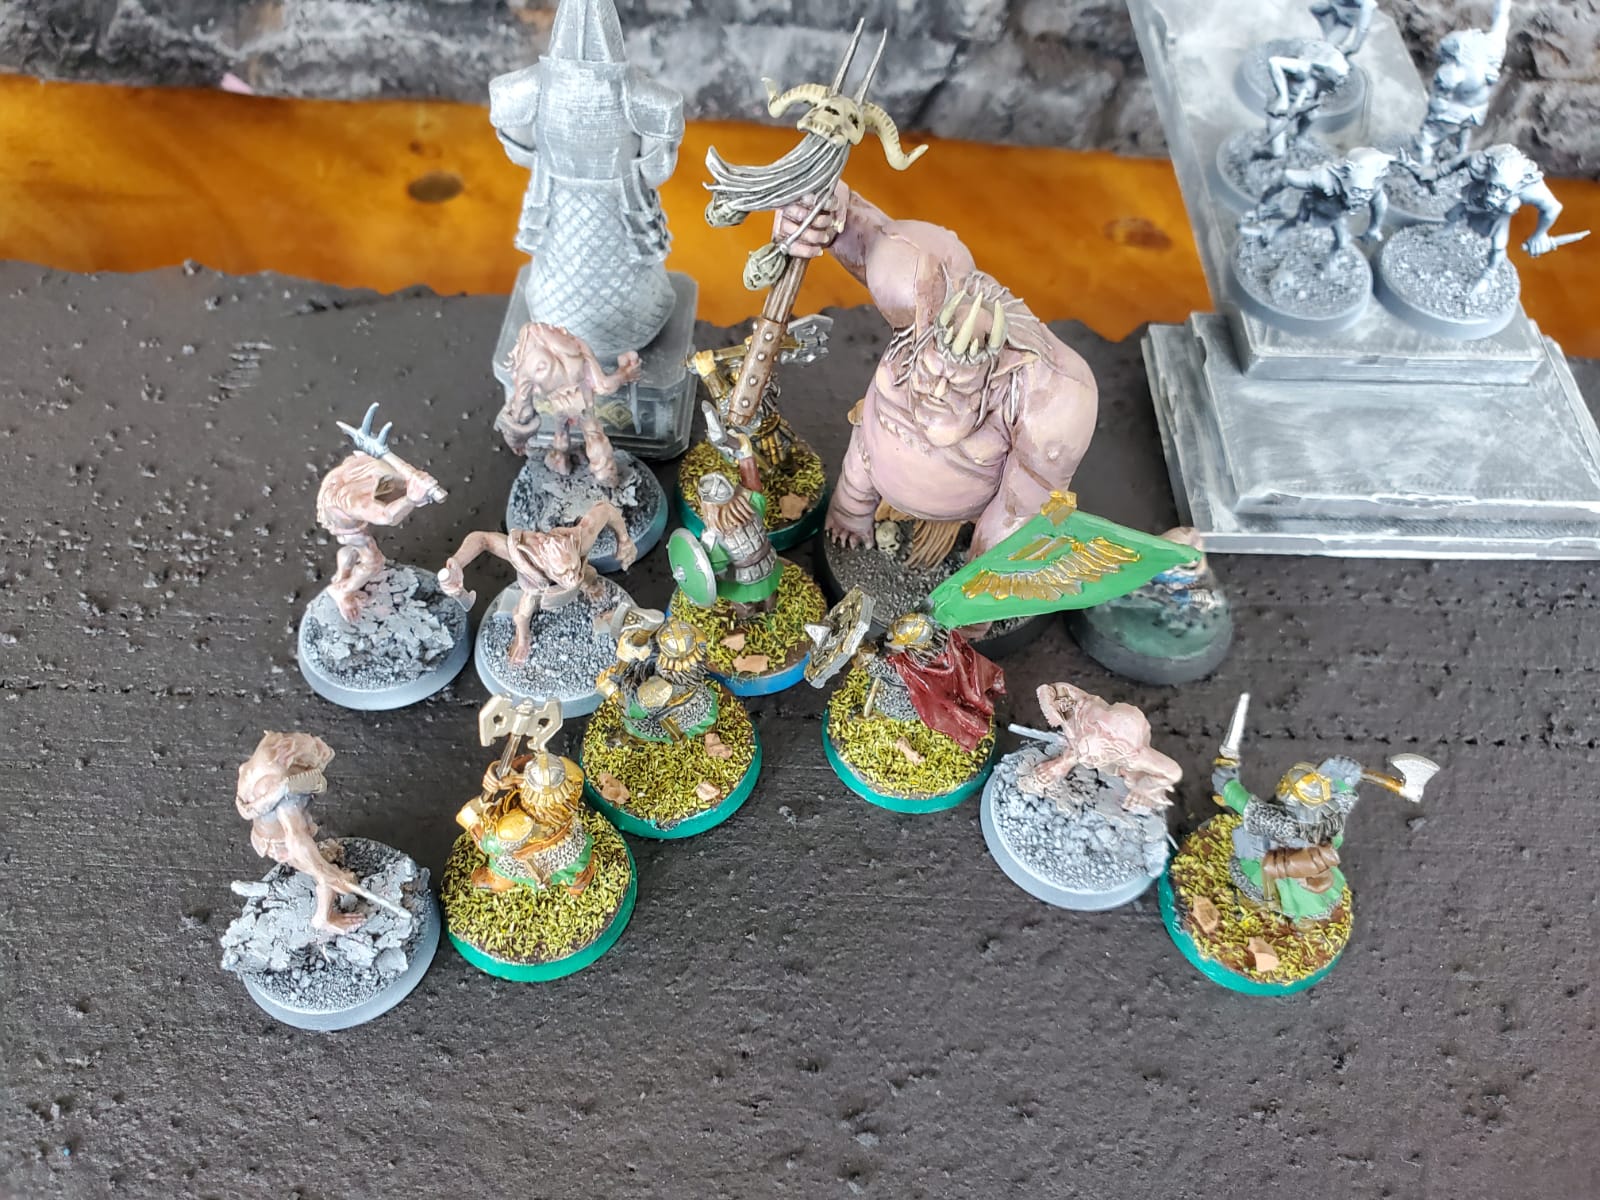
Durin and co were totally surrounded by the respawning Goblins, which was exactly where they wanted to be. They crushed a ridiculous number of Goblins and took the bridge in spite of the obviously bad spot they were in.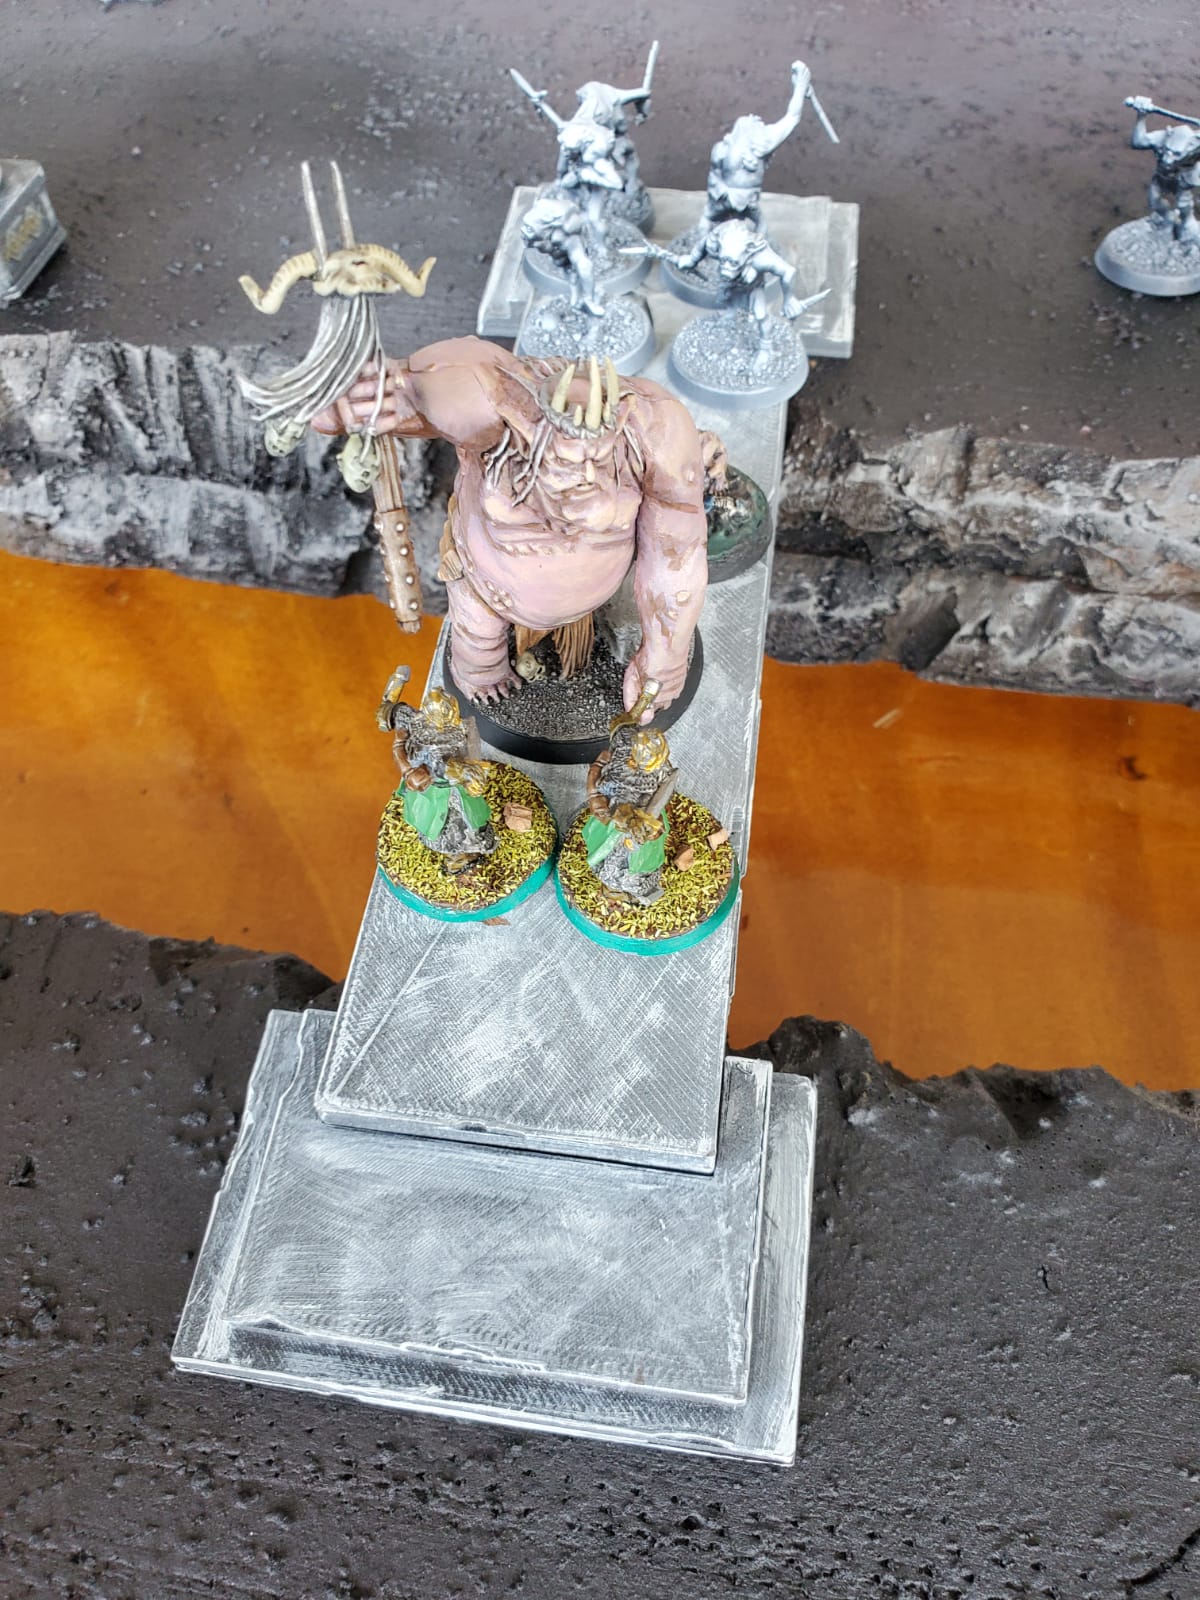
On the other side, my men crushed the Goblin Mercenaries, but nearly fell to the Goblin King himself. Here, you see that he killed the two valiant Iron Guard who held the bridge all game, and then nearly killed my banner bearer!
At this point, the game came to a close on a force break (Goblins). I needed ONE MORE TURN to take the bridges and win as his men fled the battle due to failed morale, but I just didn’t get it. My opponent successfully rolled a 1 to end the game in his favor.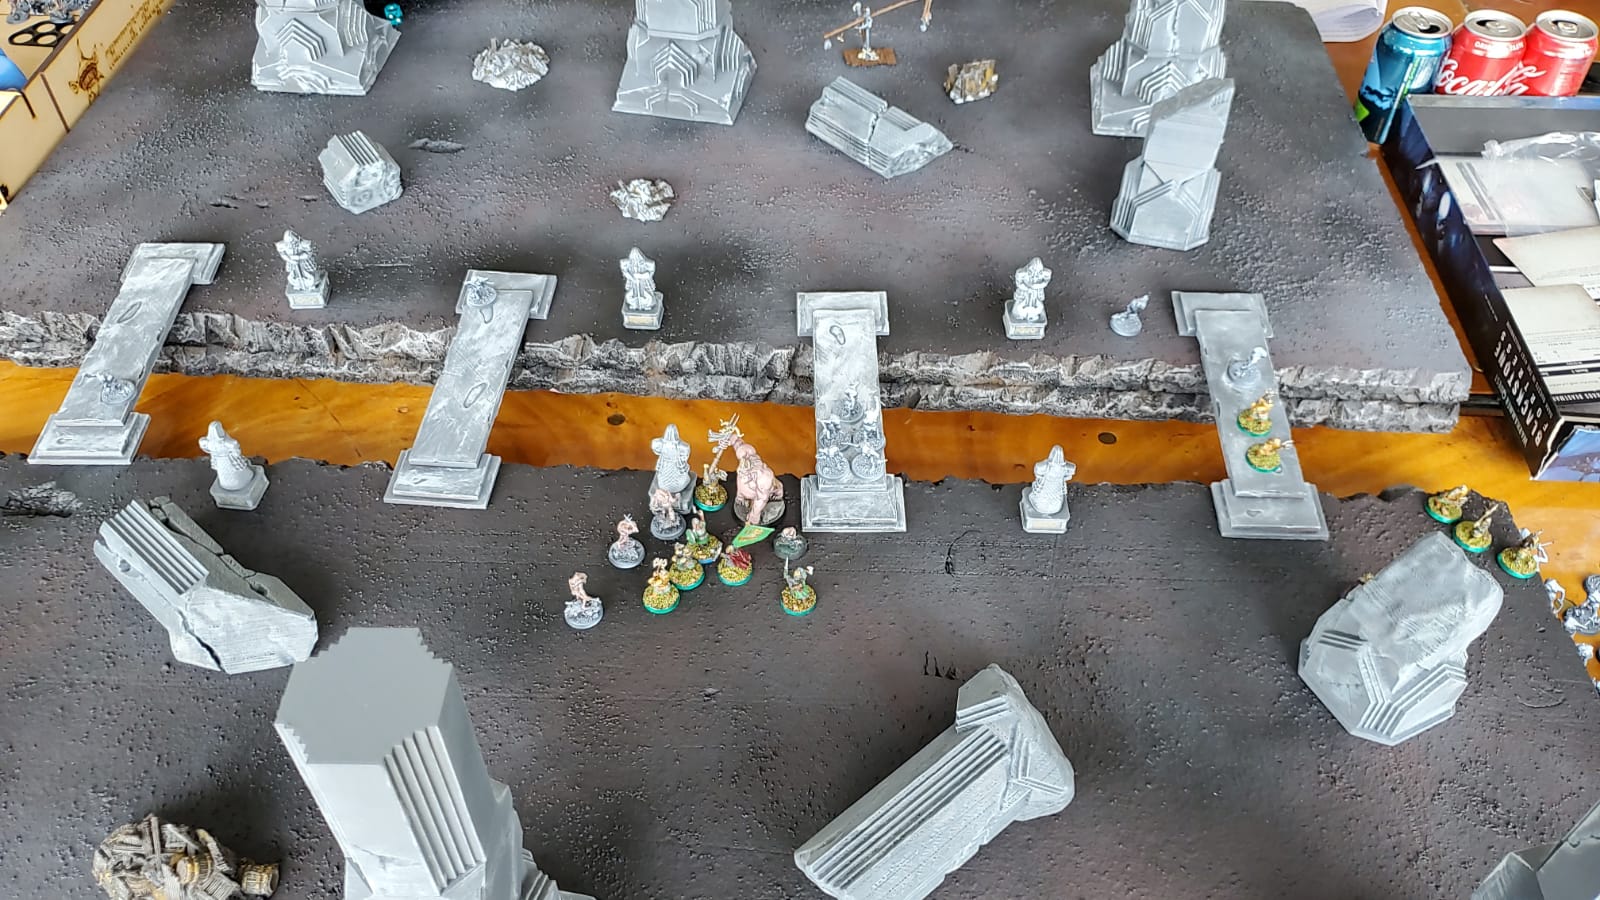
This was an intense battle that highlighted everything I loved about Lord of the Rings Battle Strategy Game. It was a stunning game on a beautiful board, where my dwarves felt like dwarves and his goblins felt like goblins. They were clambering over each other to attack, and we were beating them back by the dozen. Glorious.
Final score:
Goblin Town: 6 points
Khazad-Dum: 4 points
Looks like I start my blog with a loss! But man, what a game. That was what Lord of the Rings delivers that no other game really pulls off: a tense, thematic, lore friendly battle where every decision mattered.

Leave a comment